2018 has been a very busy year and it was long overdue to create this mini guide for my favorite offline Salesforce solution, but to be honest with all the things that are happening I turned to my little helper Juan Carlos Mogel for help.
Even when Salesforce has some Offline capabilities, you are limited to 7 objects as of (Dec ’18) and you have to make sure you have cached all correctly before working offline, Pulsar on the other hand offers a variarity of features, It is also used in a wide range of large companies, some in which I was actually involved during their implementation (Industries)
I hope you enjoy this manual and also adding the first part of an actual installation and test of Pulsar.
Part 1
Part 2
Overview
Pulsar is an applications that let you use Salesforce Online and Offline.It doesn’t take a lot of time to configure the app with your Salesforce Org and you can get 1 free license in order to know everything that Pulsar can make for you.
Installation Setup
- First you need to go to Salesforce AppExchange
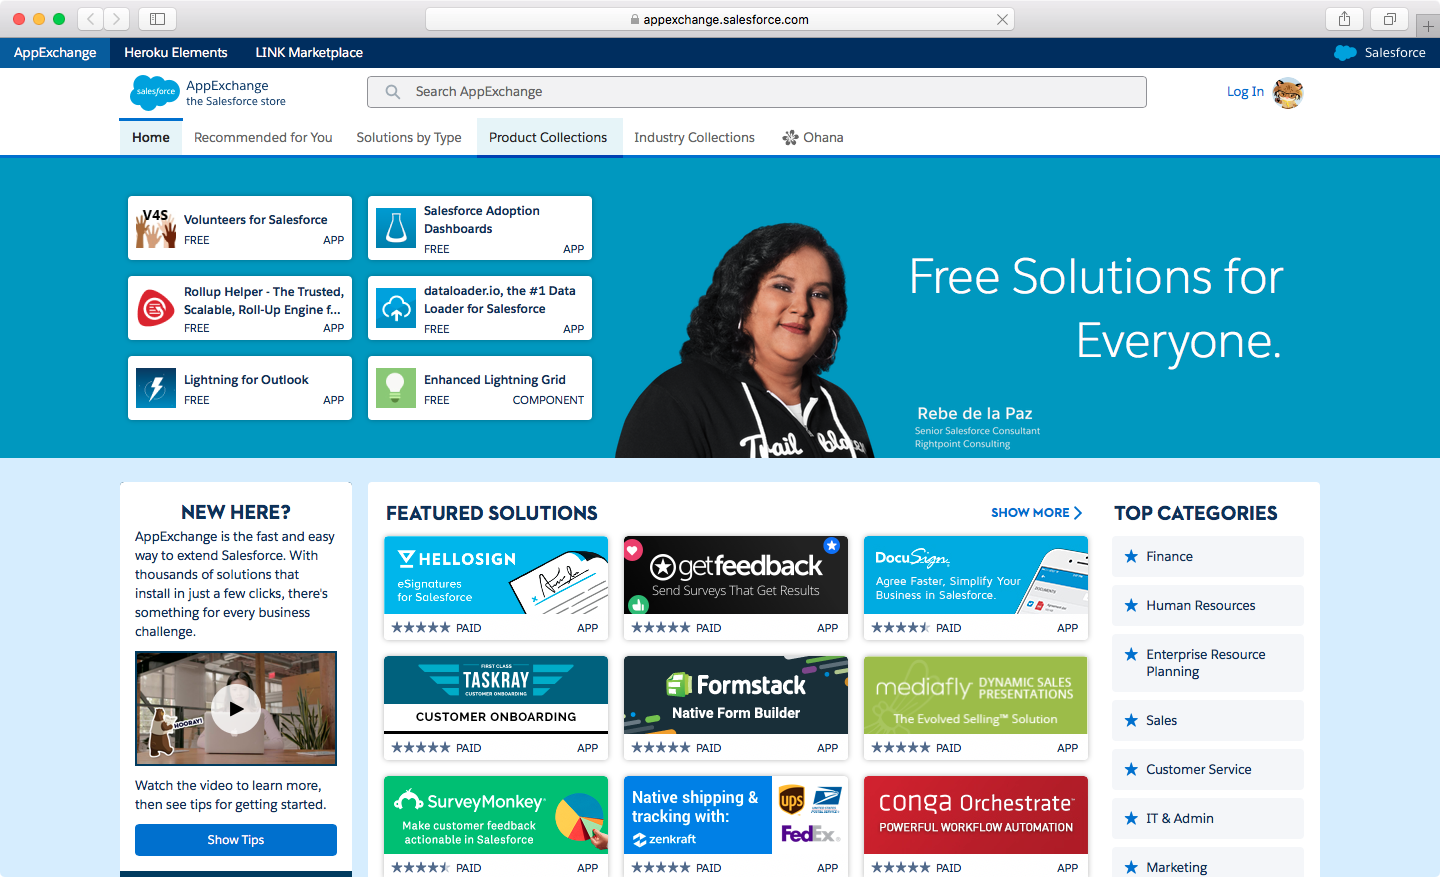
- Search for the Pulsar Premium app
You will find 2 apps in the Salesforce AppExchange, the premium one and the free one.
There are some difference between these 2 apps and you can read them all in the following link:
https://appexchange.salesforce.com/servlet/servlet.FileDownload?file=00P3000000P3RR7EAN
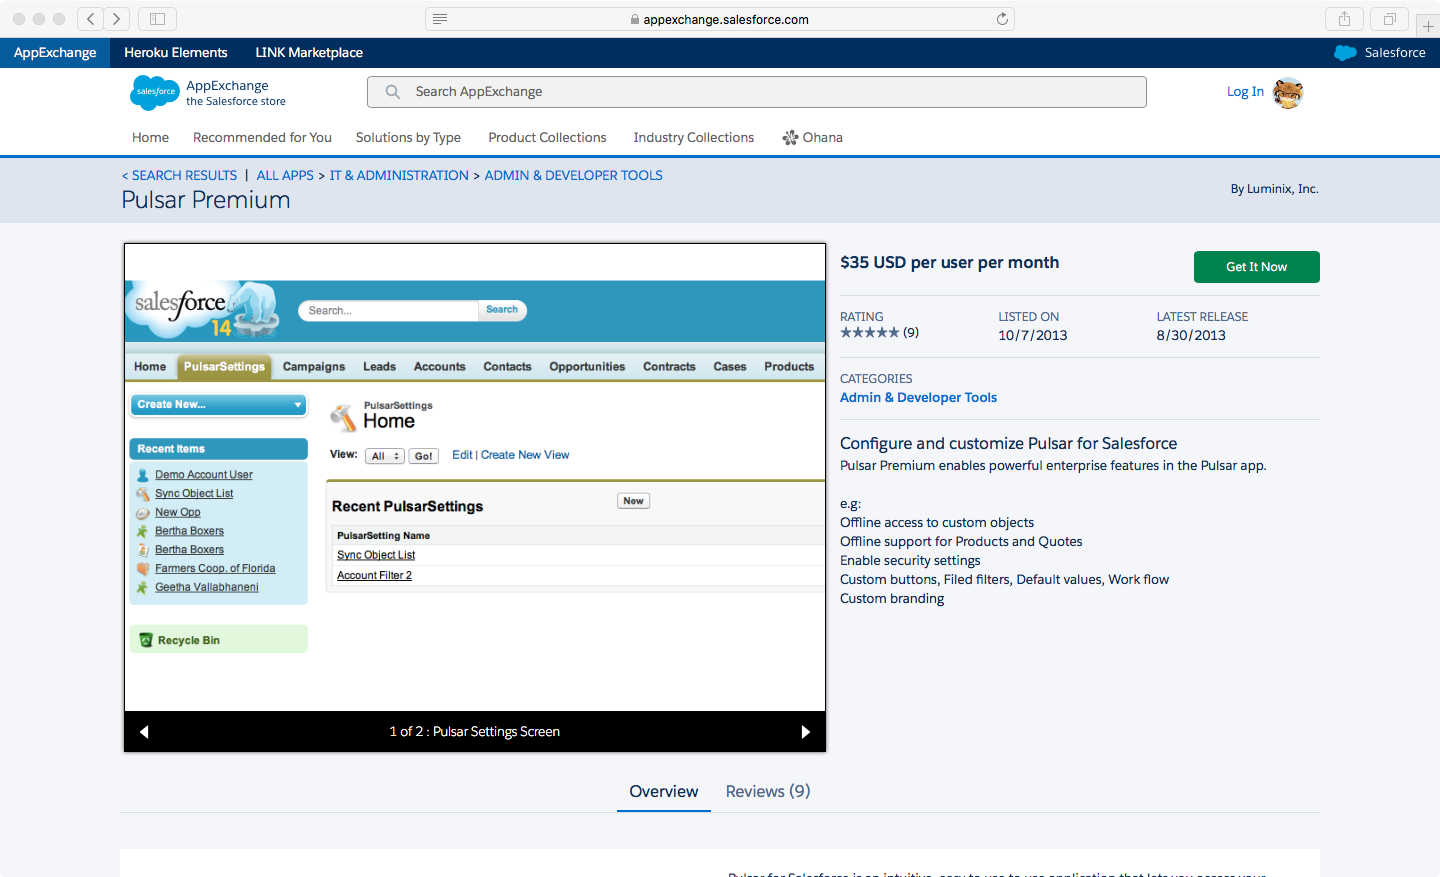
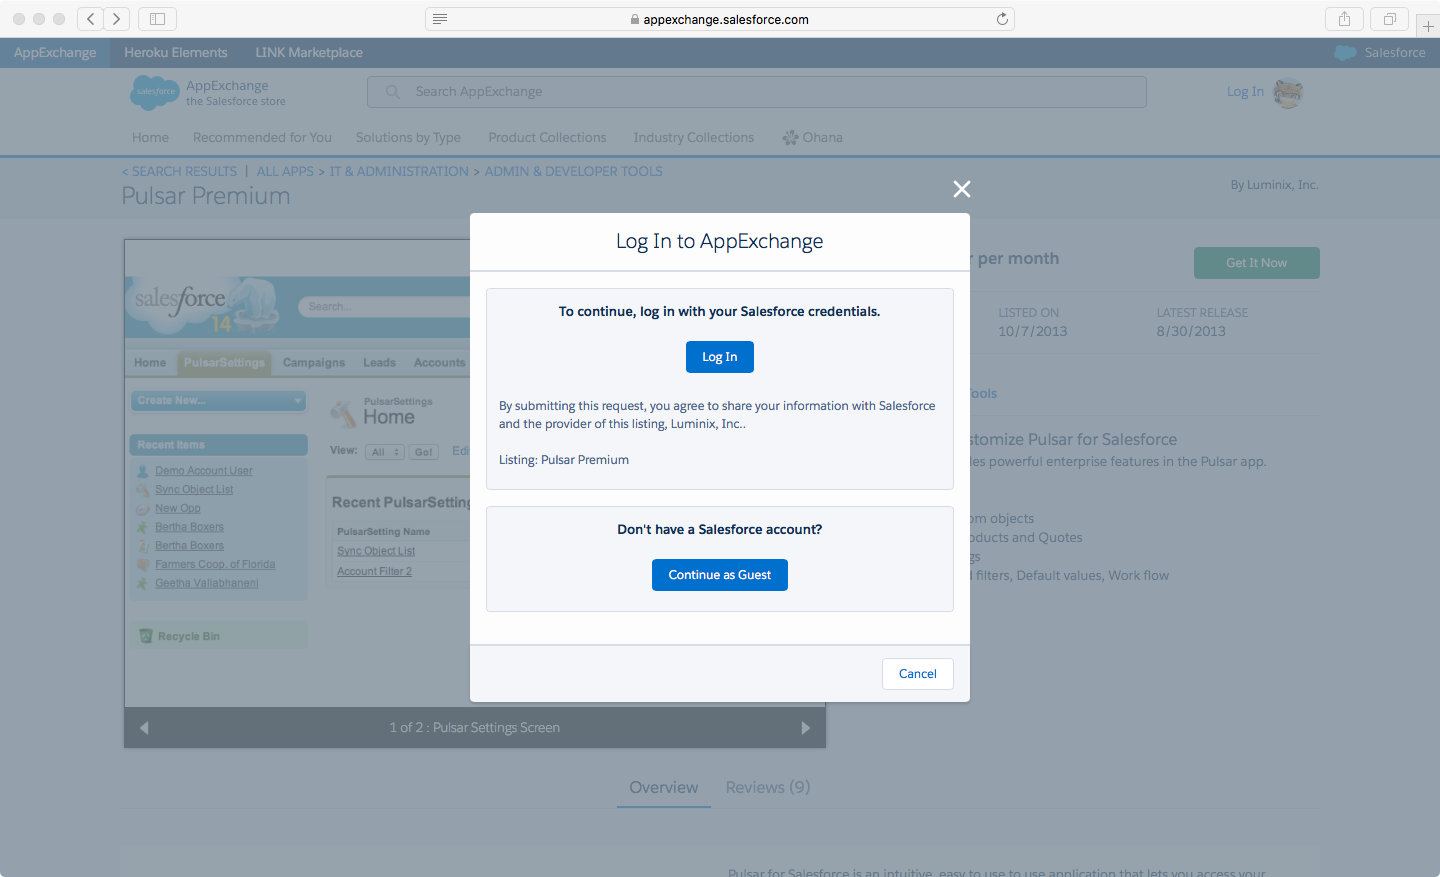
- Push the Get it Now Button and log in to AppExchange with your Salesforce credentials. Even if you are going to install Pulsar in a Salesforce SandBox you need to log in with your production username.
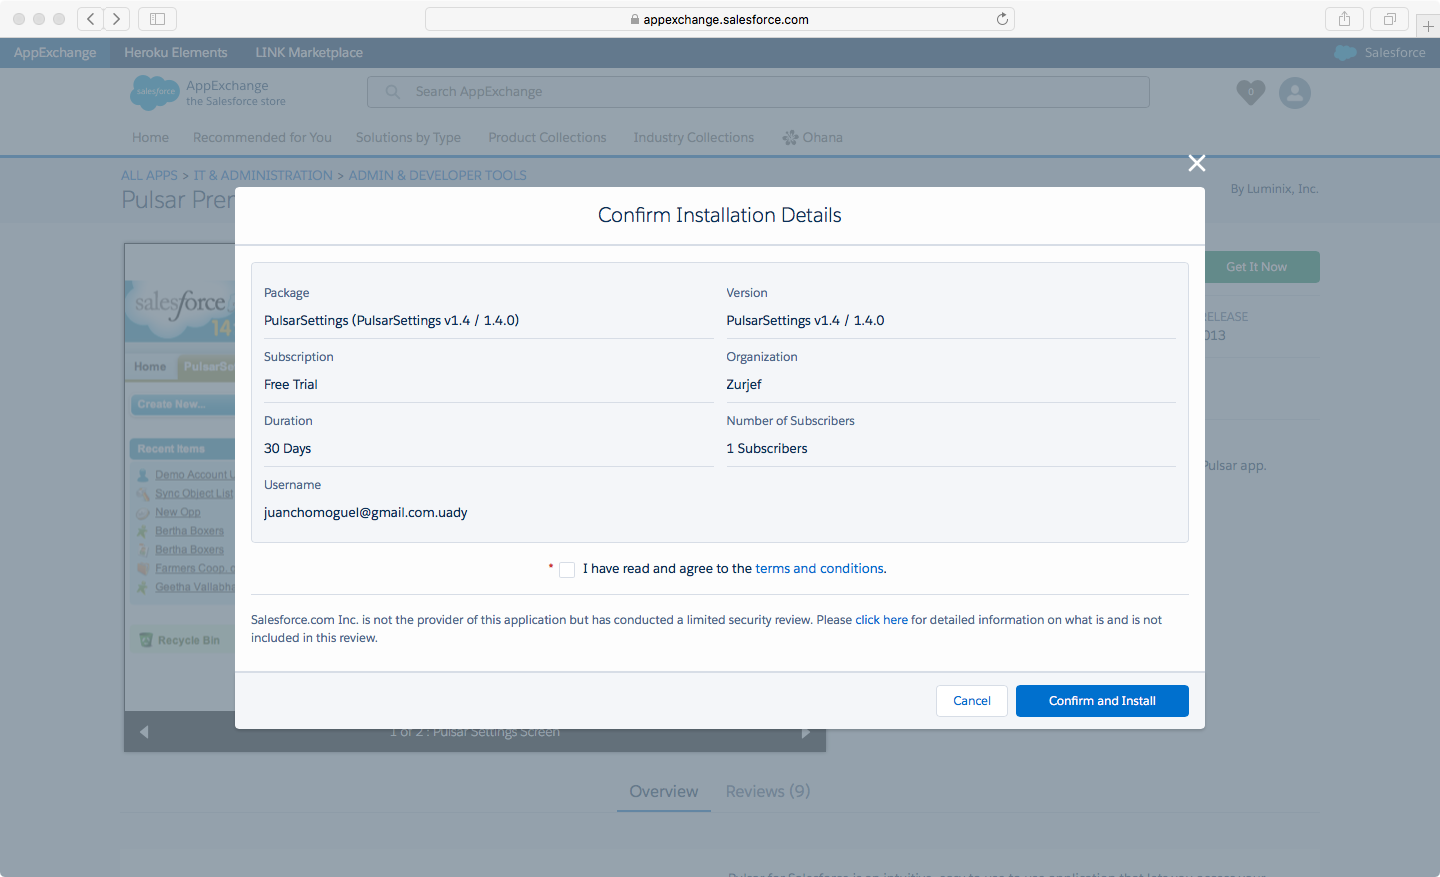
- Choose if you want to install Pulsar in Production or in a Sandbox

- Agree the Salesforce terms and conditions
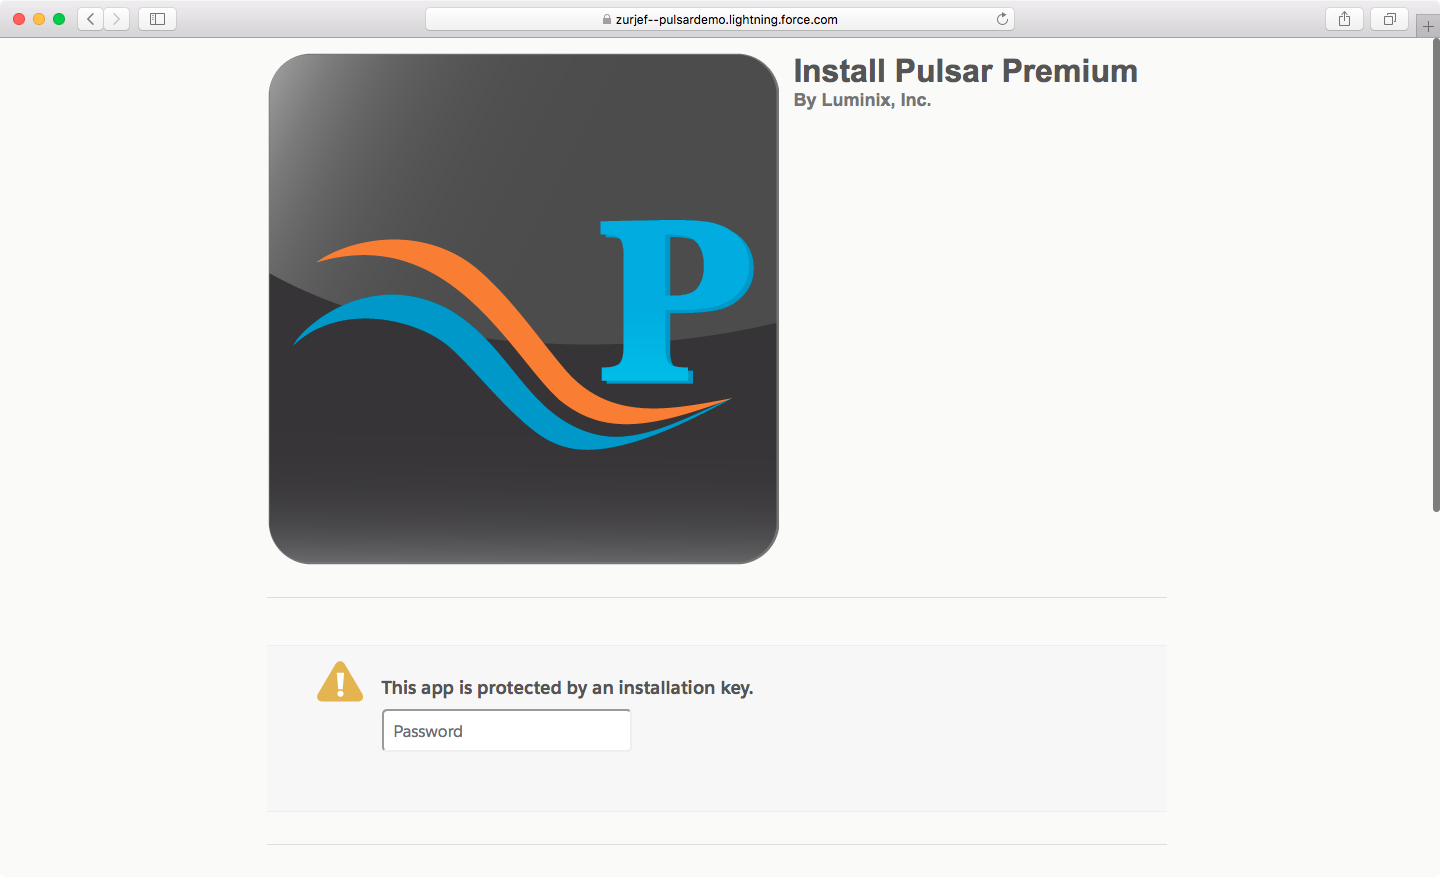
- In order to continue the installation you need to type the installation Key.
The installation key is “Pulsar” without the quotes
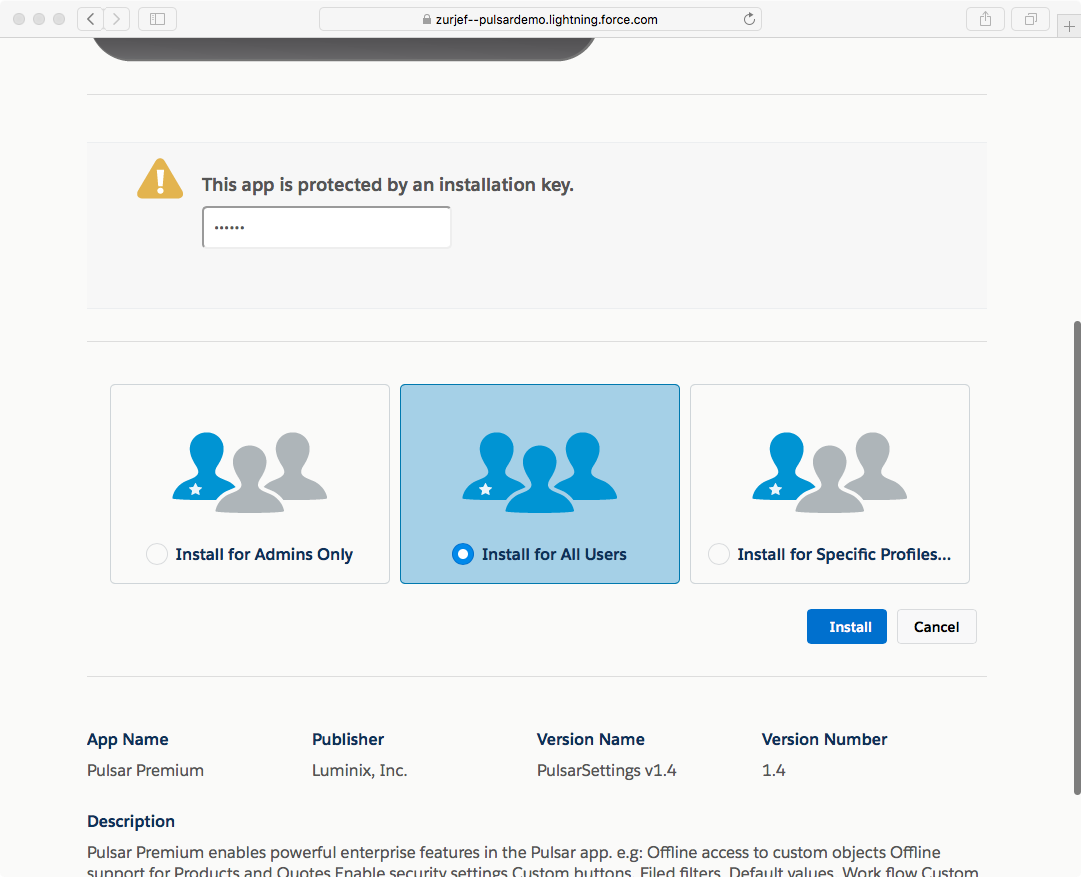
- Choose the installation option
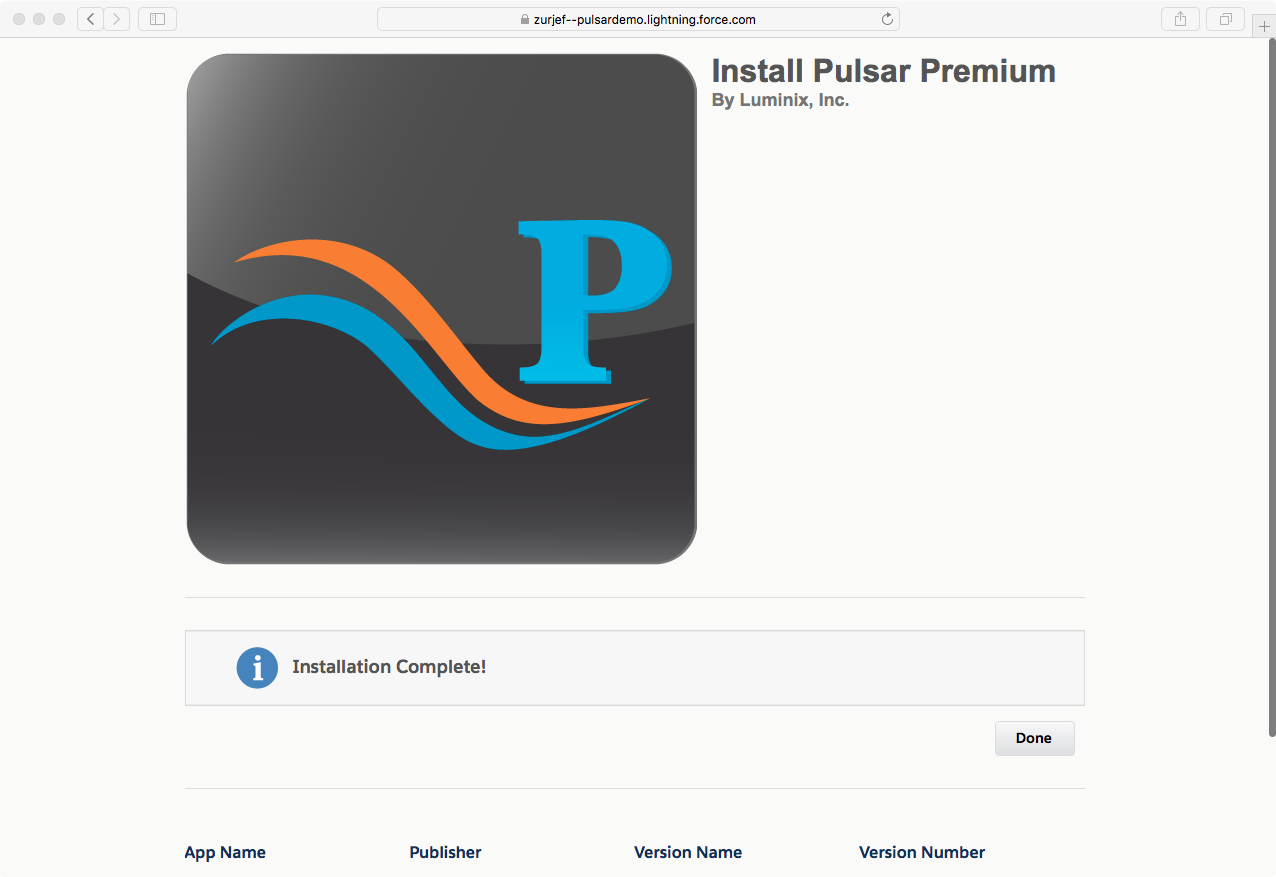
The installation process will start
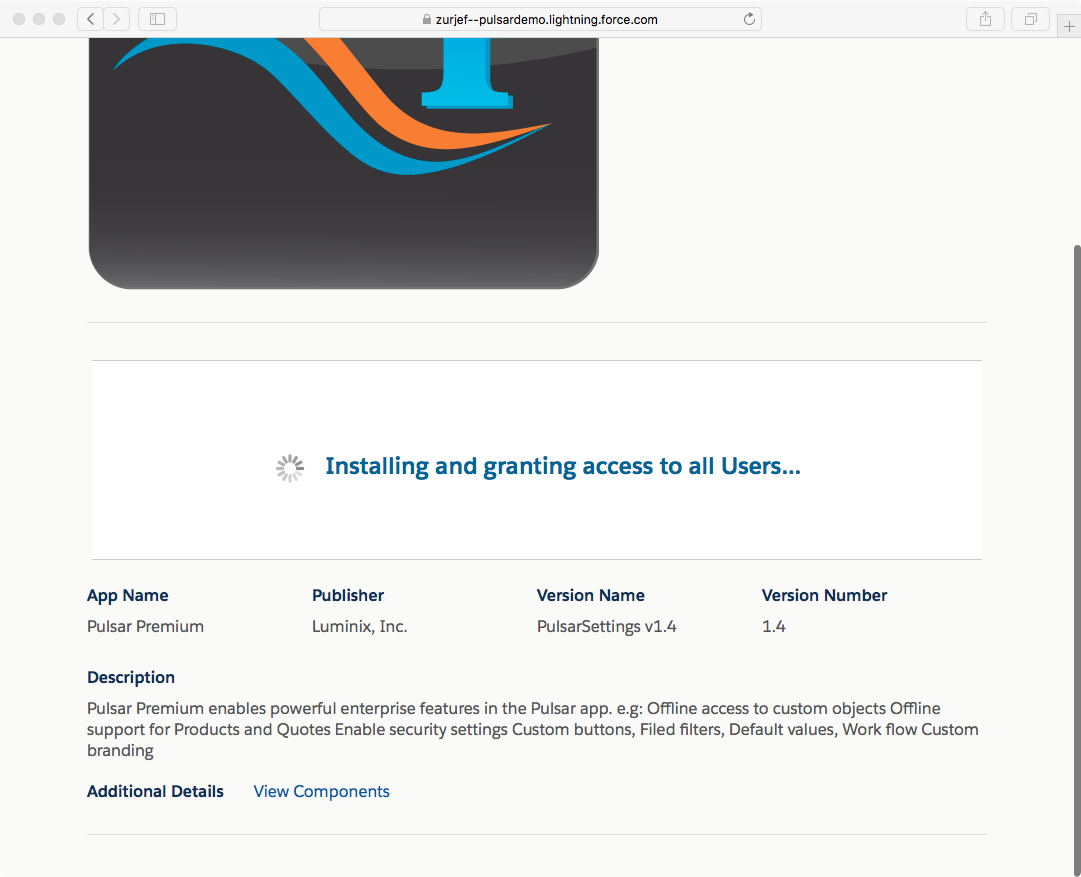
If the installation is a success, you will see the next message
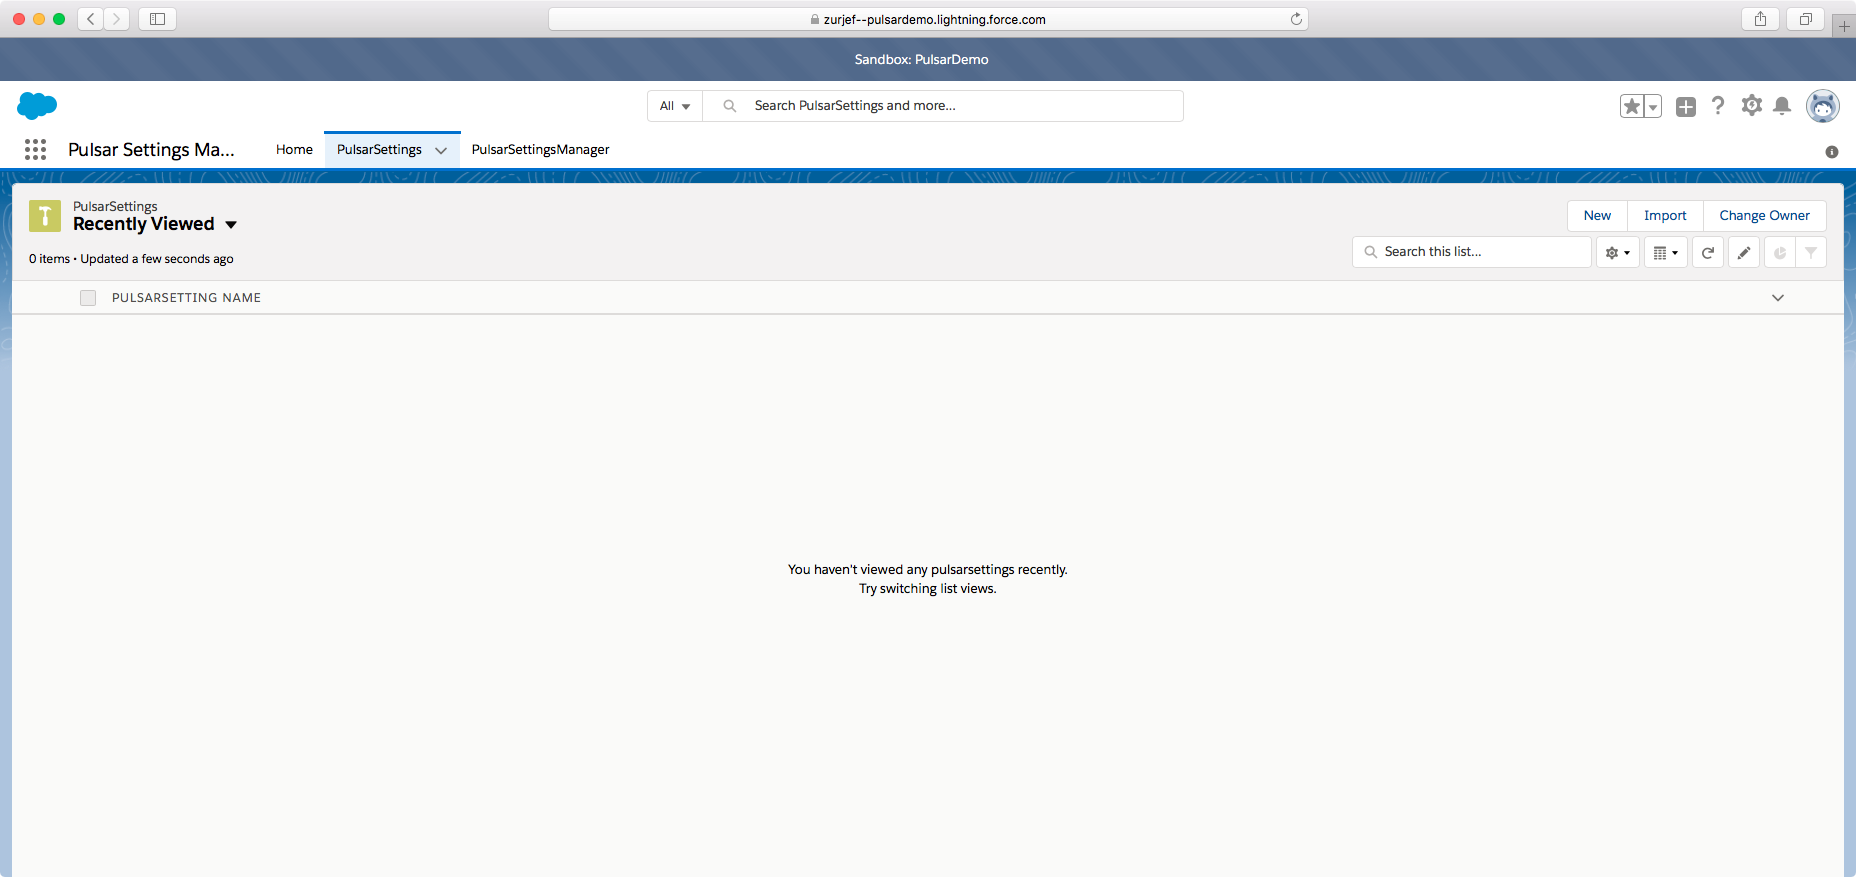
- Explore the pulsar Setting app
You will get a new app in your org, with this app you can add settings to pulsar in order to customize pulsar like you want.
Configuring your app
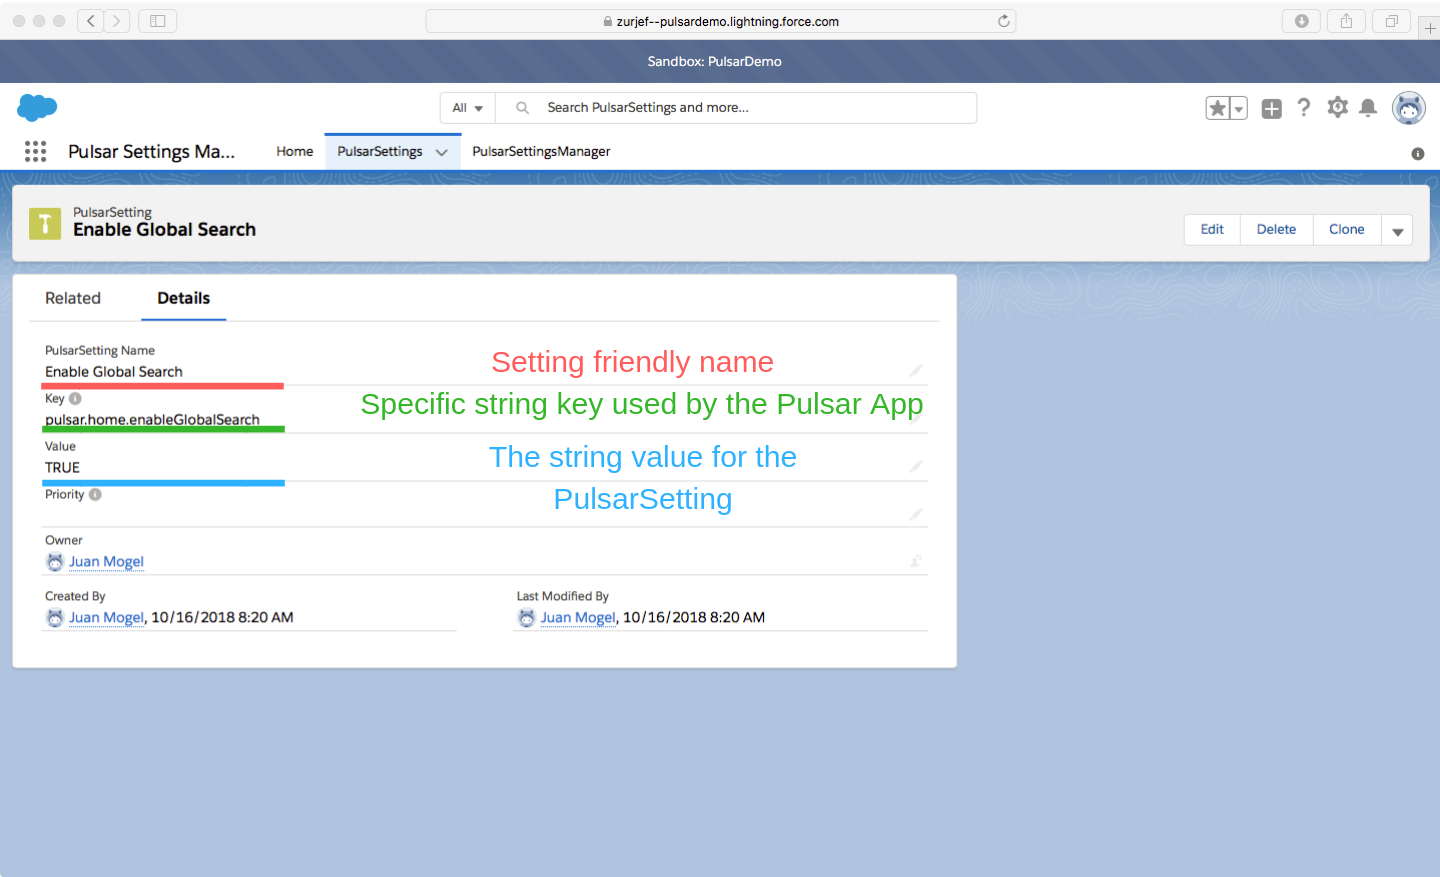
In the Pulsar Settings Manager you can add settings to Pulsar, when you create a PulsarSetting record this is read by the app and automatically configure itself to deliver the functionality required to run offline.
This object always needs name,key and value.
You can find many Pulsar Settings in the Pulsar’s documentation.
There is an example:
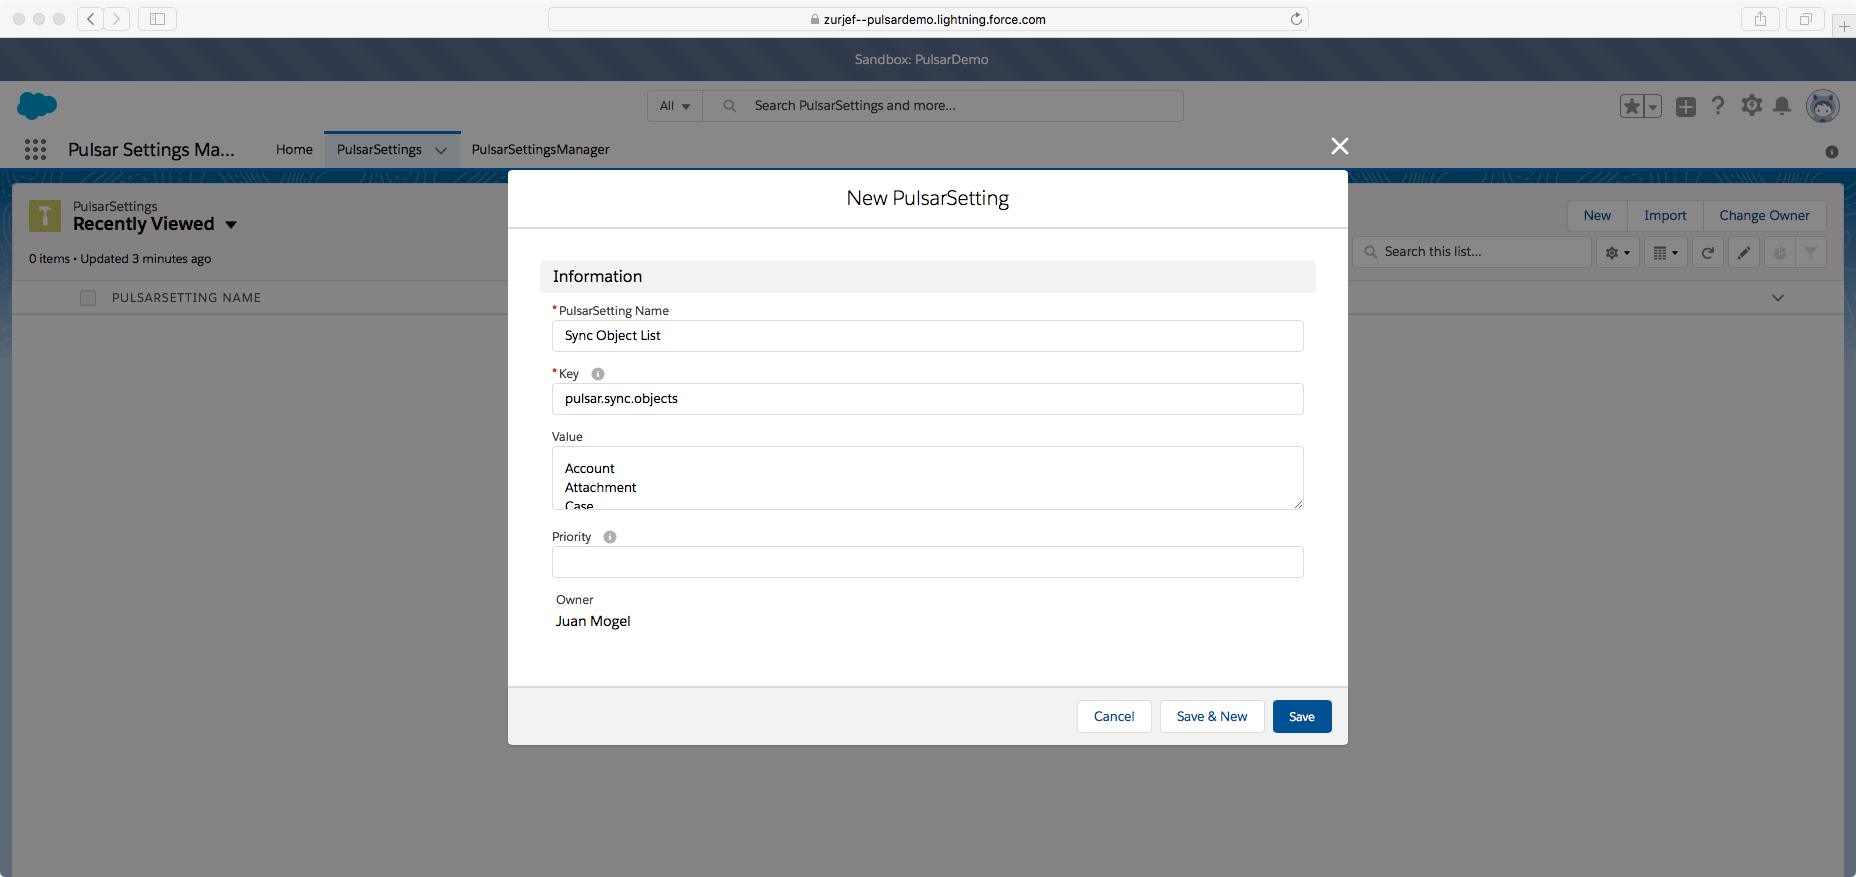
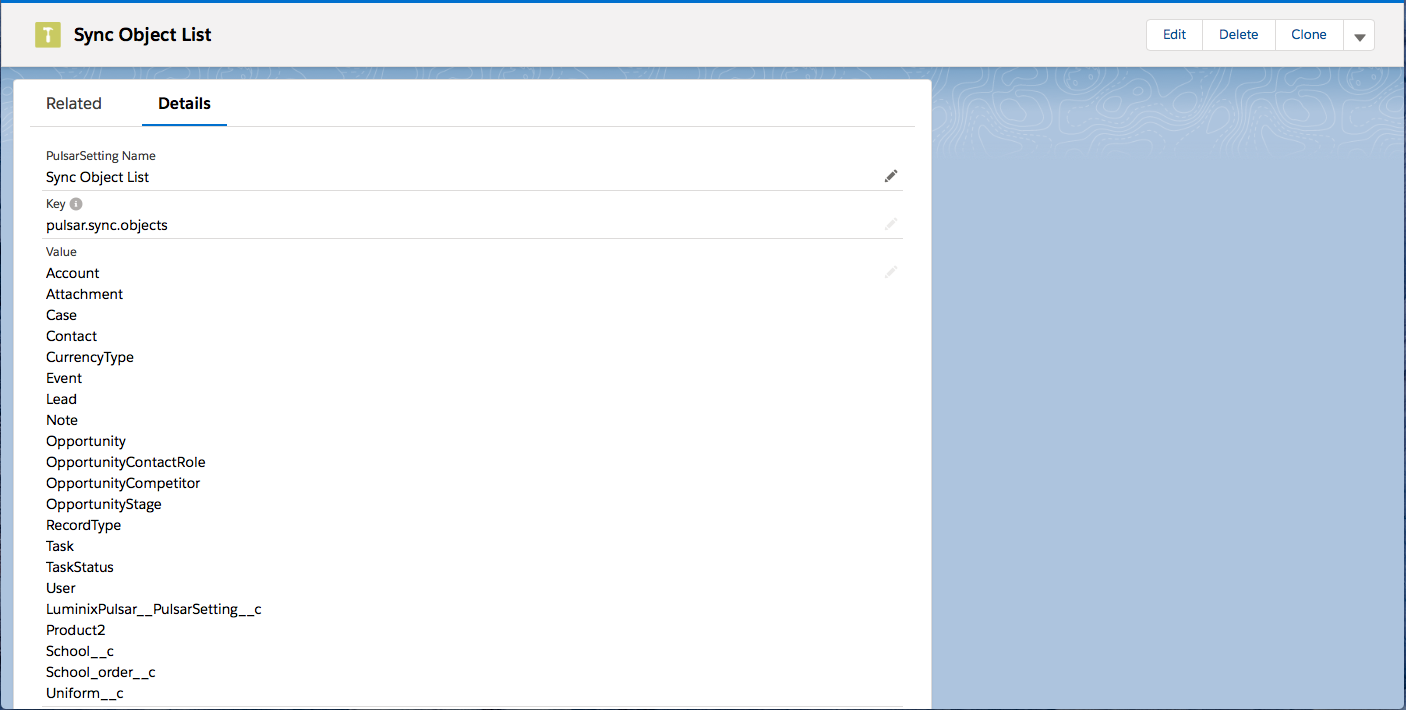
Now we are going to add some basic Pulsar Settings.
This one is used for say which objects are going to be refresh every time that the information is synchronized
Pulsar Installation on mobiles or tablets.
You have now Pulsar in your Salesforce org but you can not start using salesforce offline until you install the app in your cell phone or tablet.
We are going to install the app in a IOS phone.
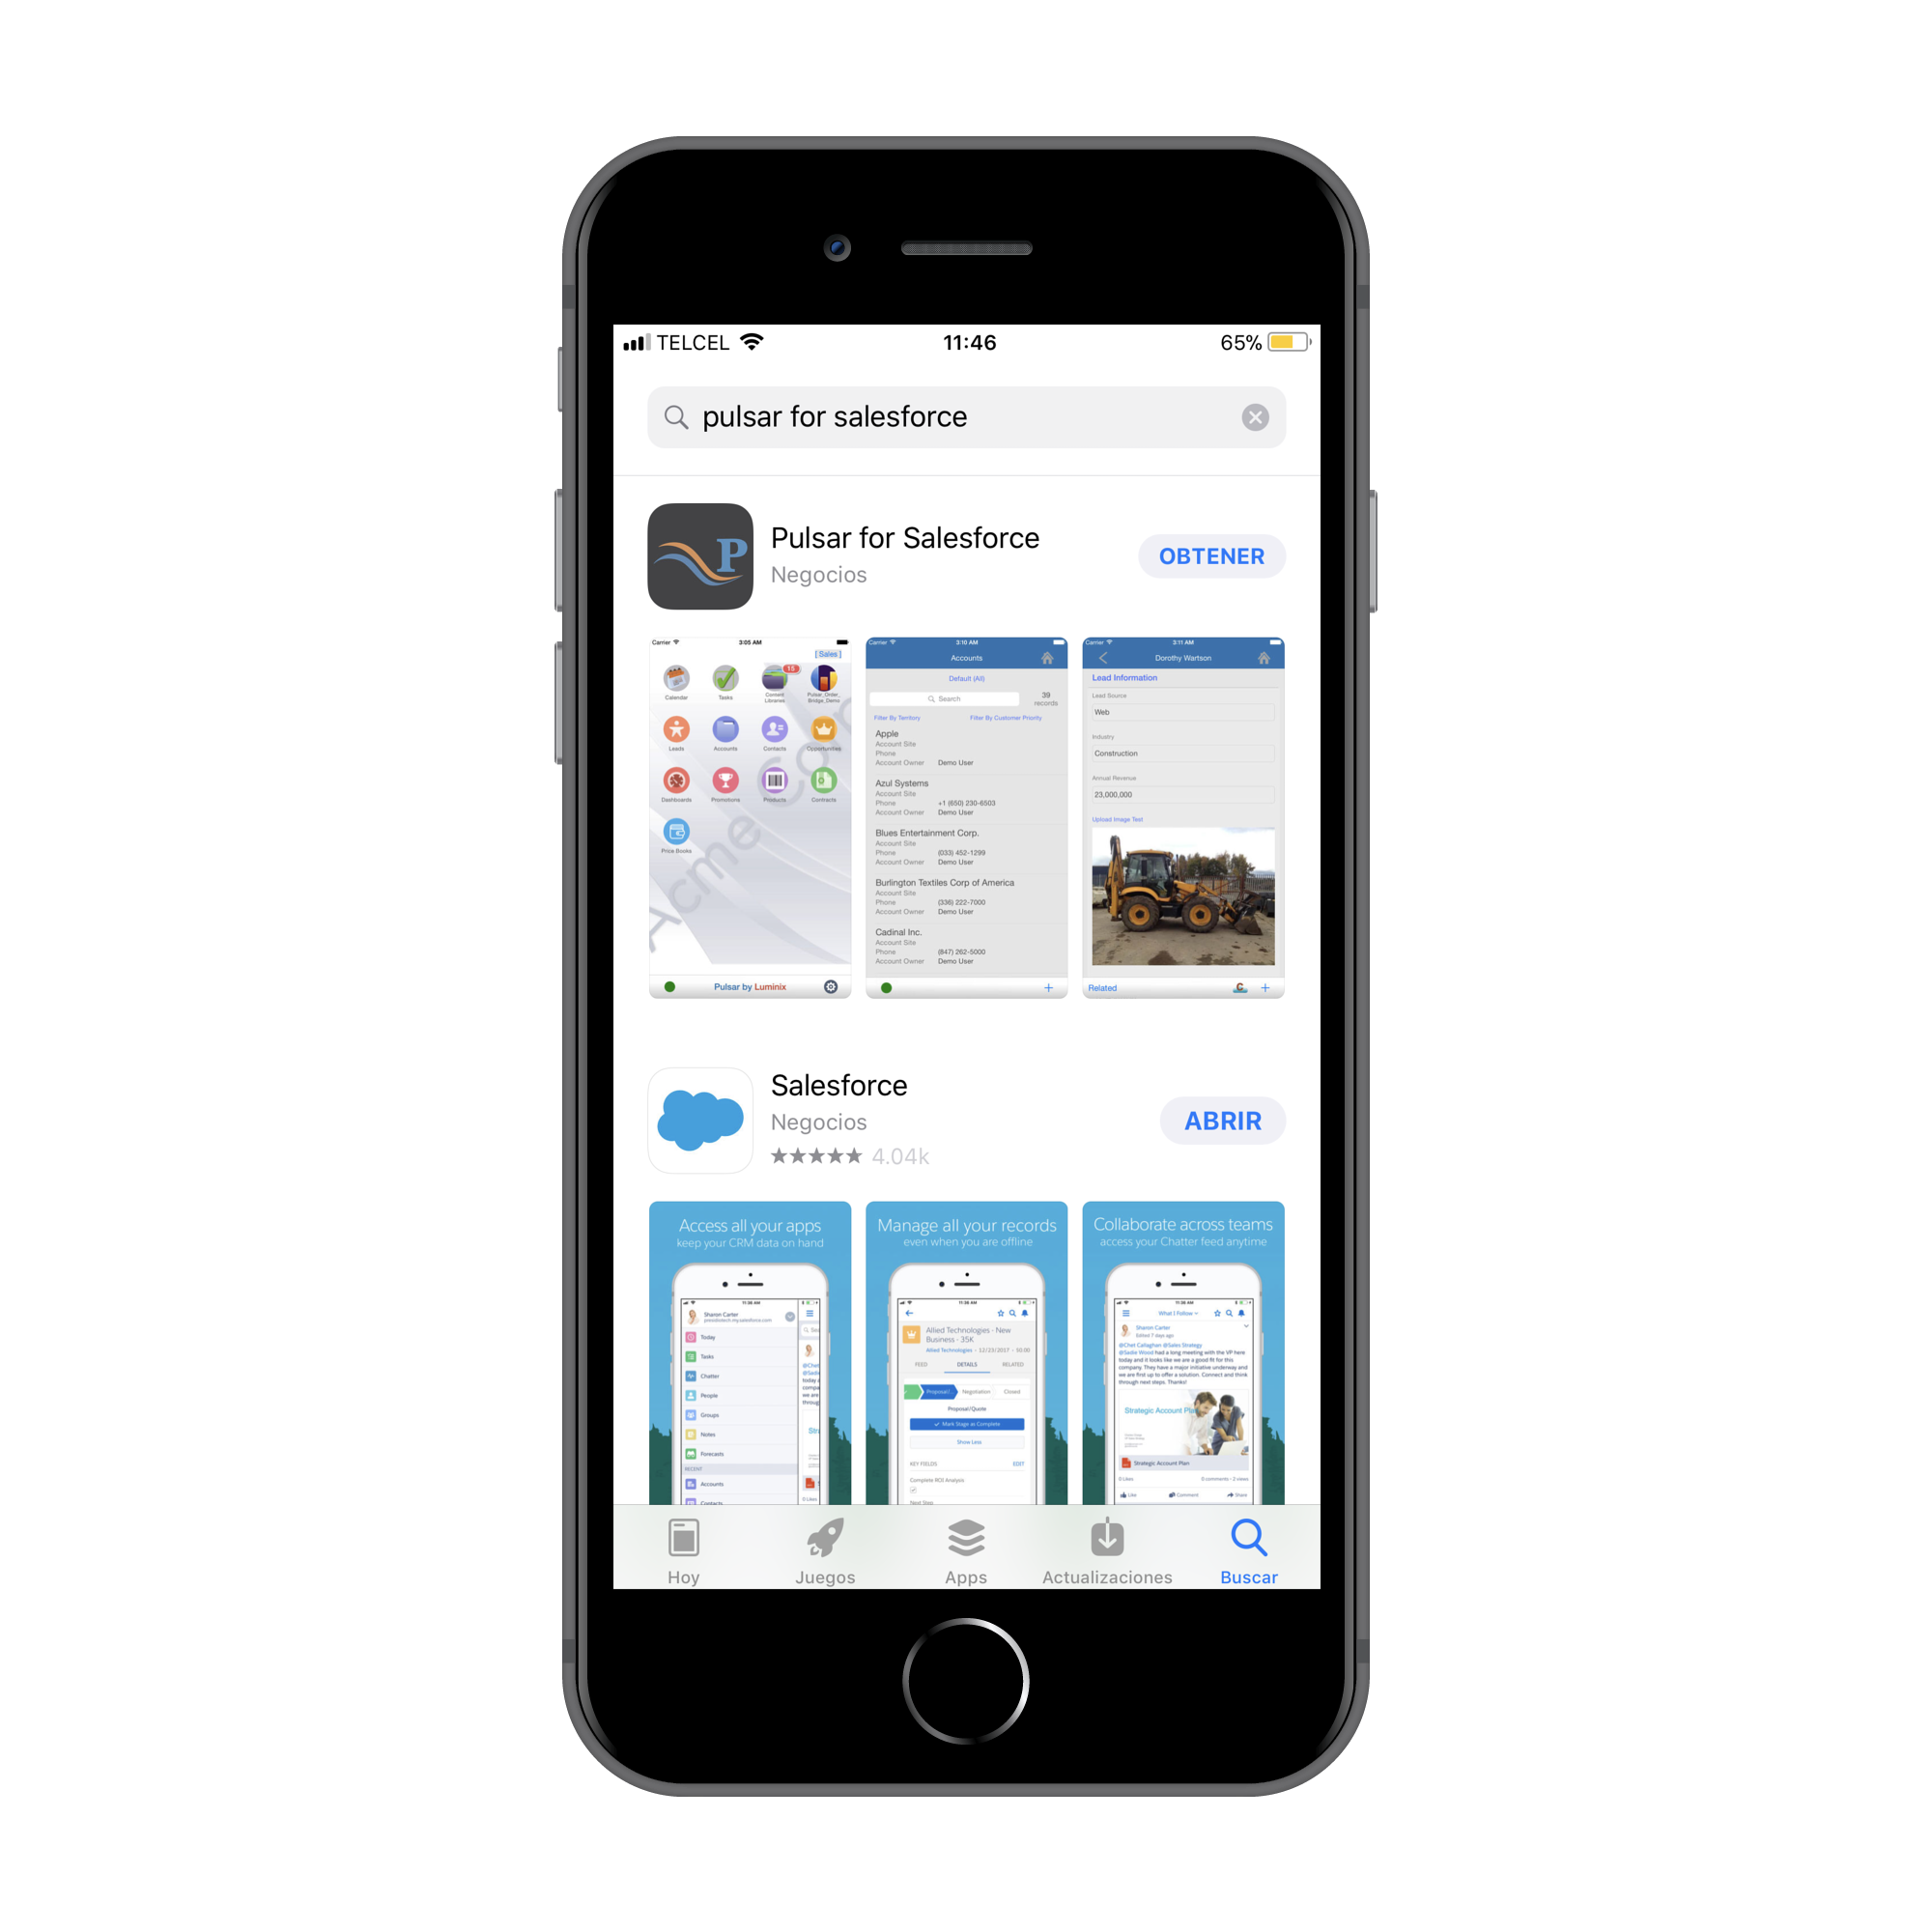
- Search pulsar for Salesforce in the App Store
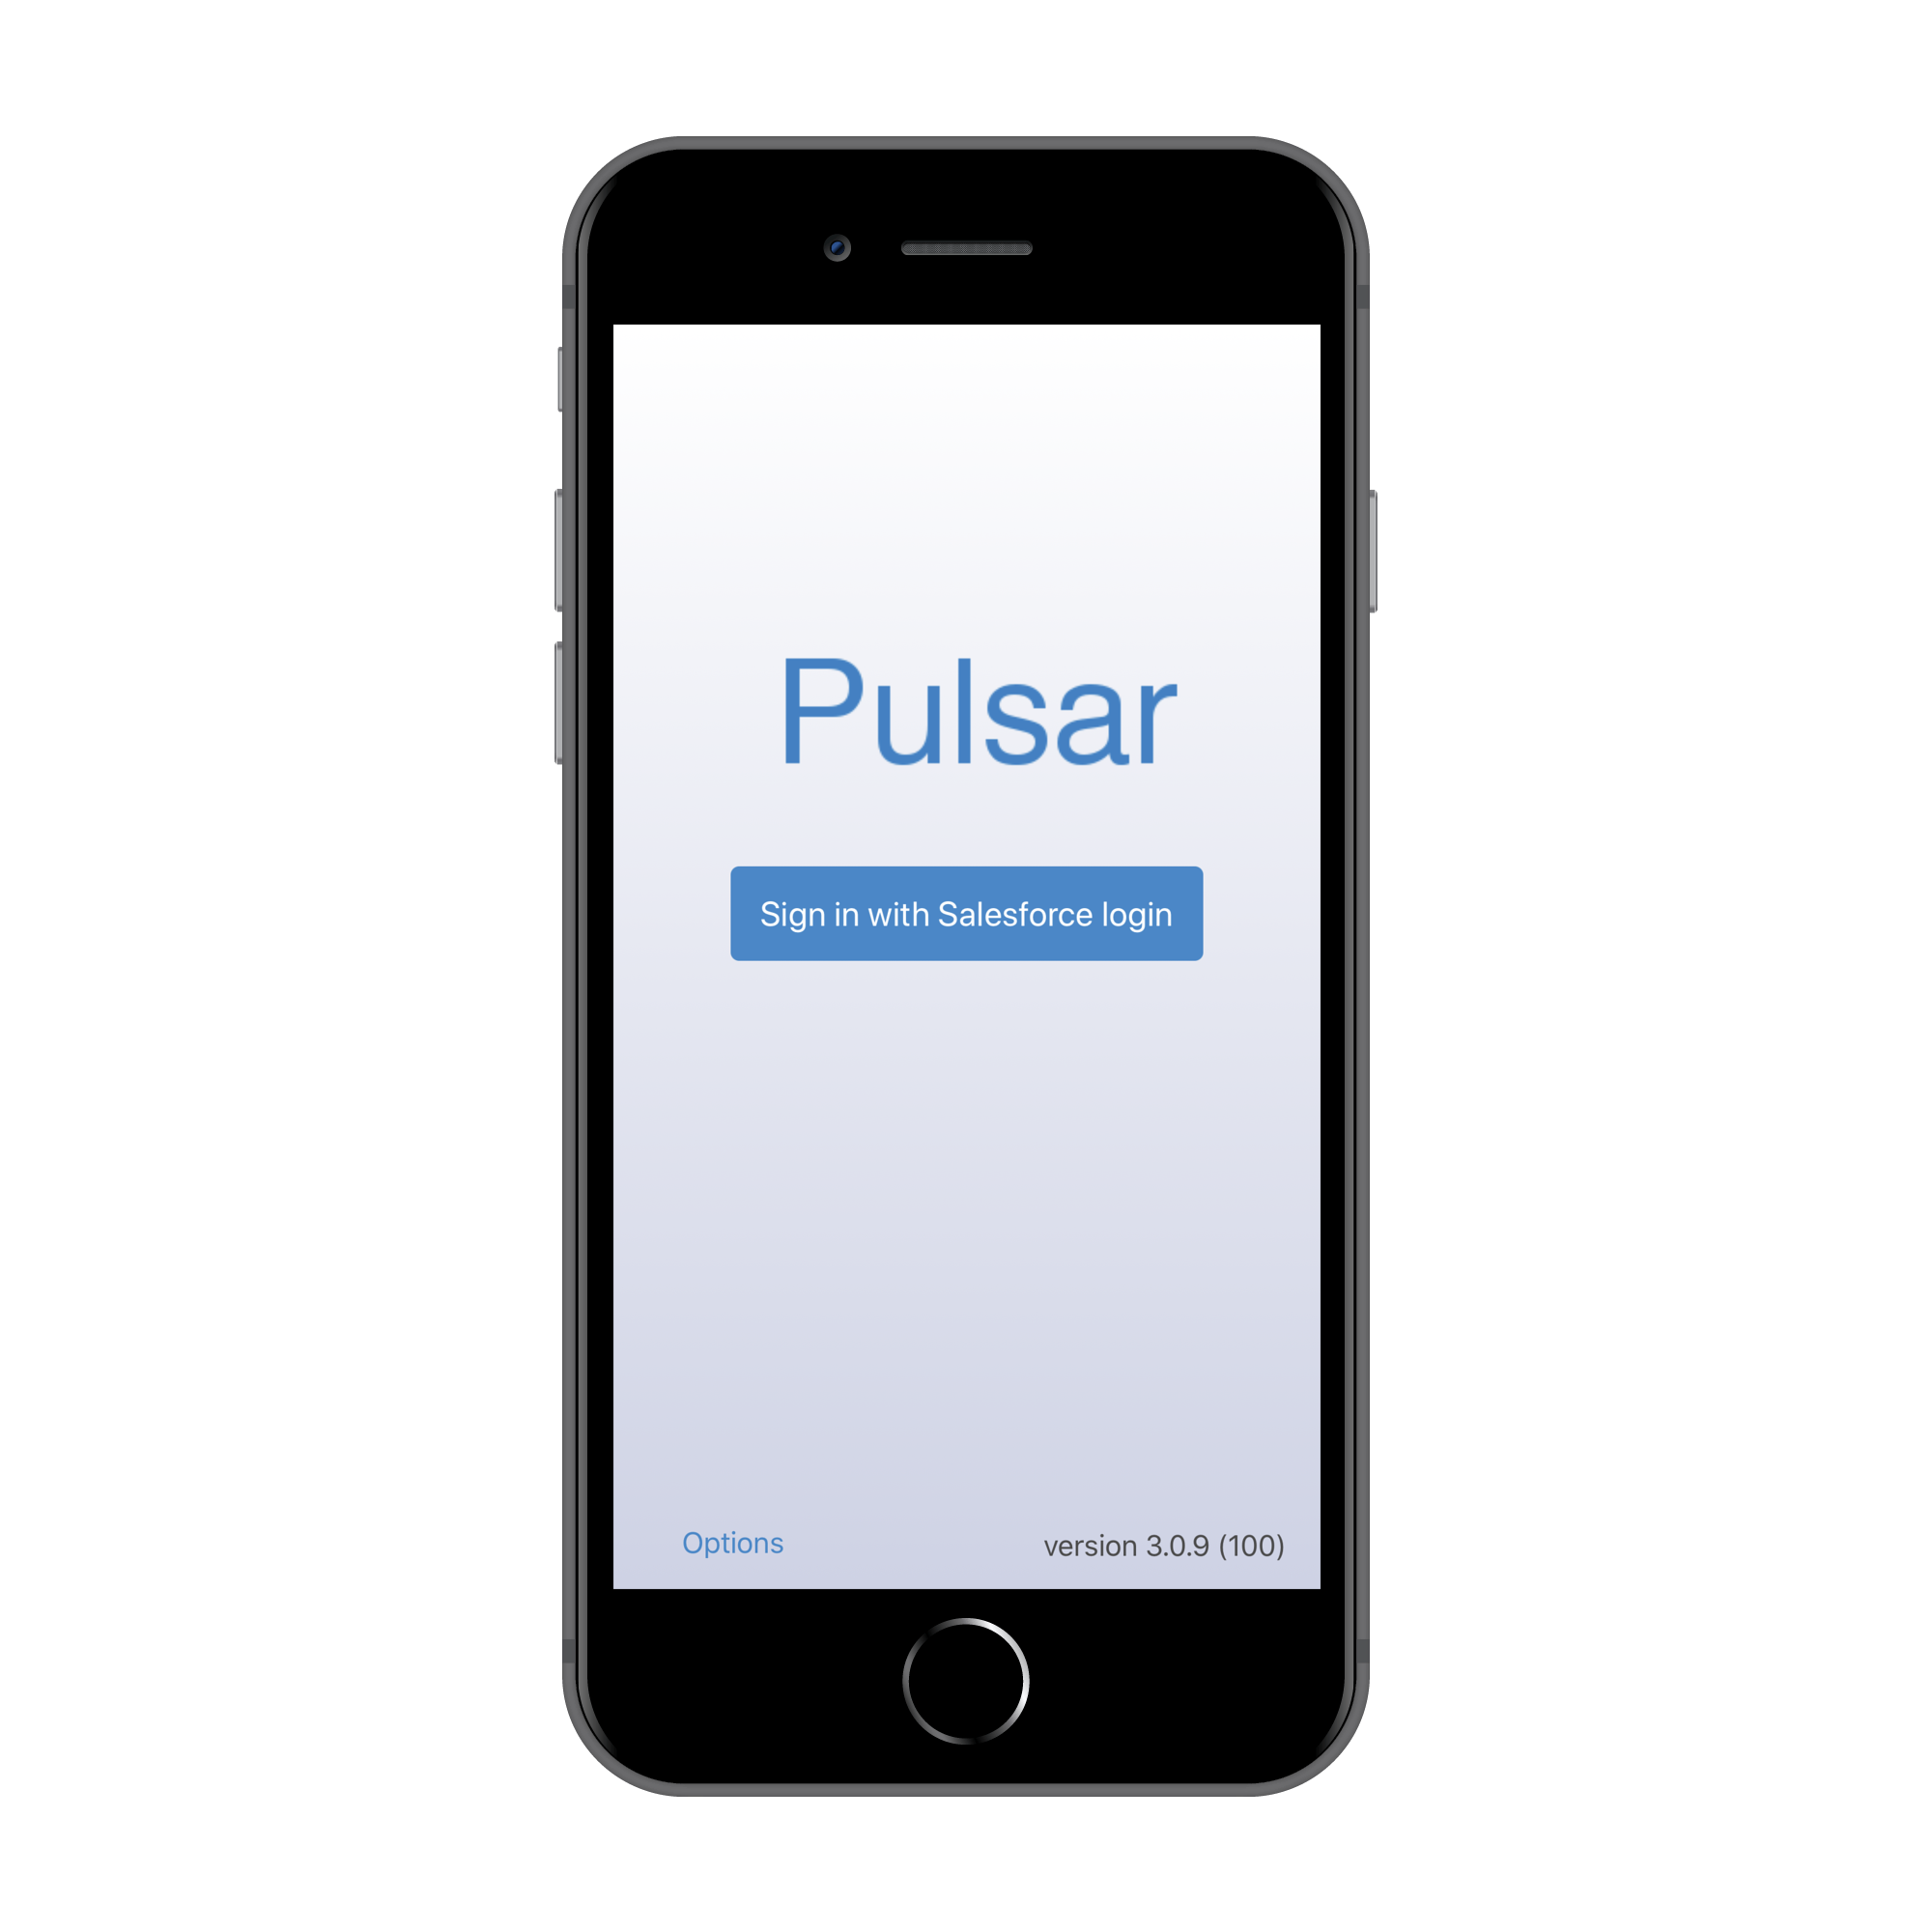
- Open the app
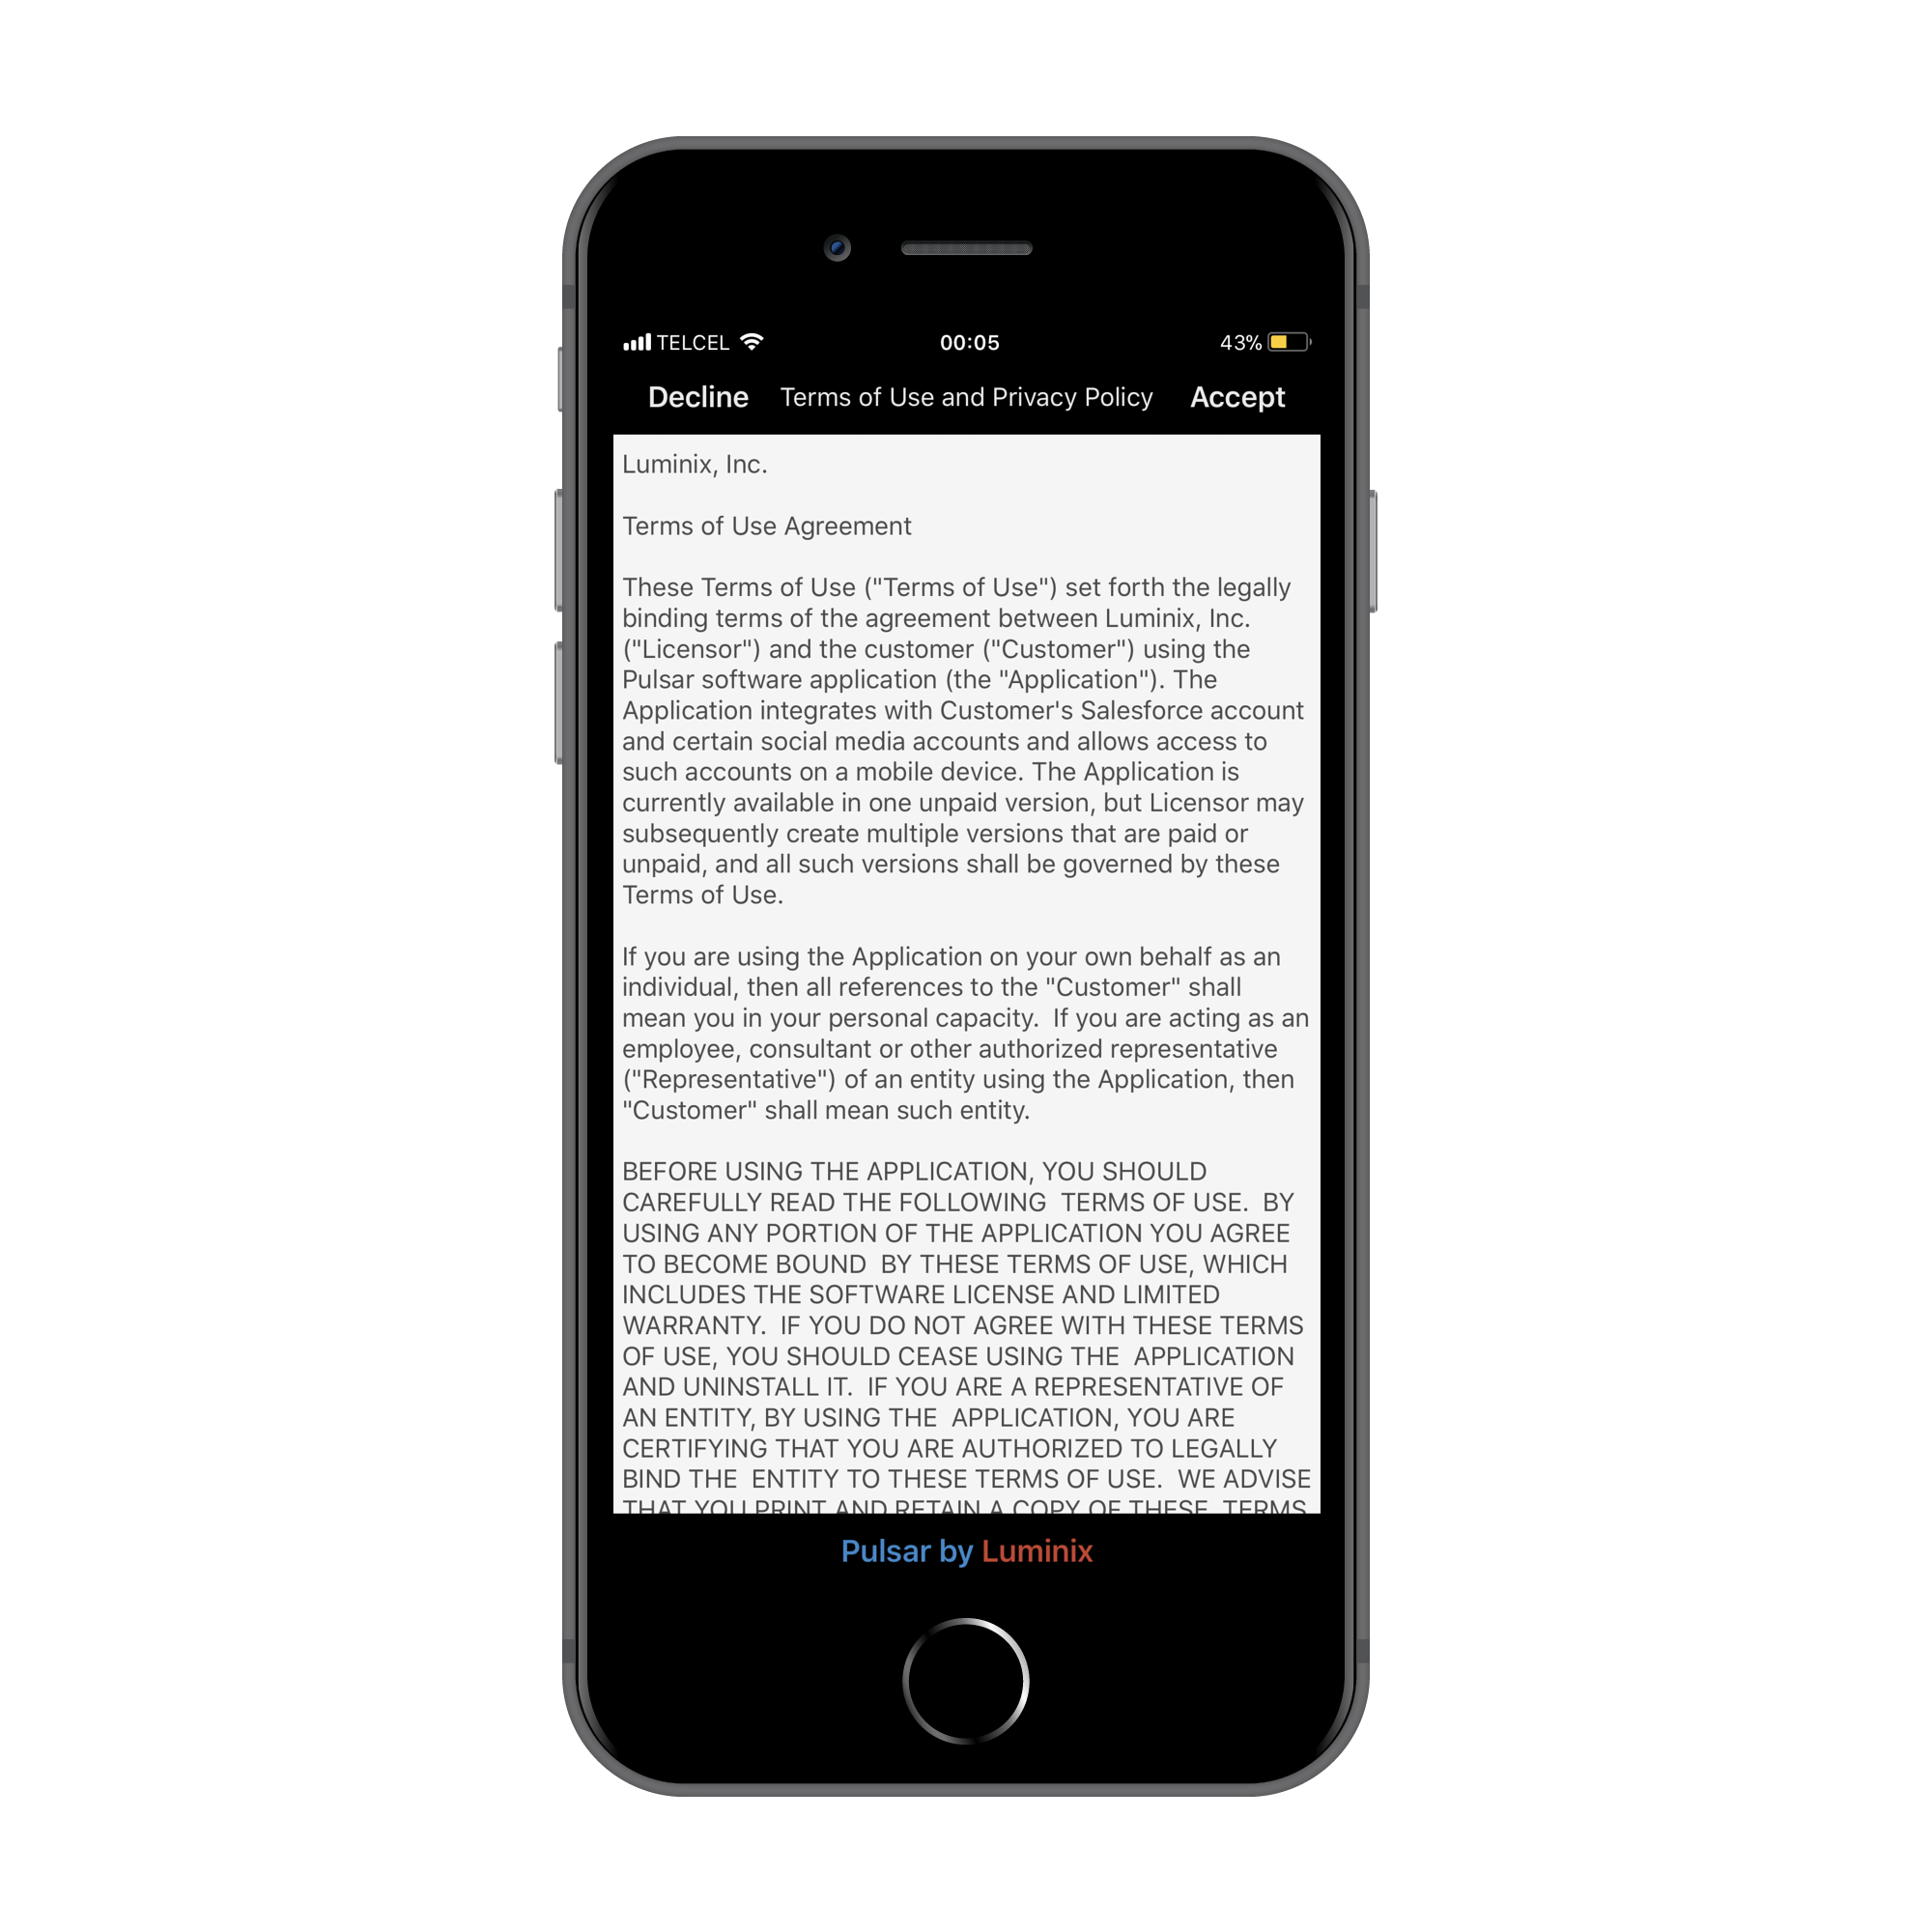
- Accept the terms of use
- Push the sign in button
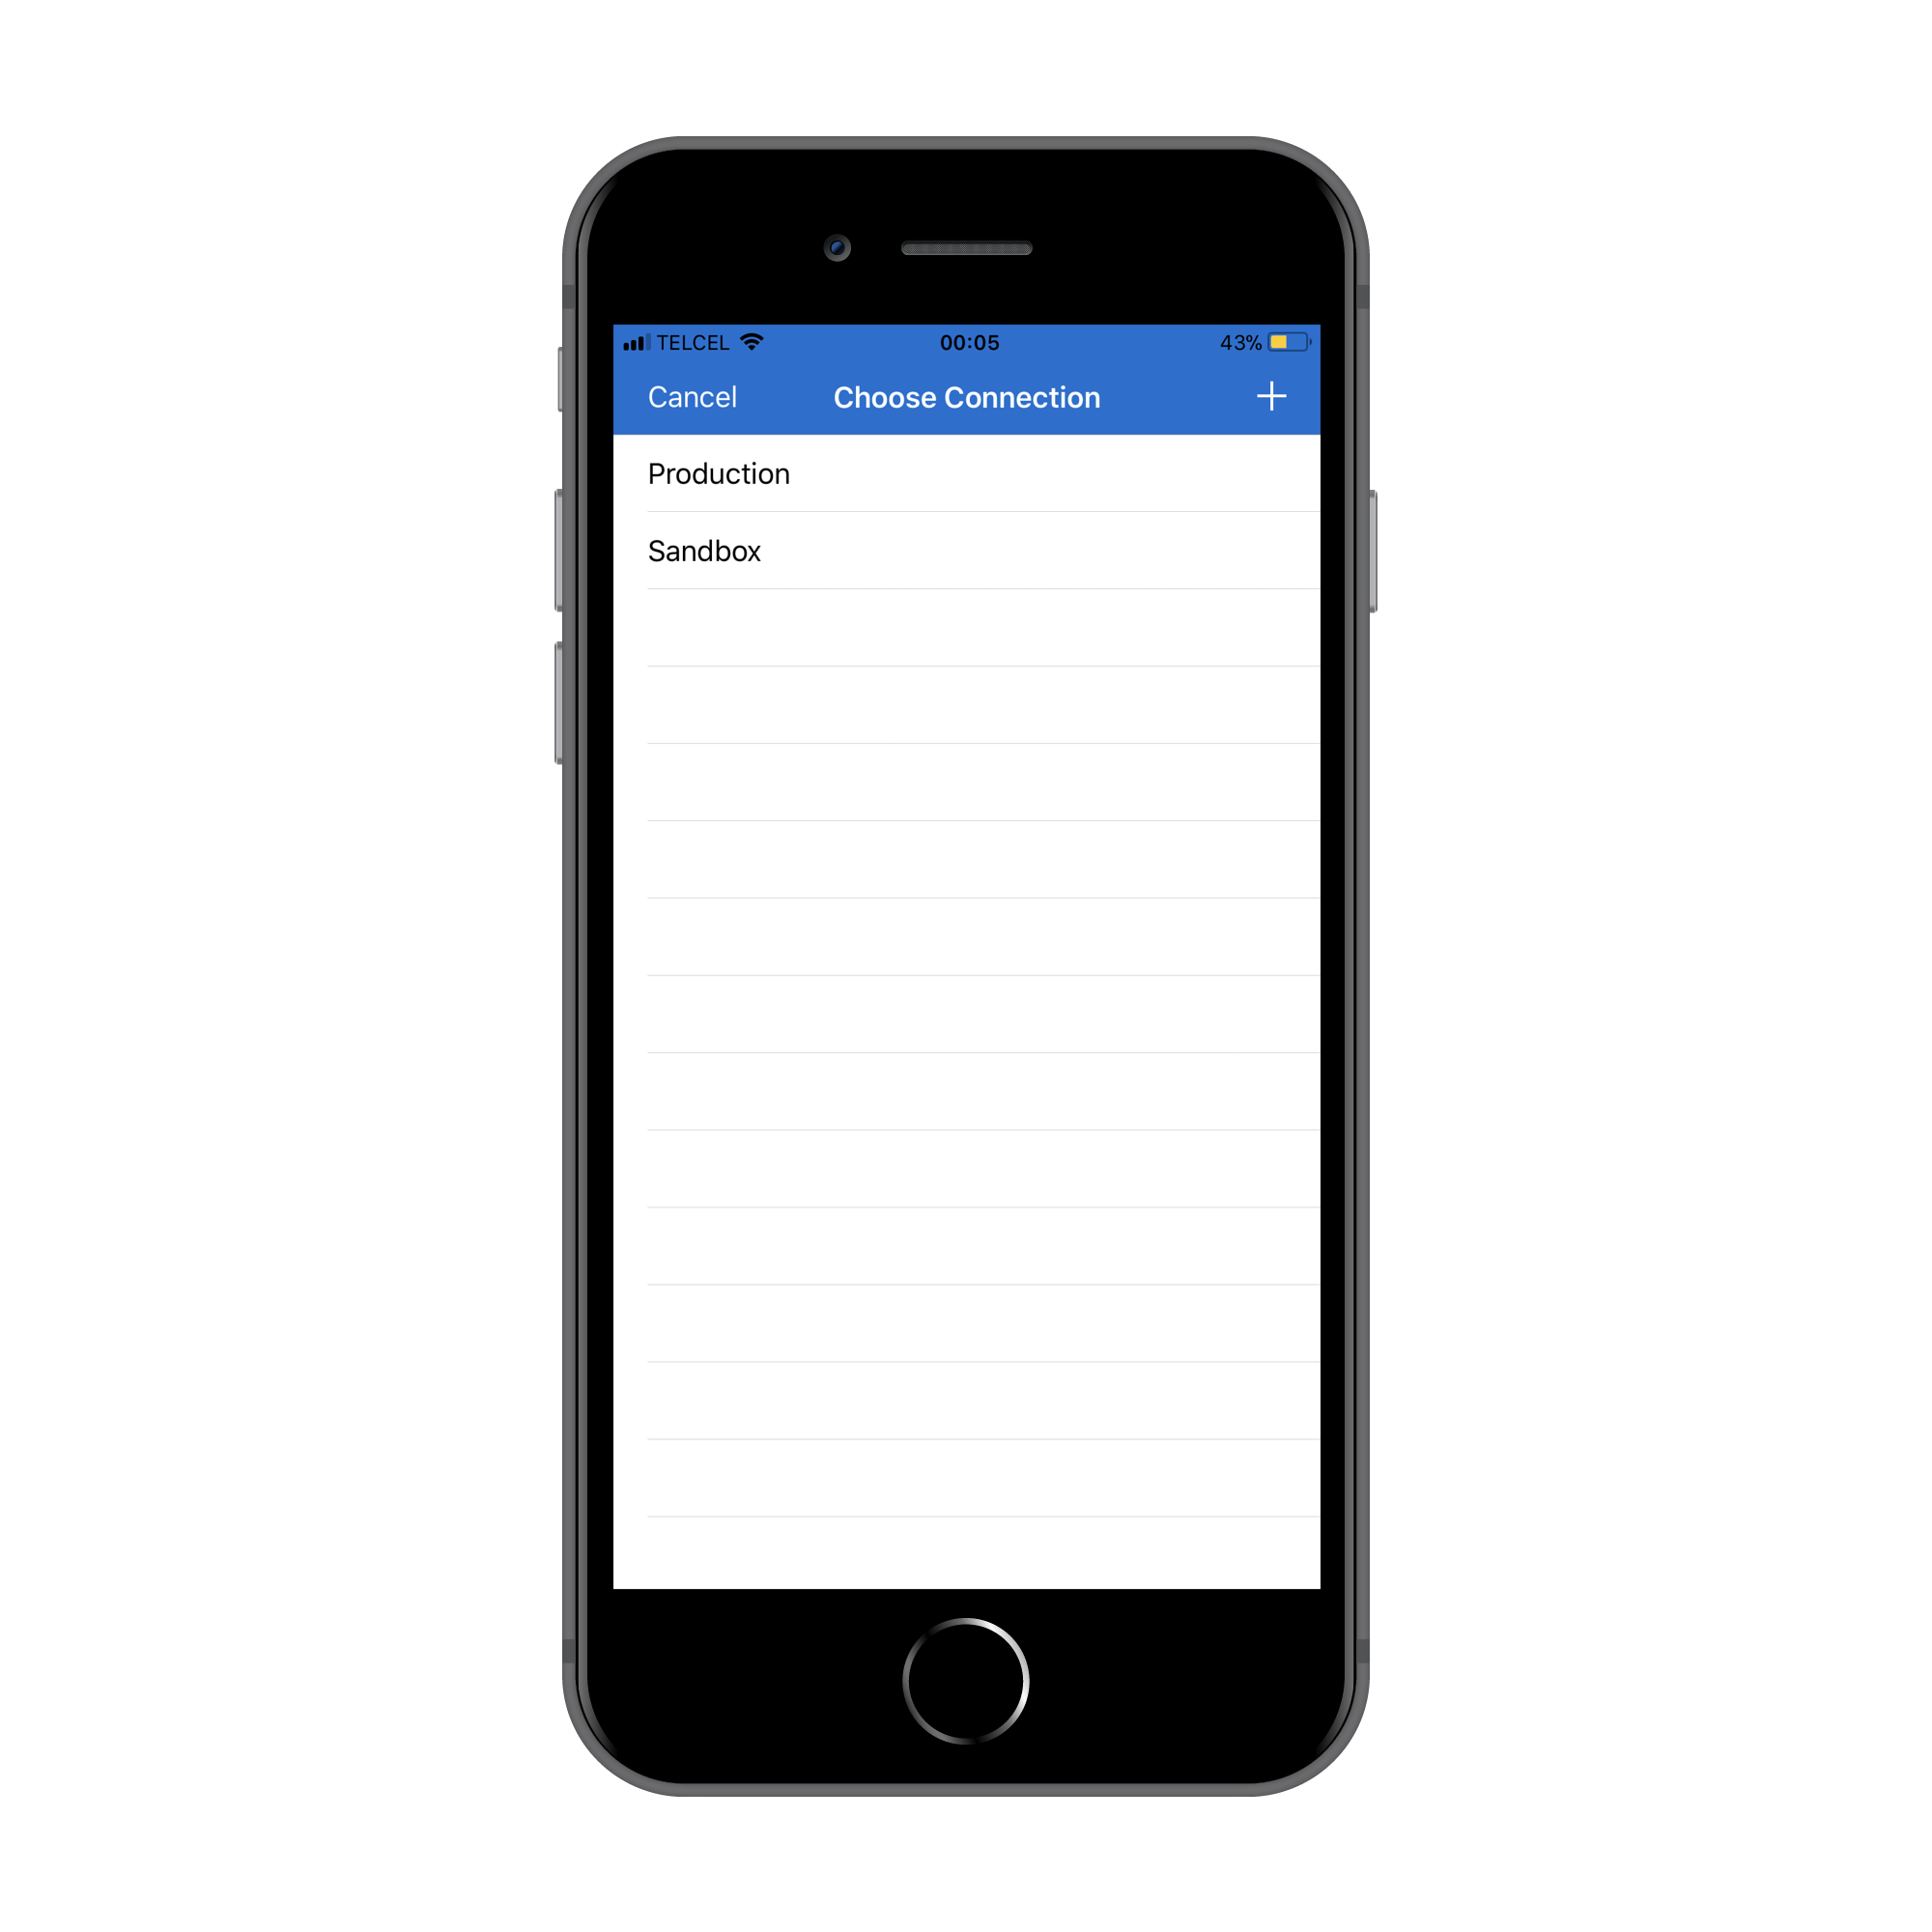
- Choose the type of connection that you want
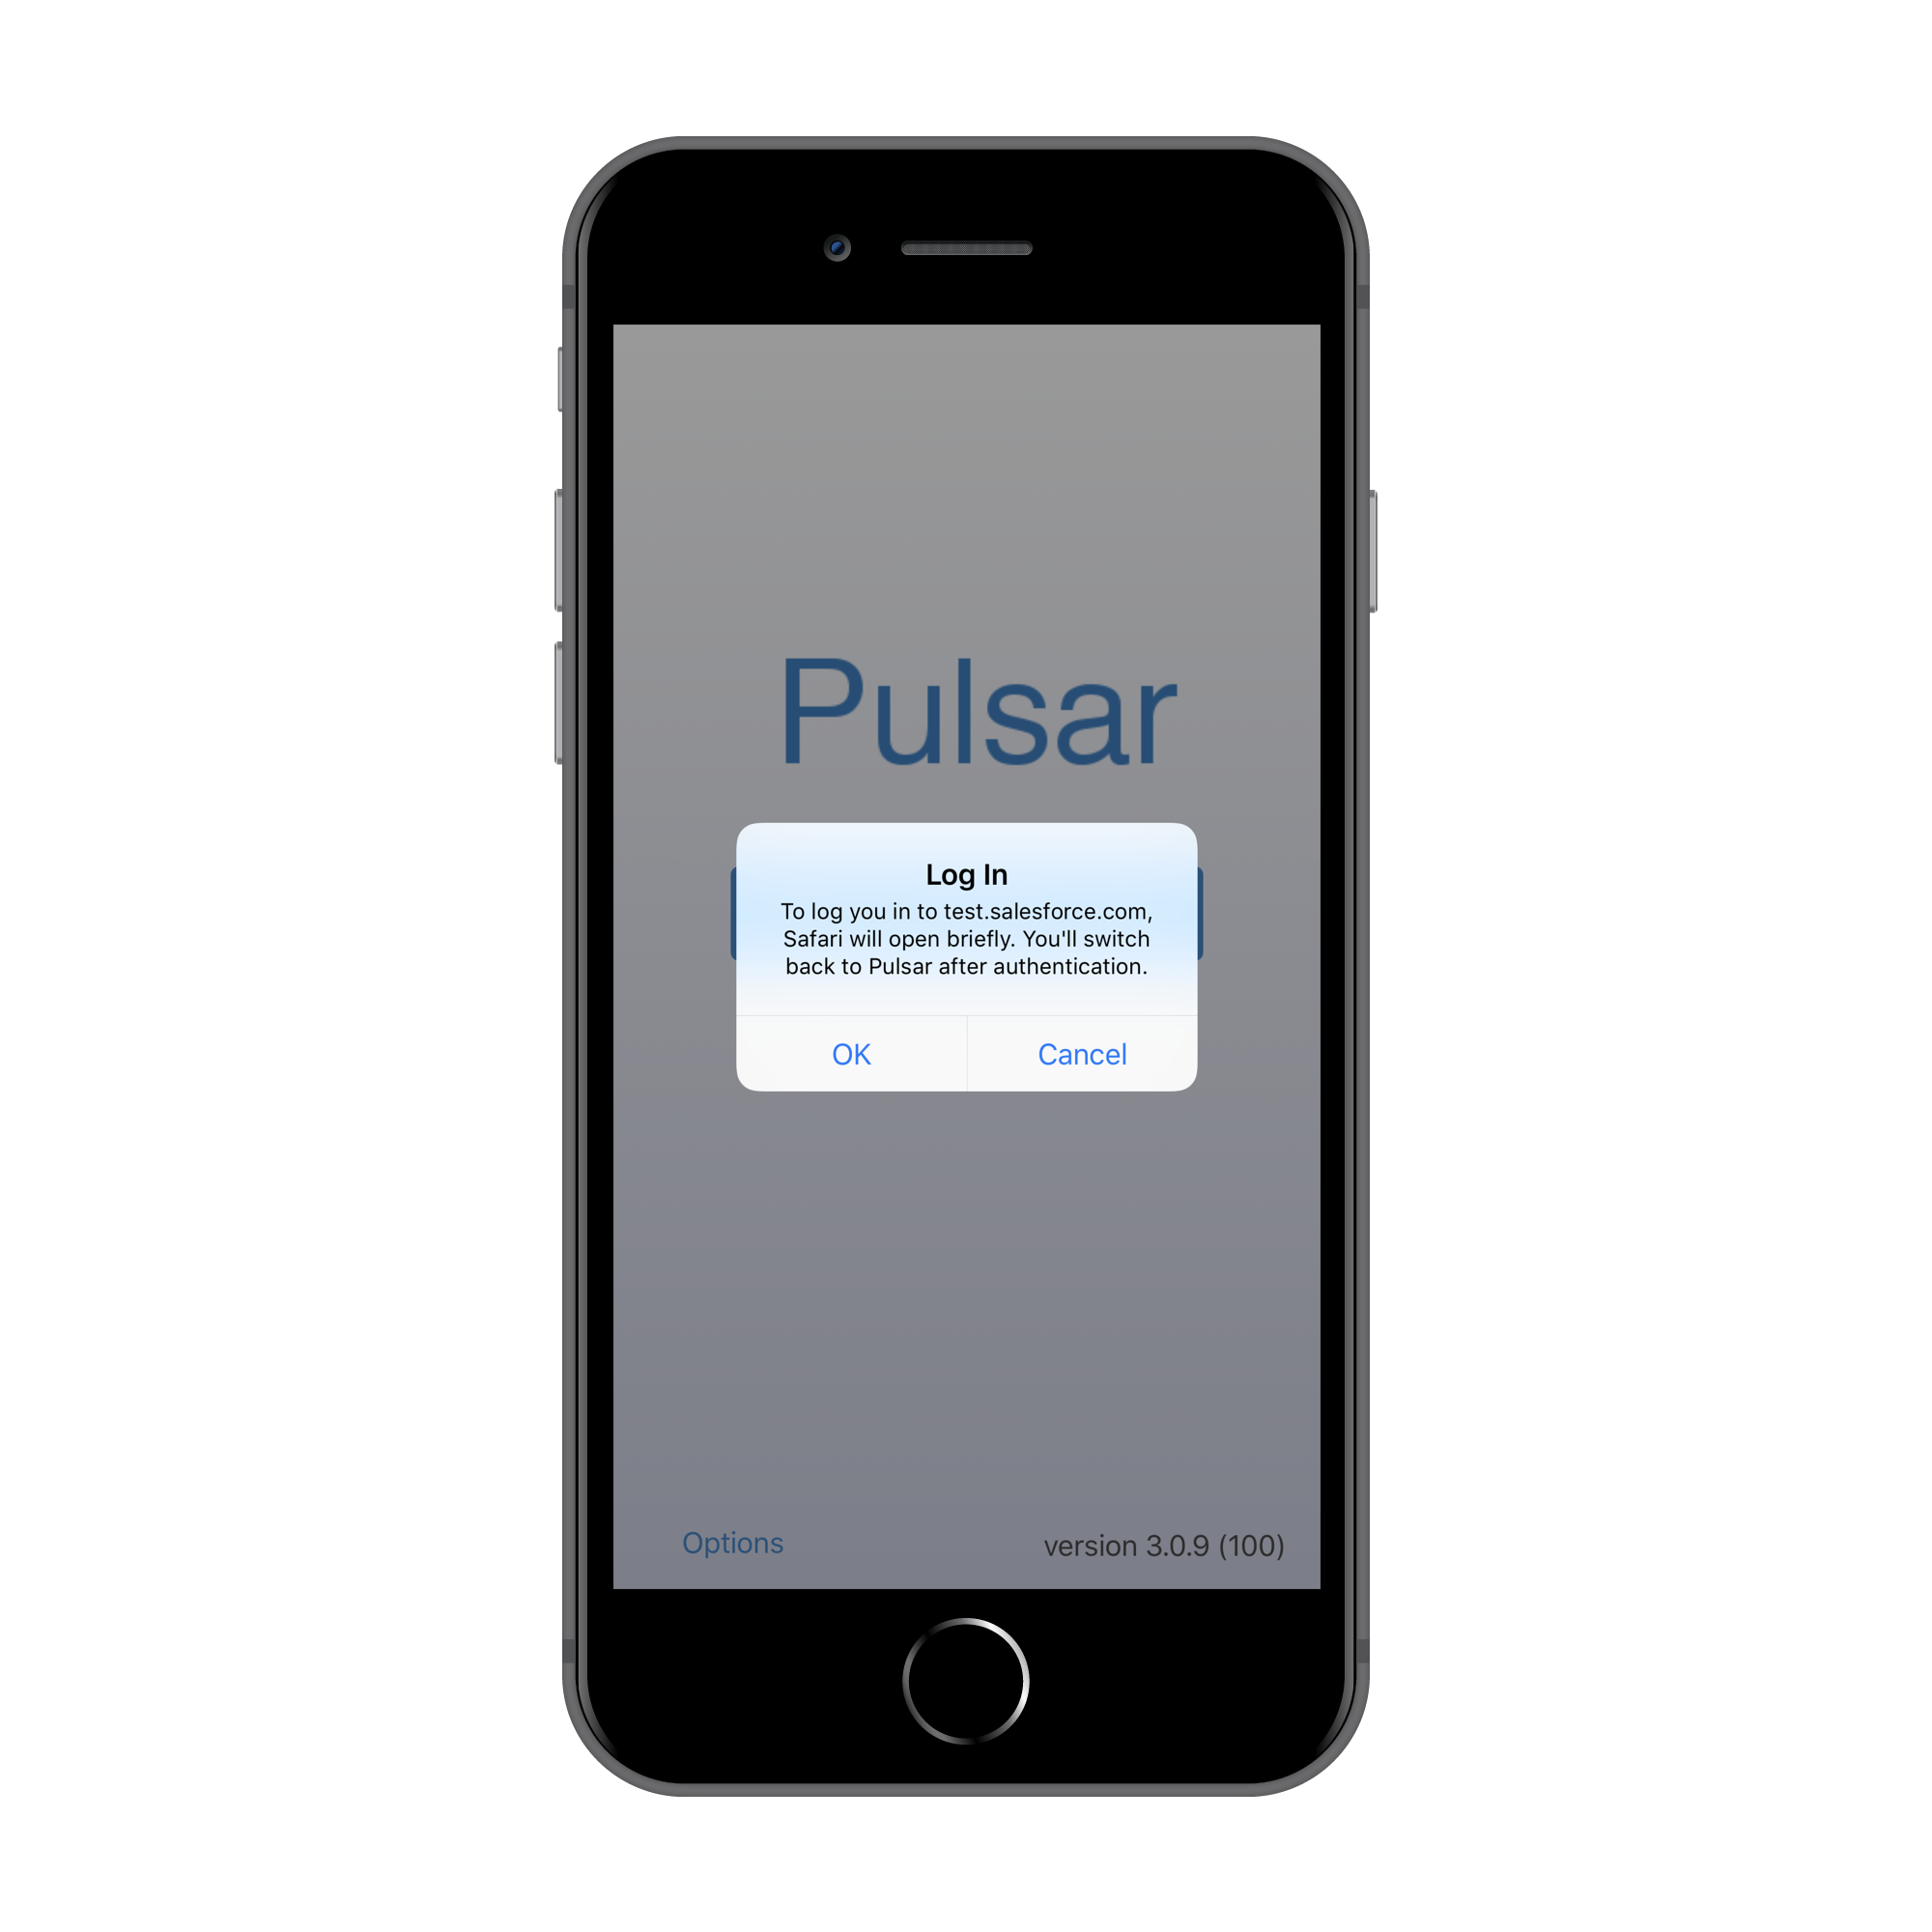
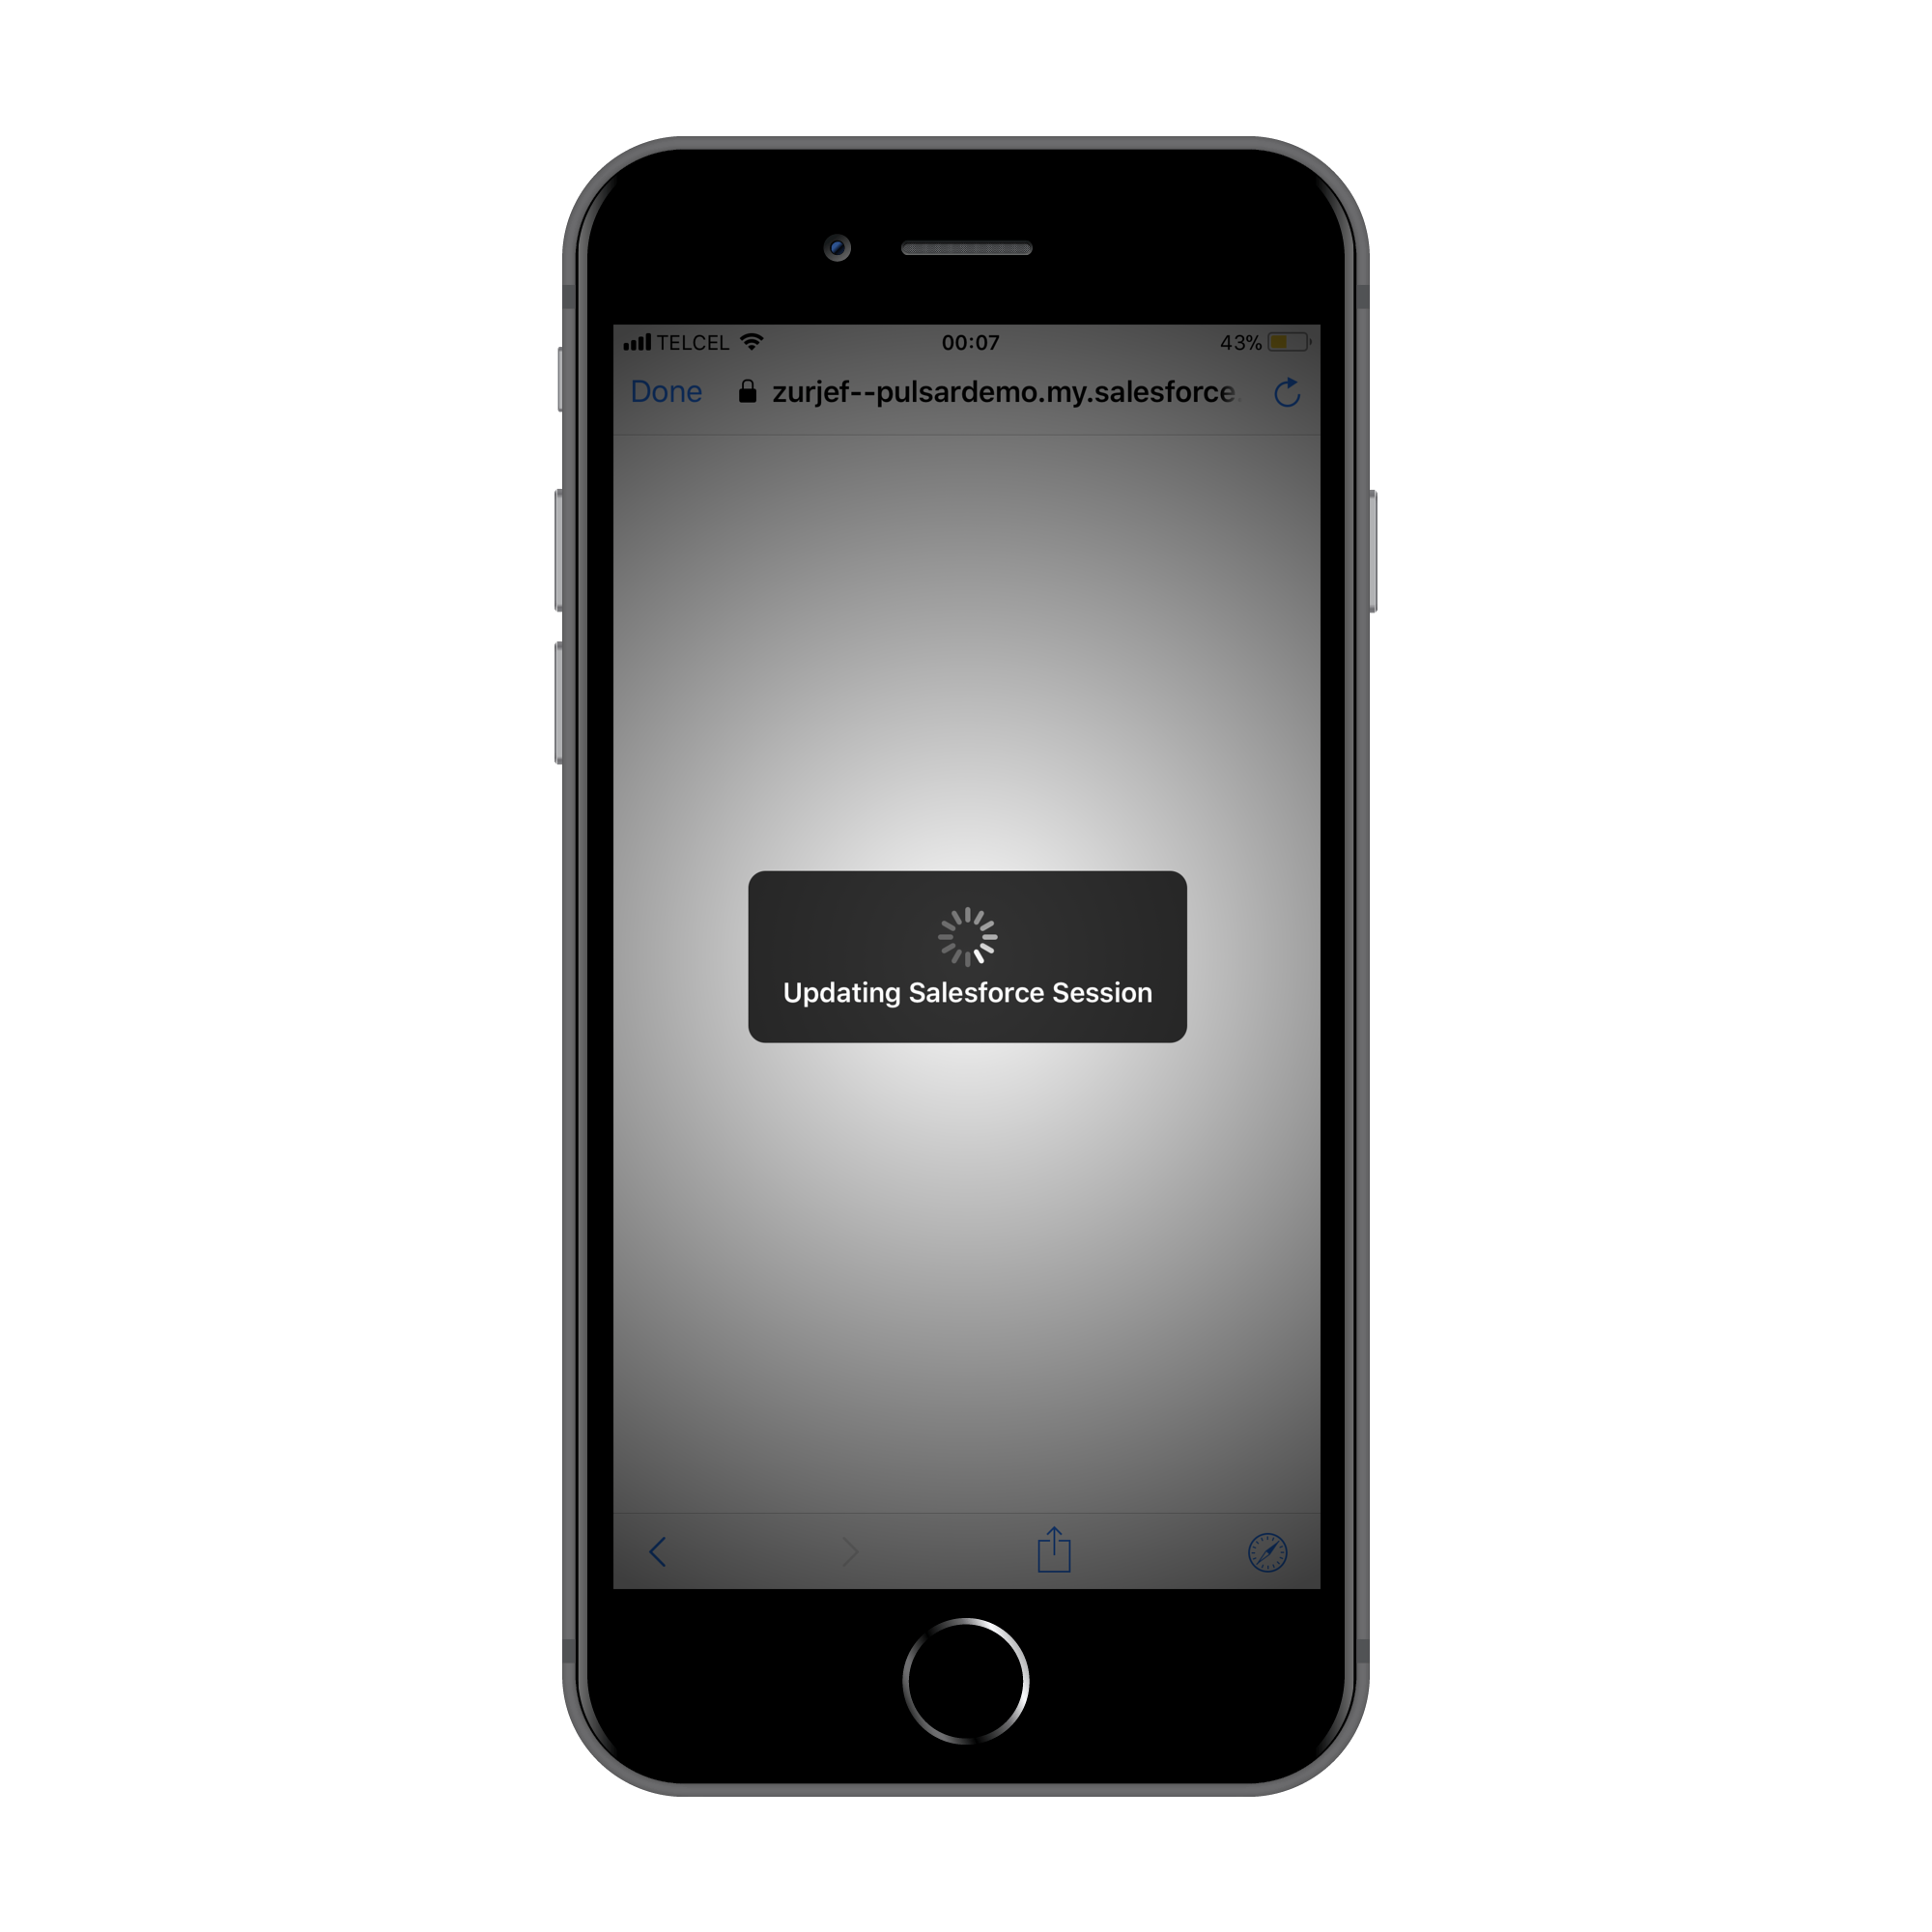
- Login
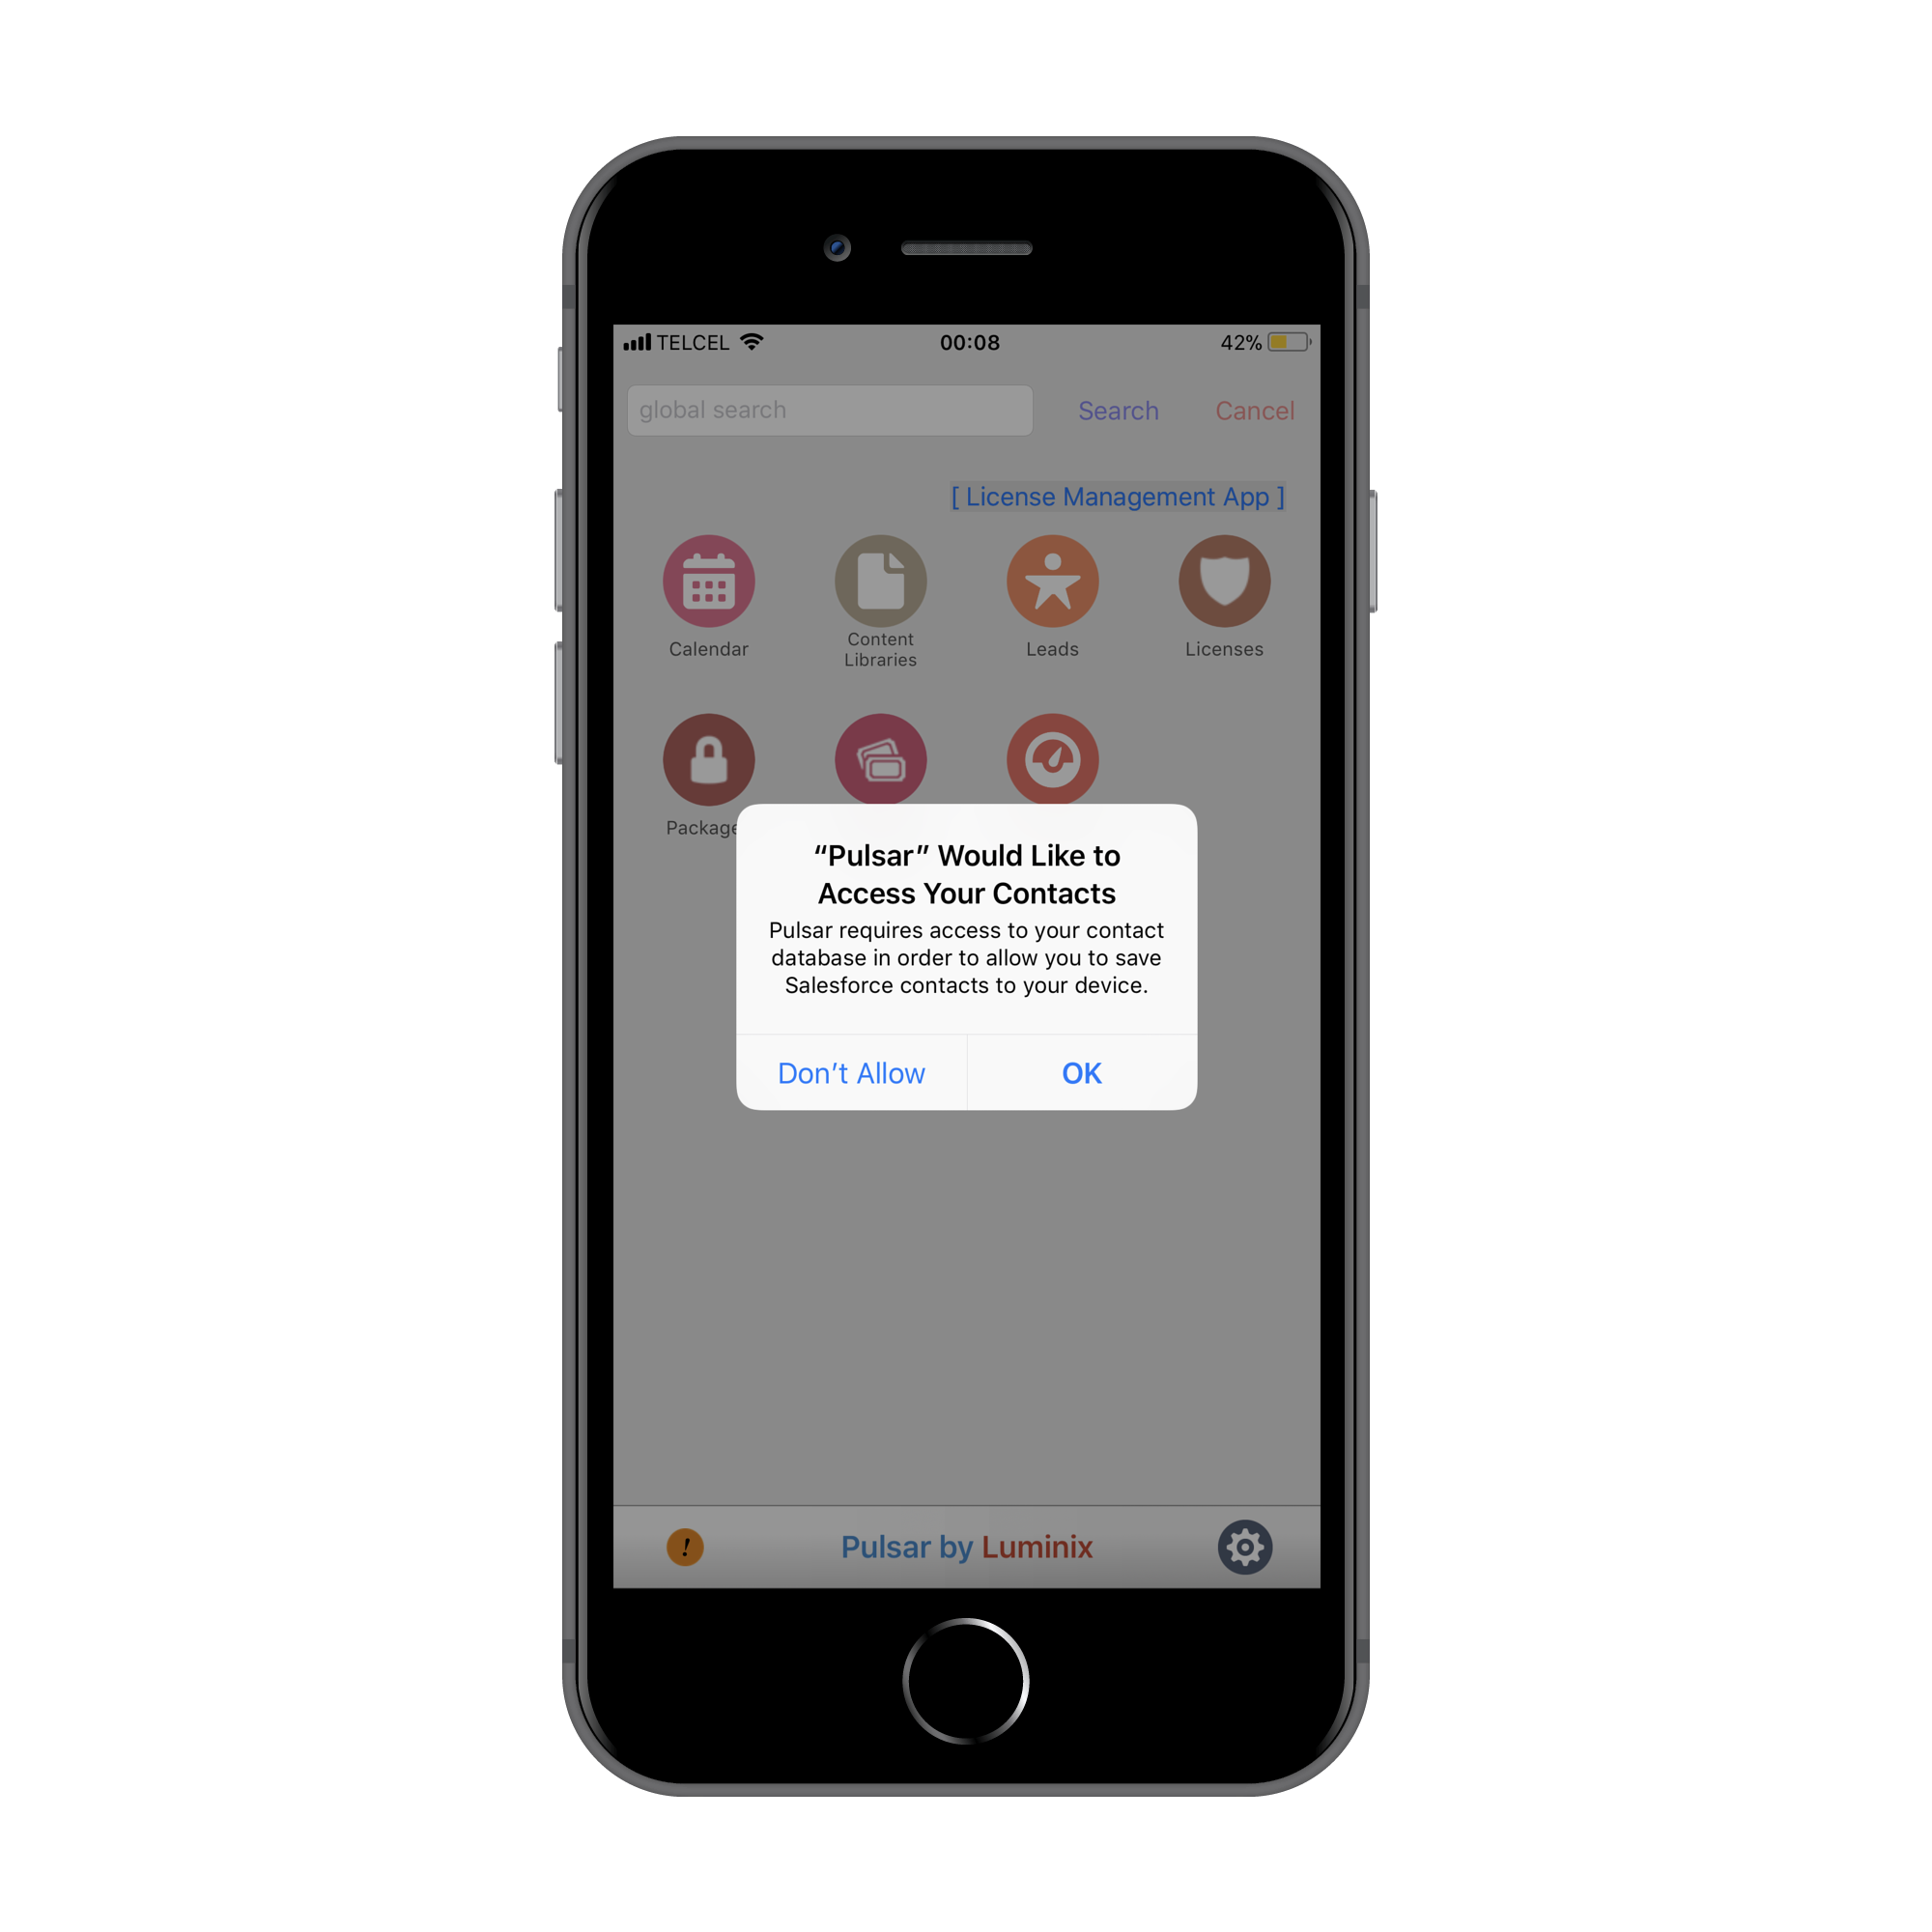
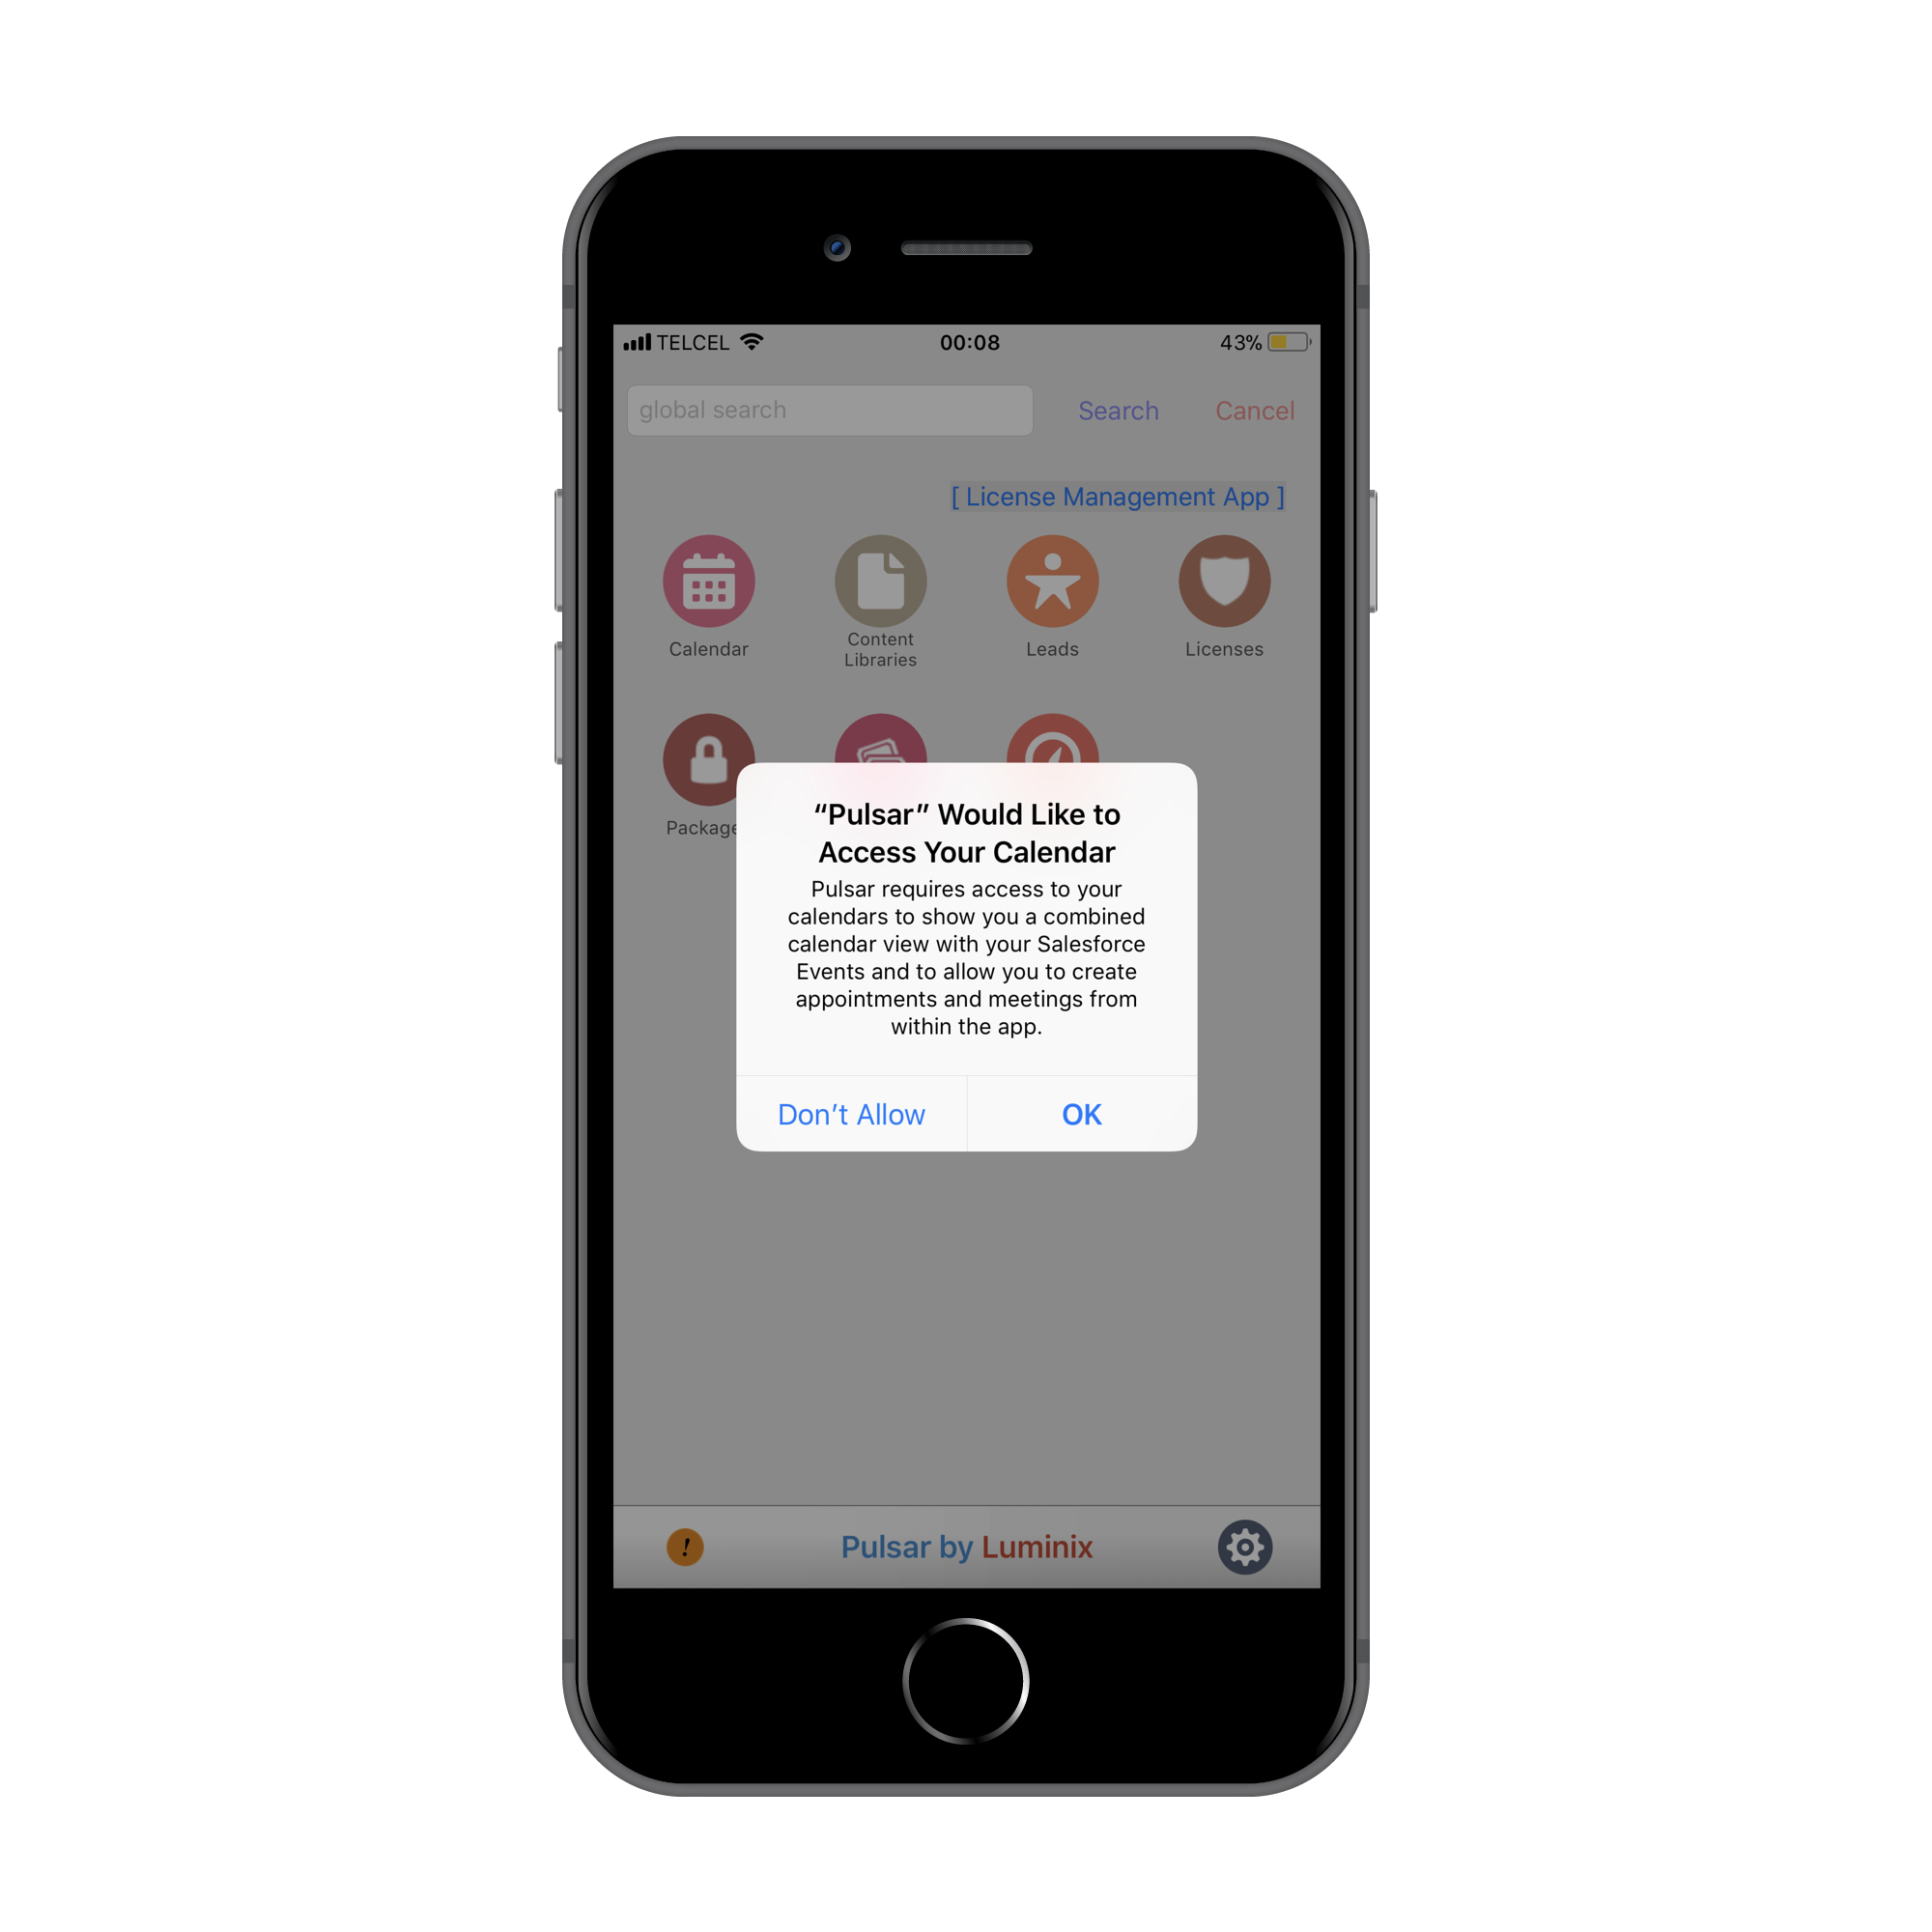
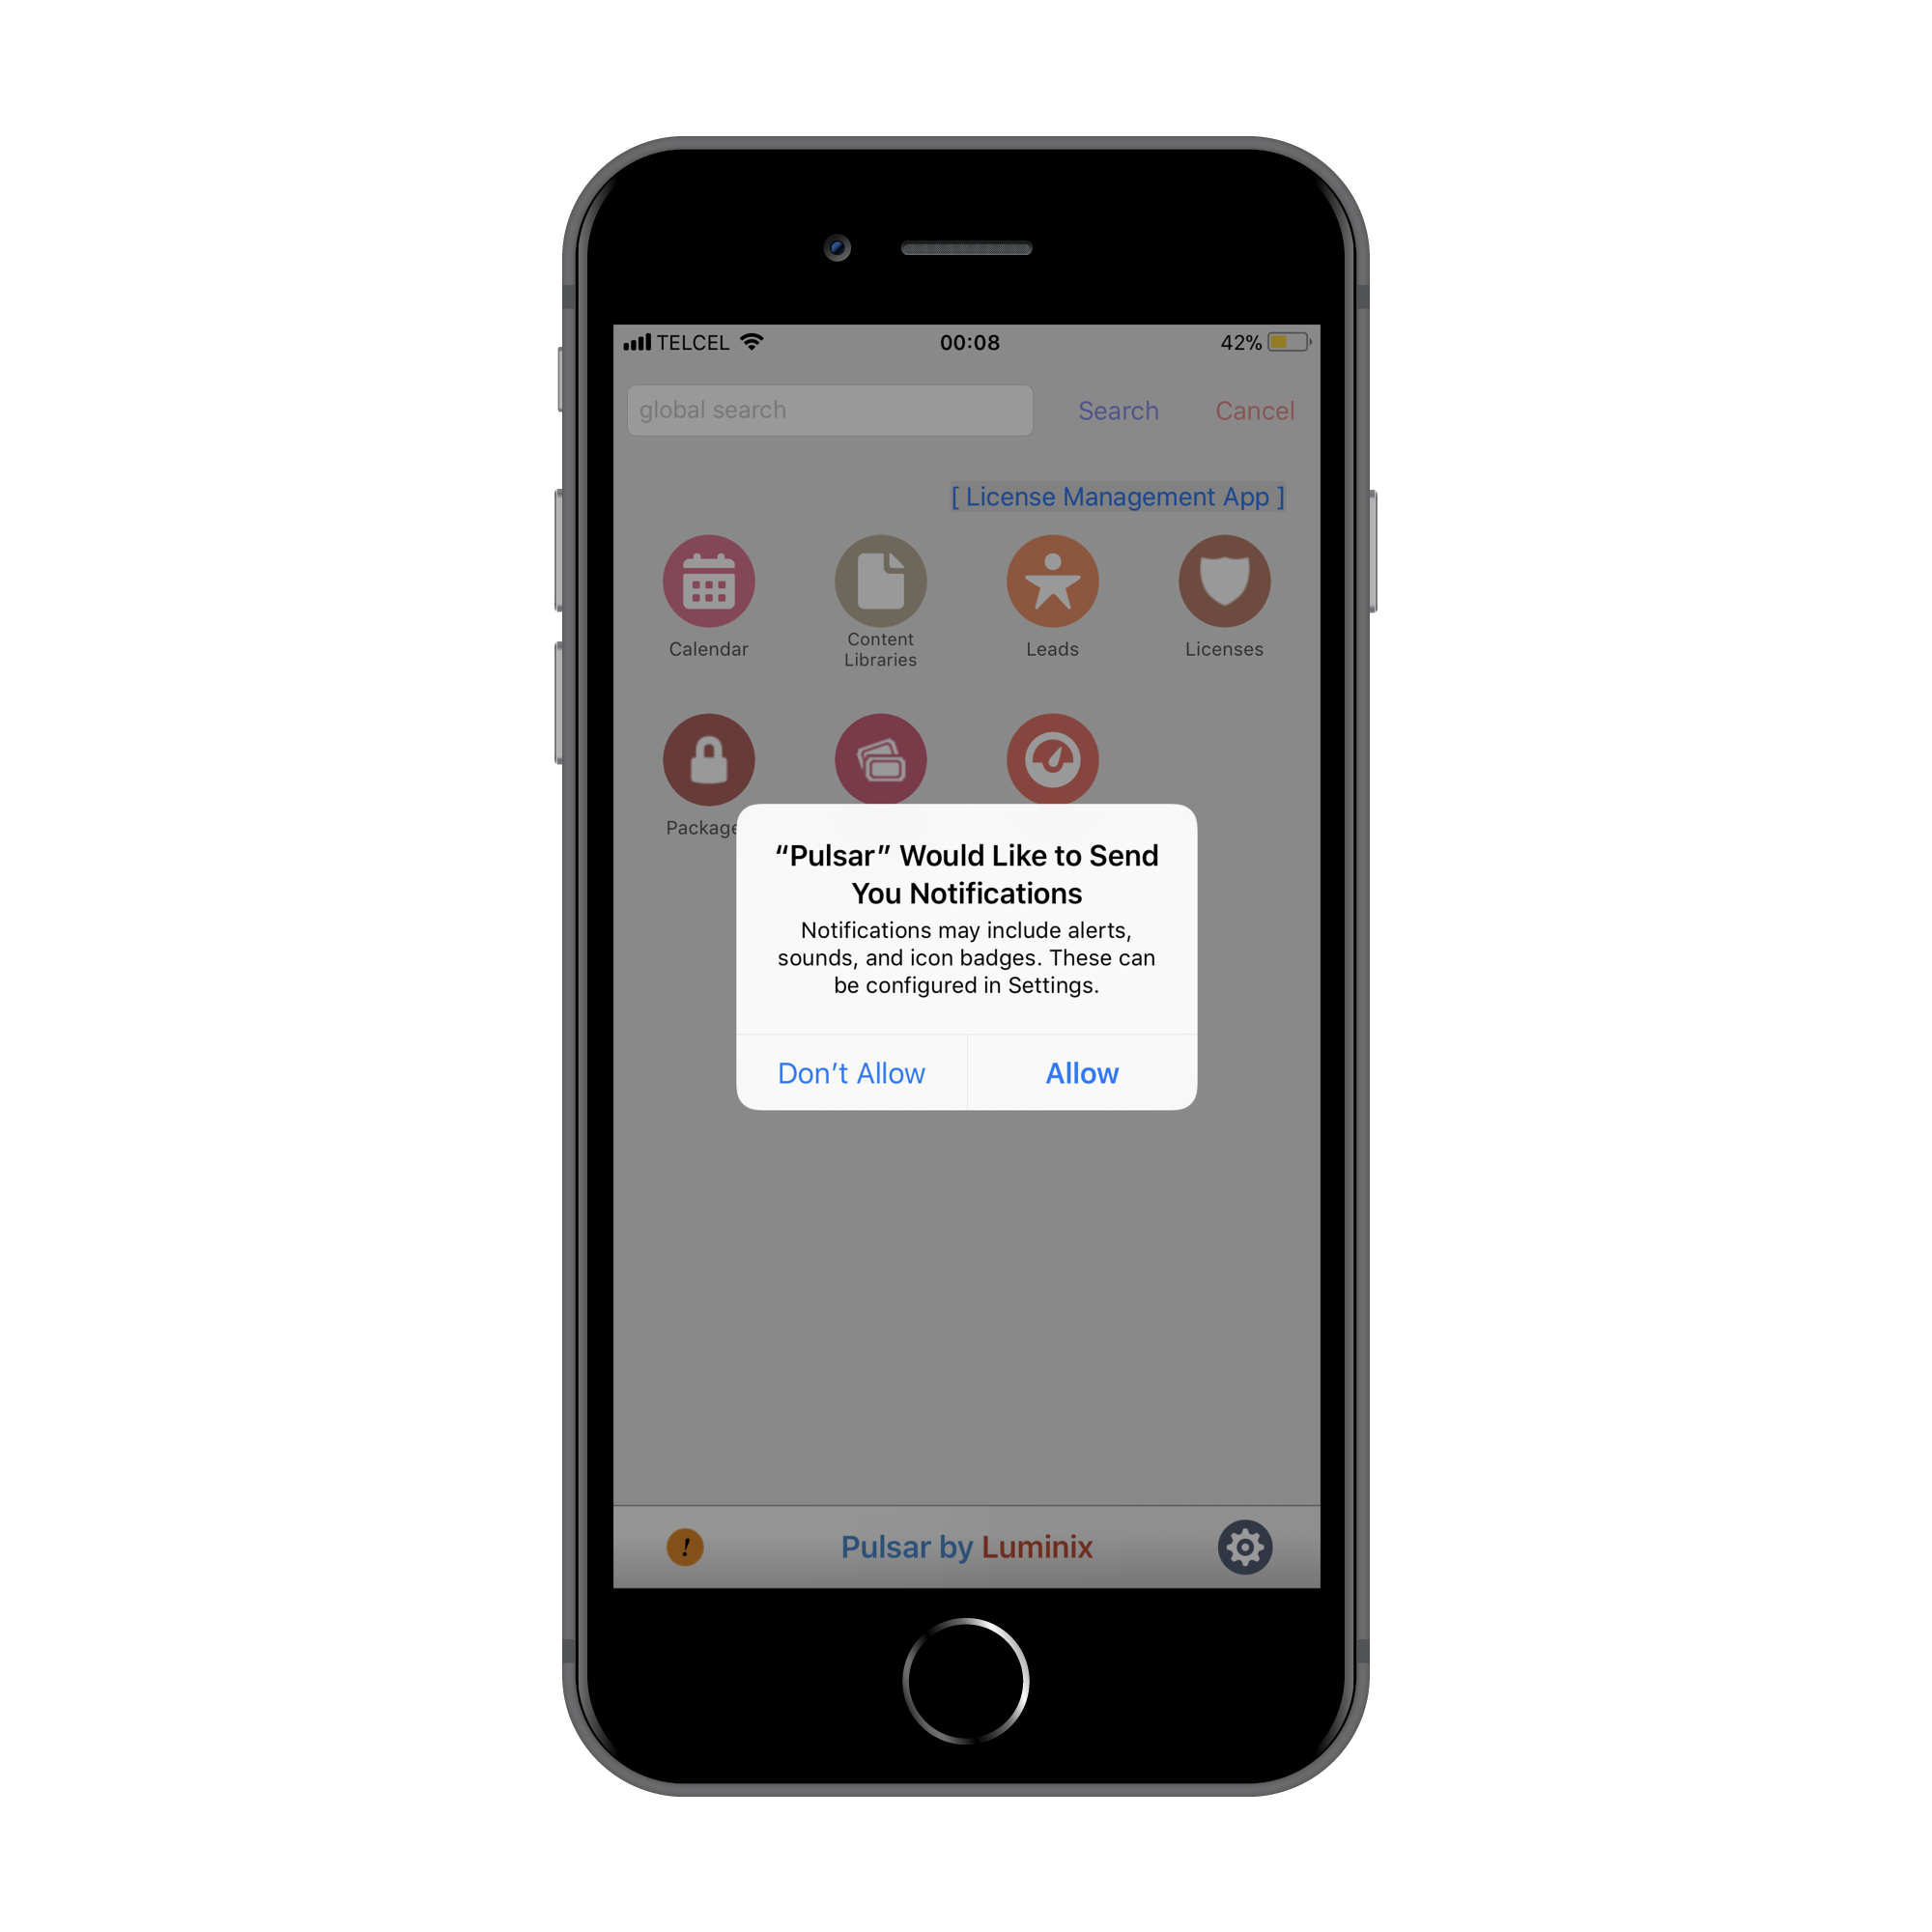
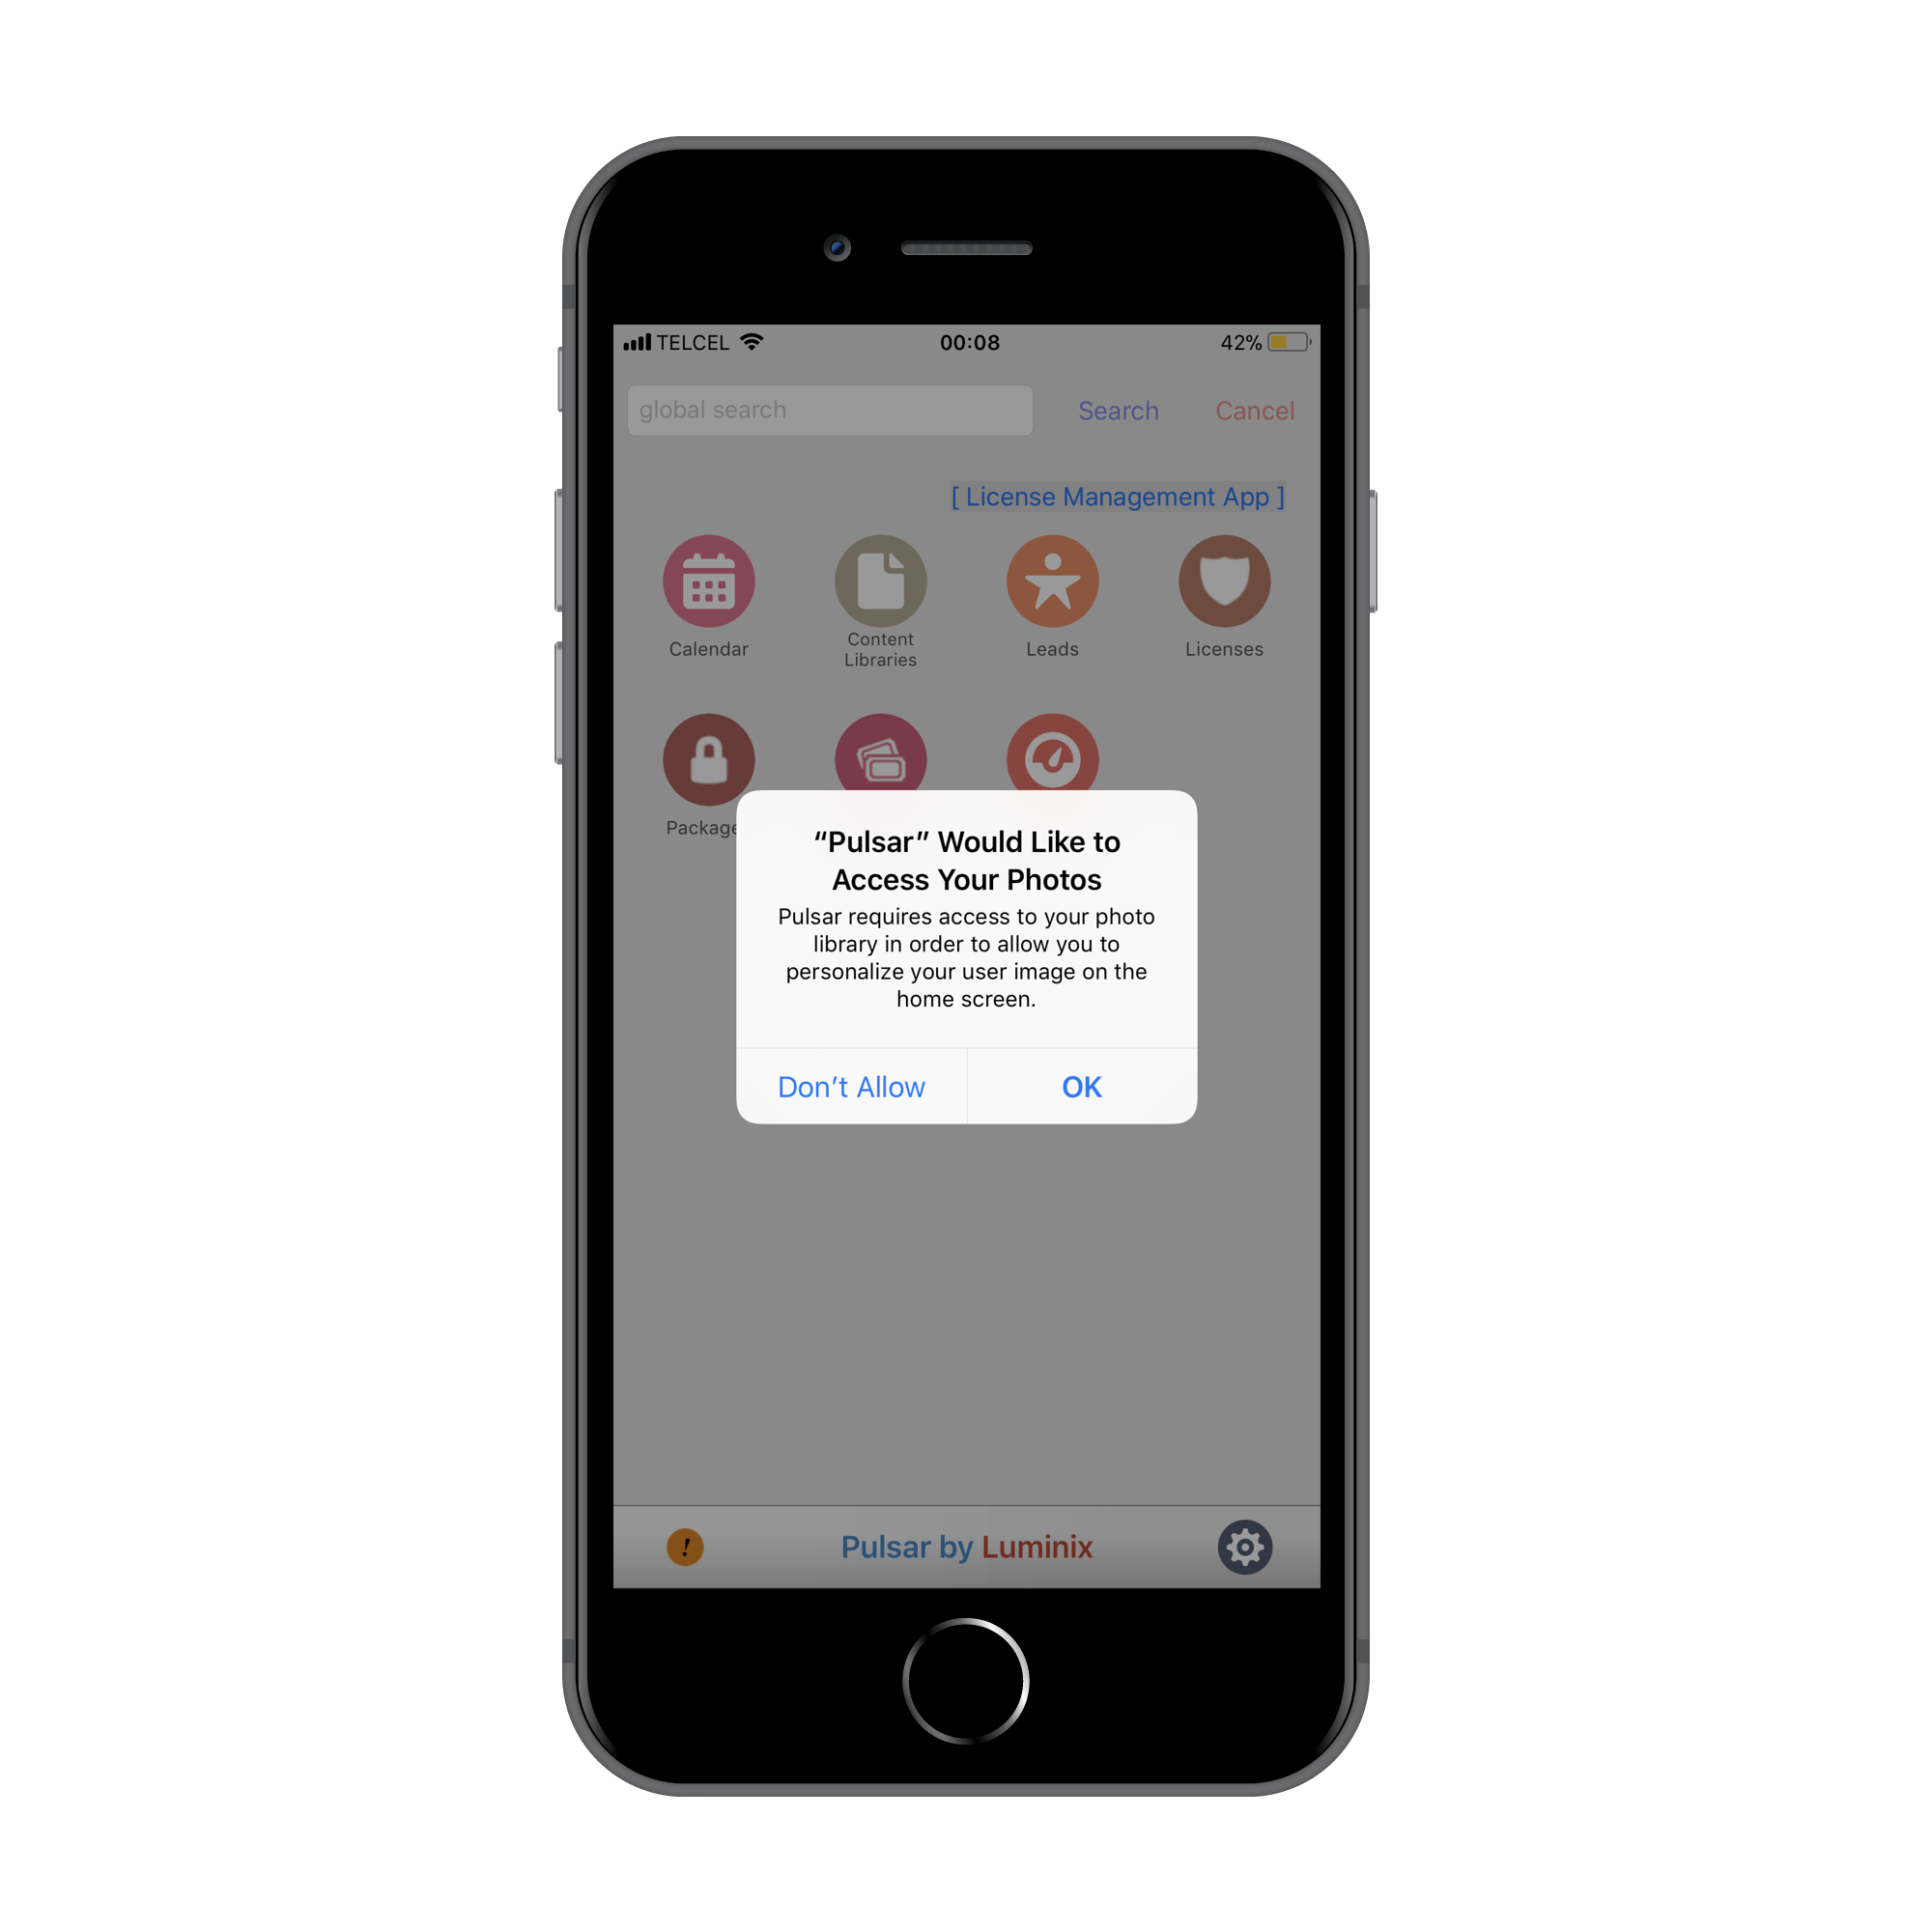
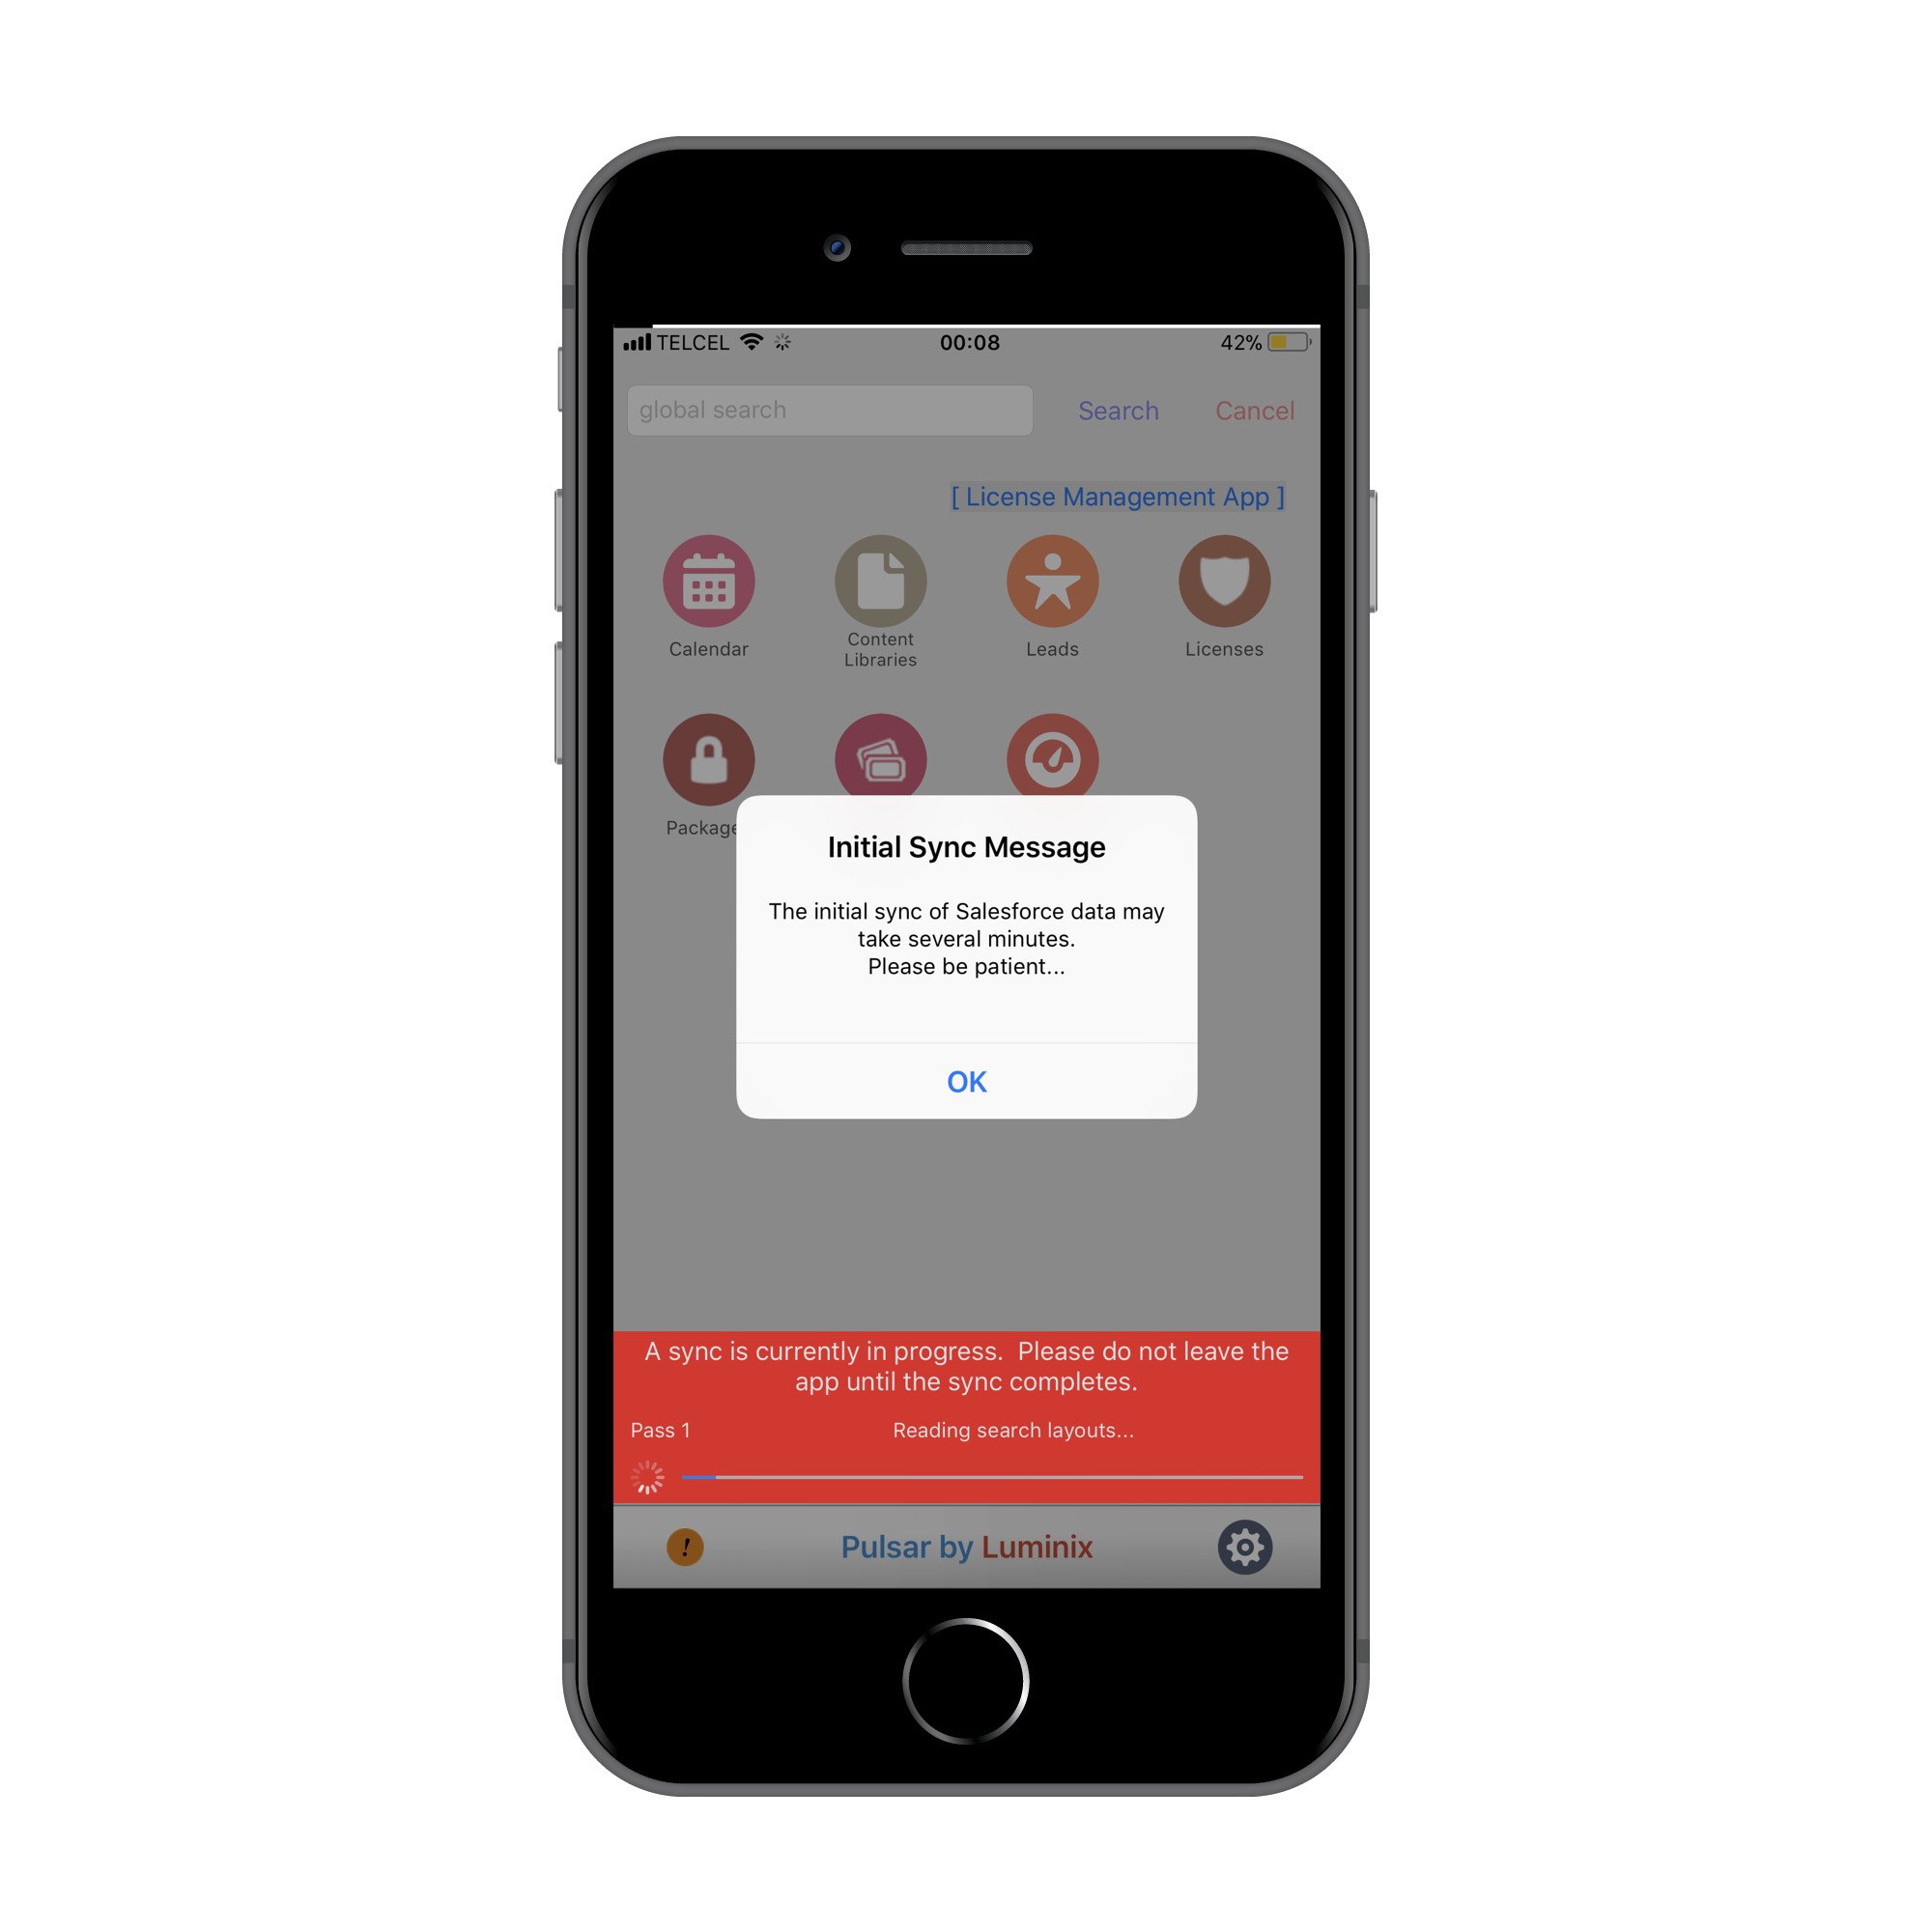
- When you login for the first time the app will ask you to enable some settings in order to make pulsar better
Let’s do a Demo
Imagine that we don’t have a wifi connection and we want use salesforce, you should activate the work offline toggle button, this needs to be activated manually because its not automatic

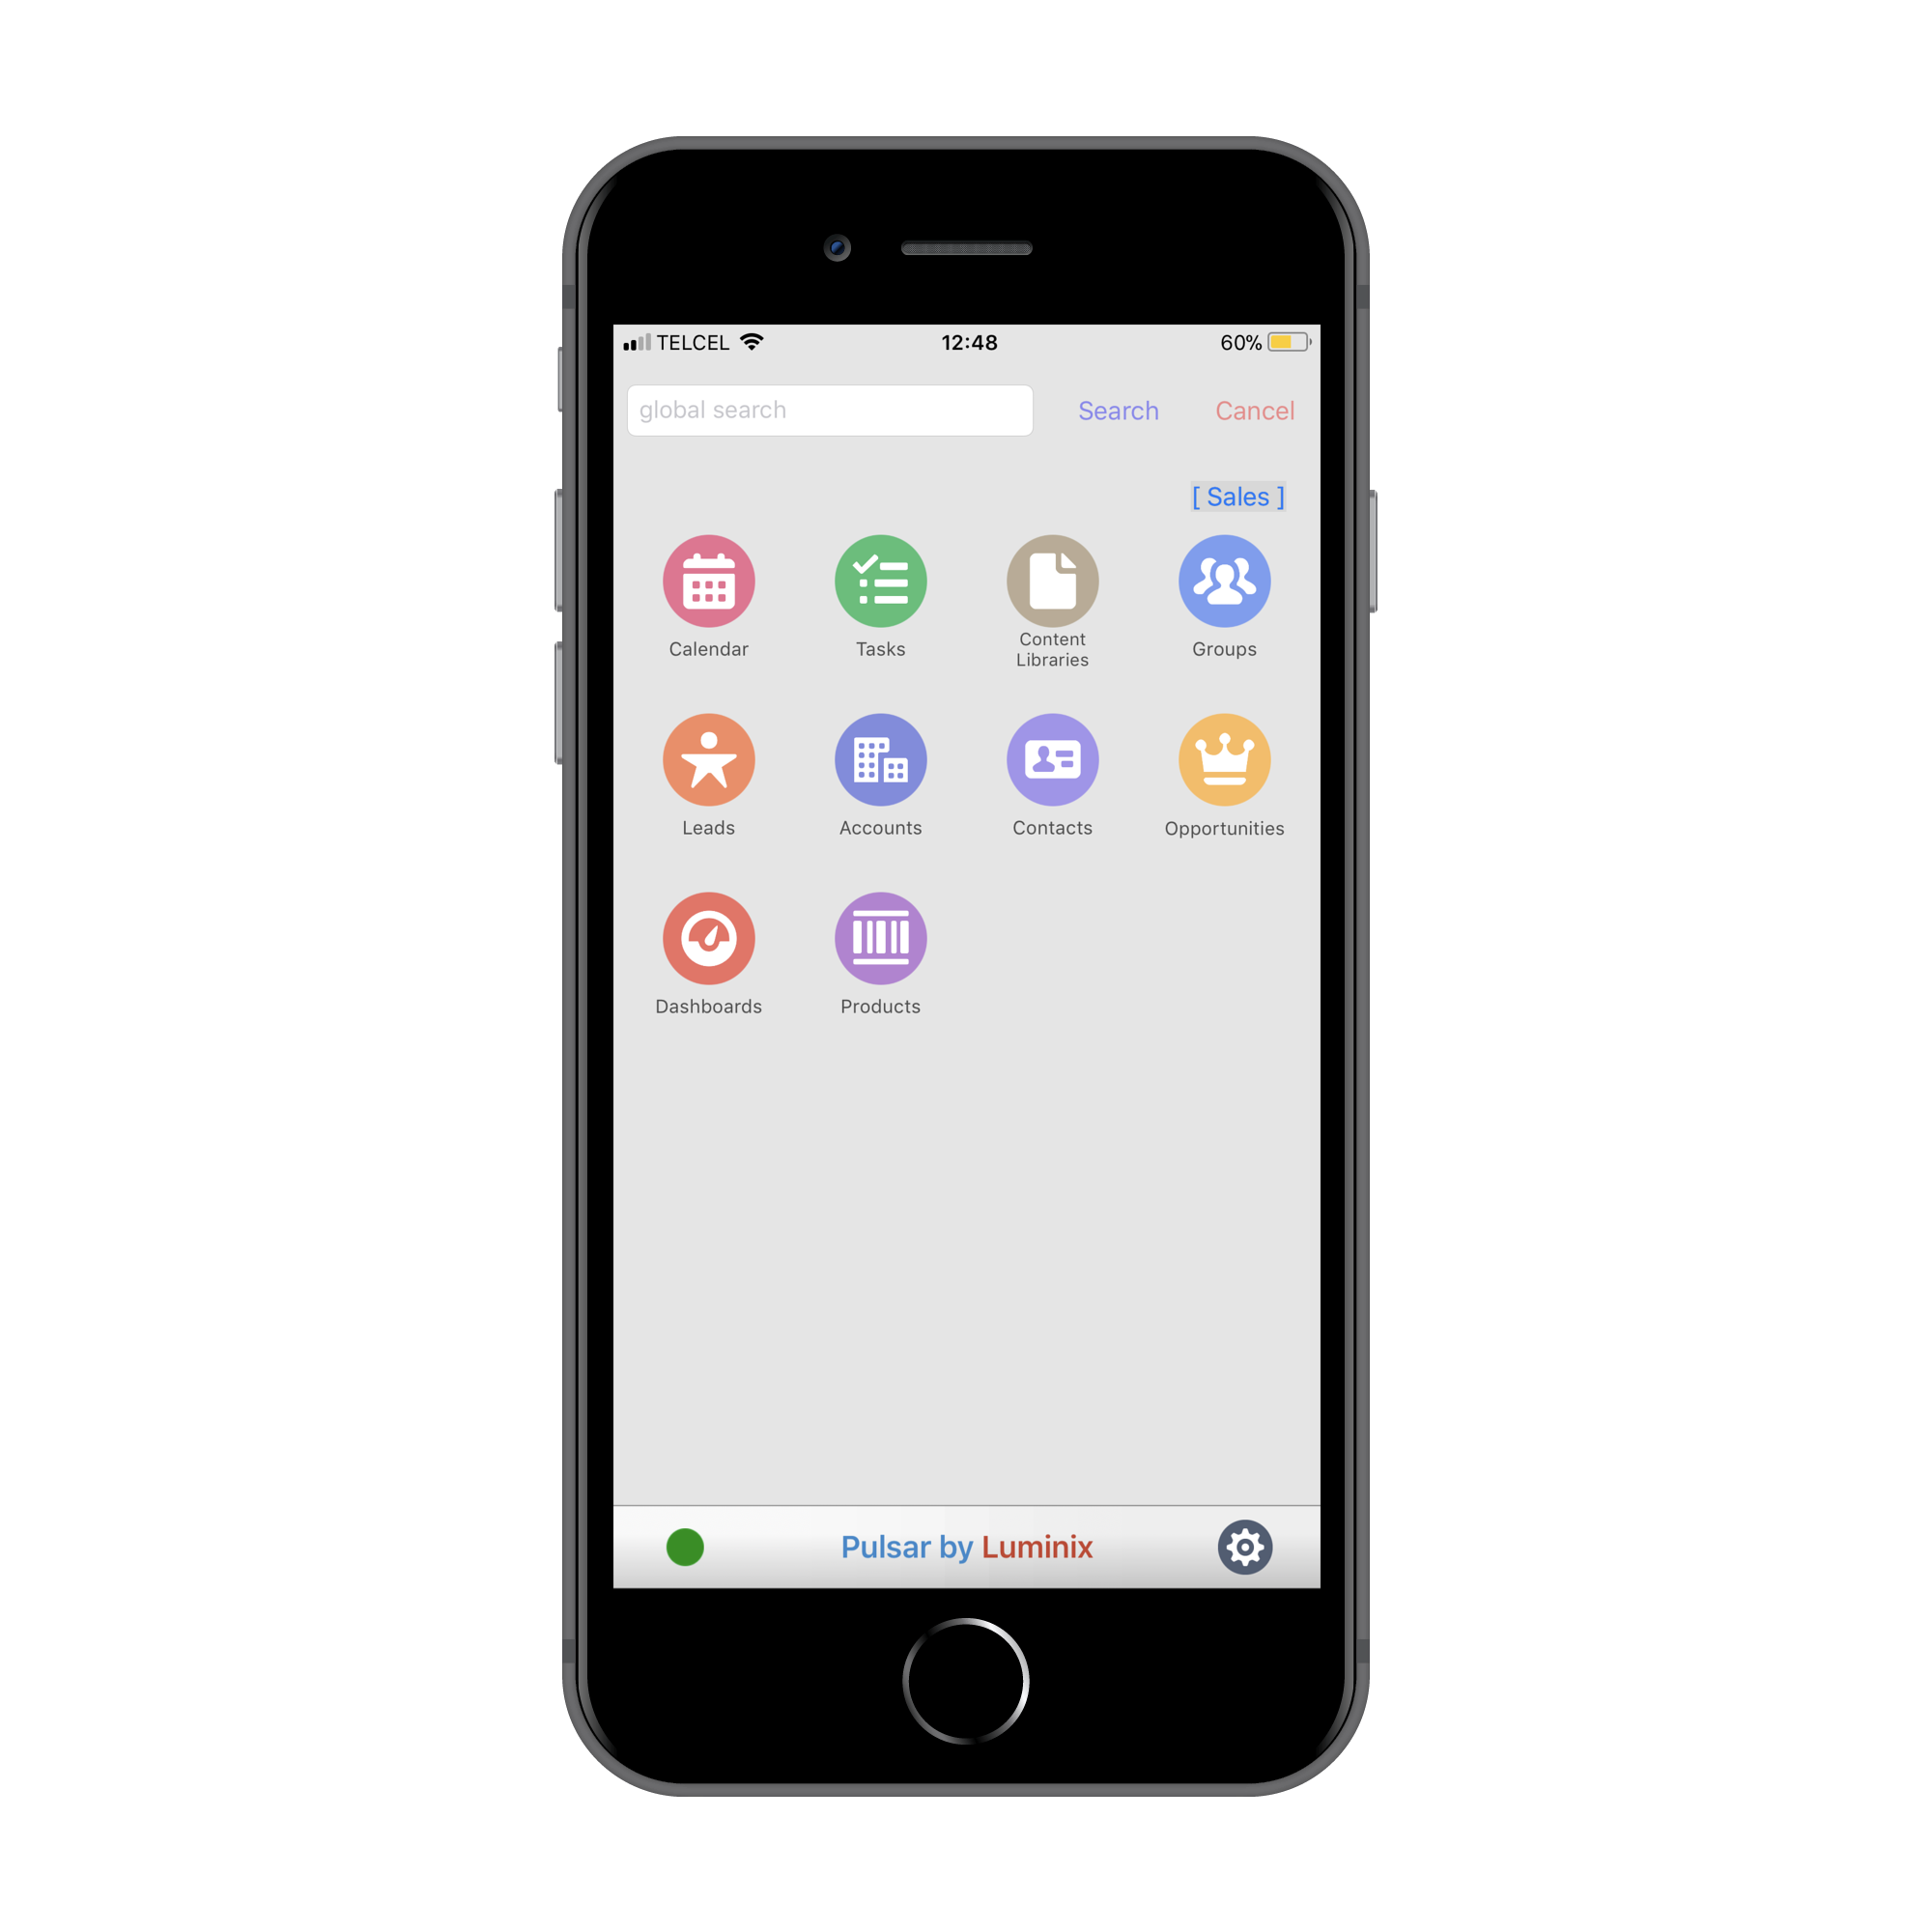
Then if you go to any menu of the app you will notice that the dot in the corner change from green to gray, it means that you are working offline. Now lets create a new Account
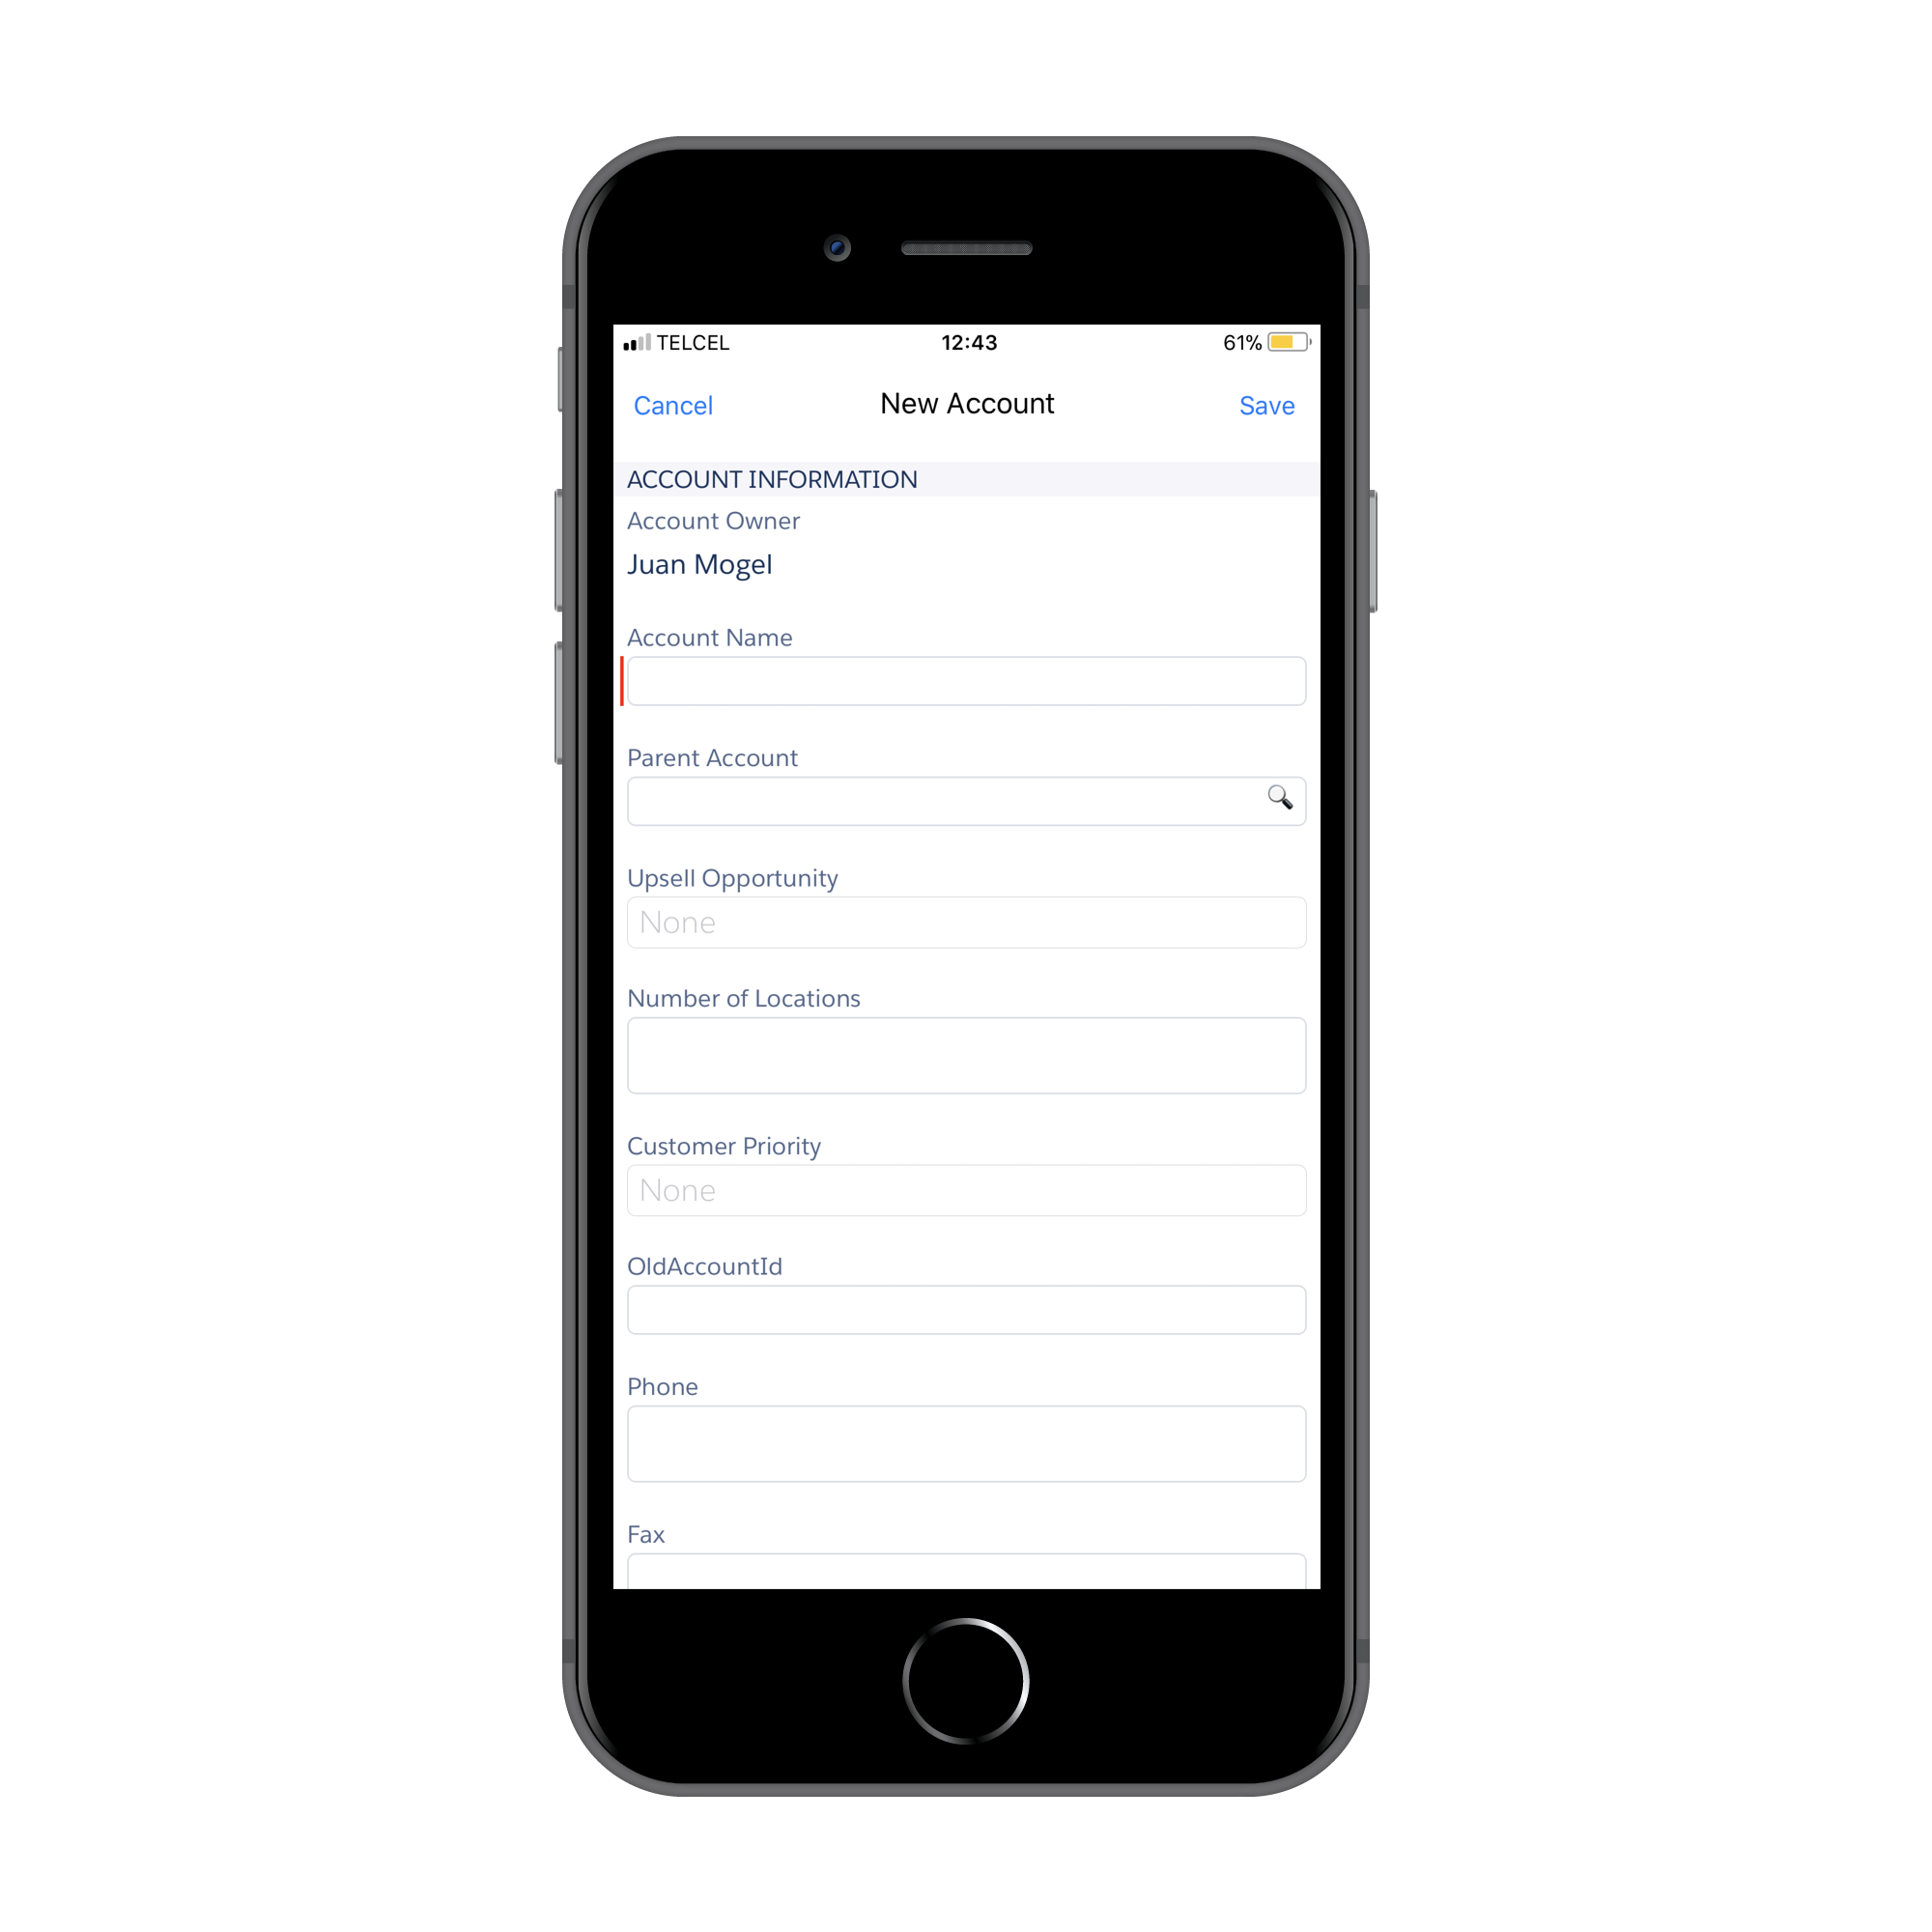
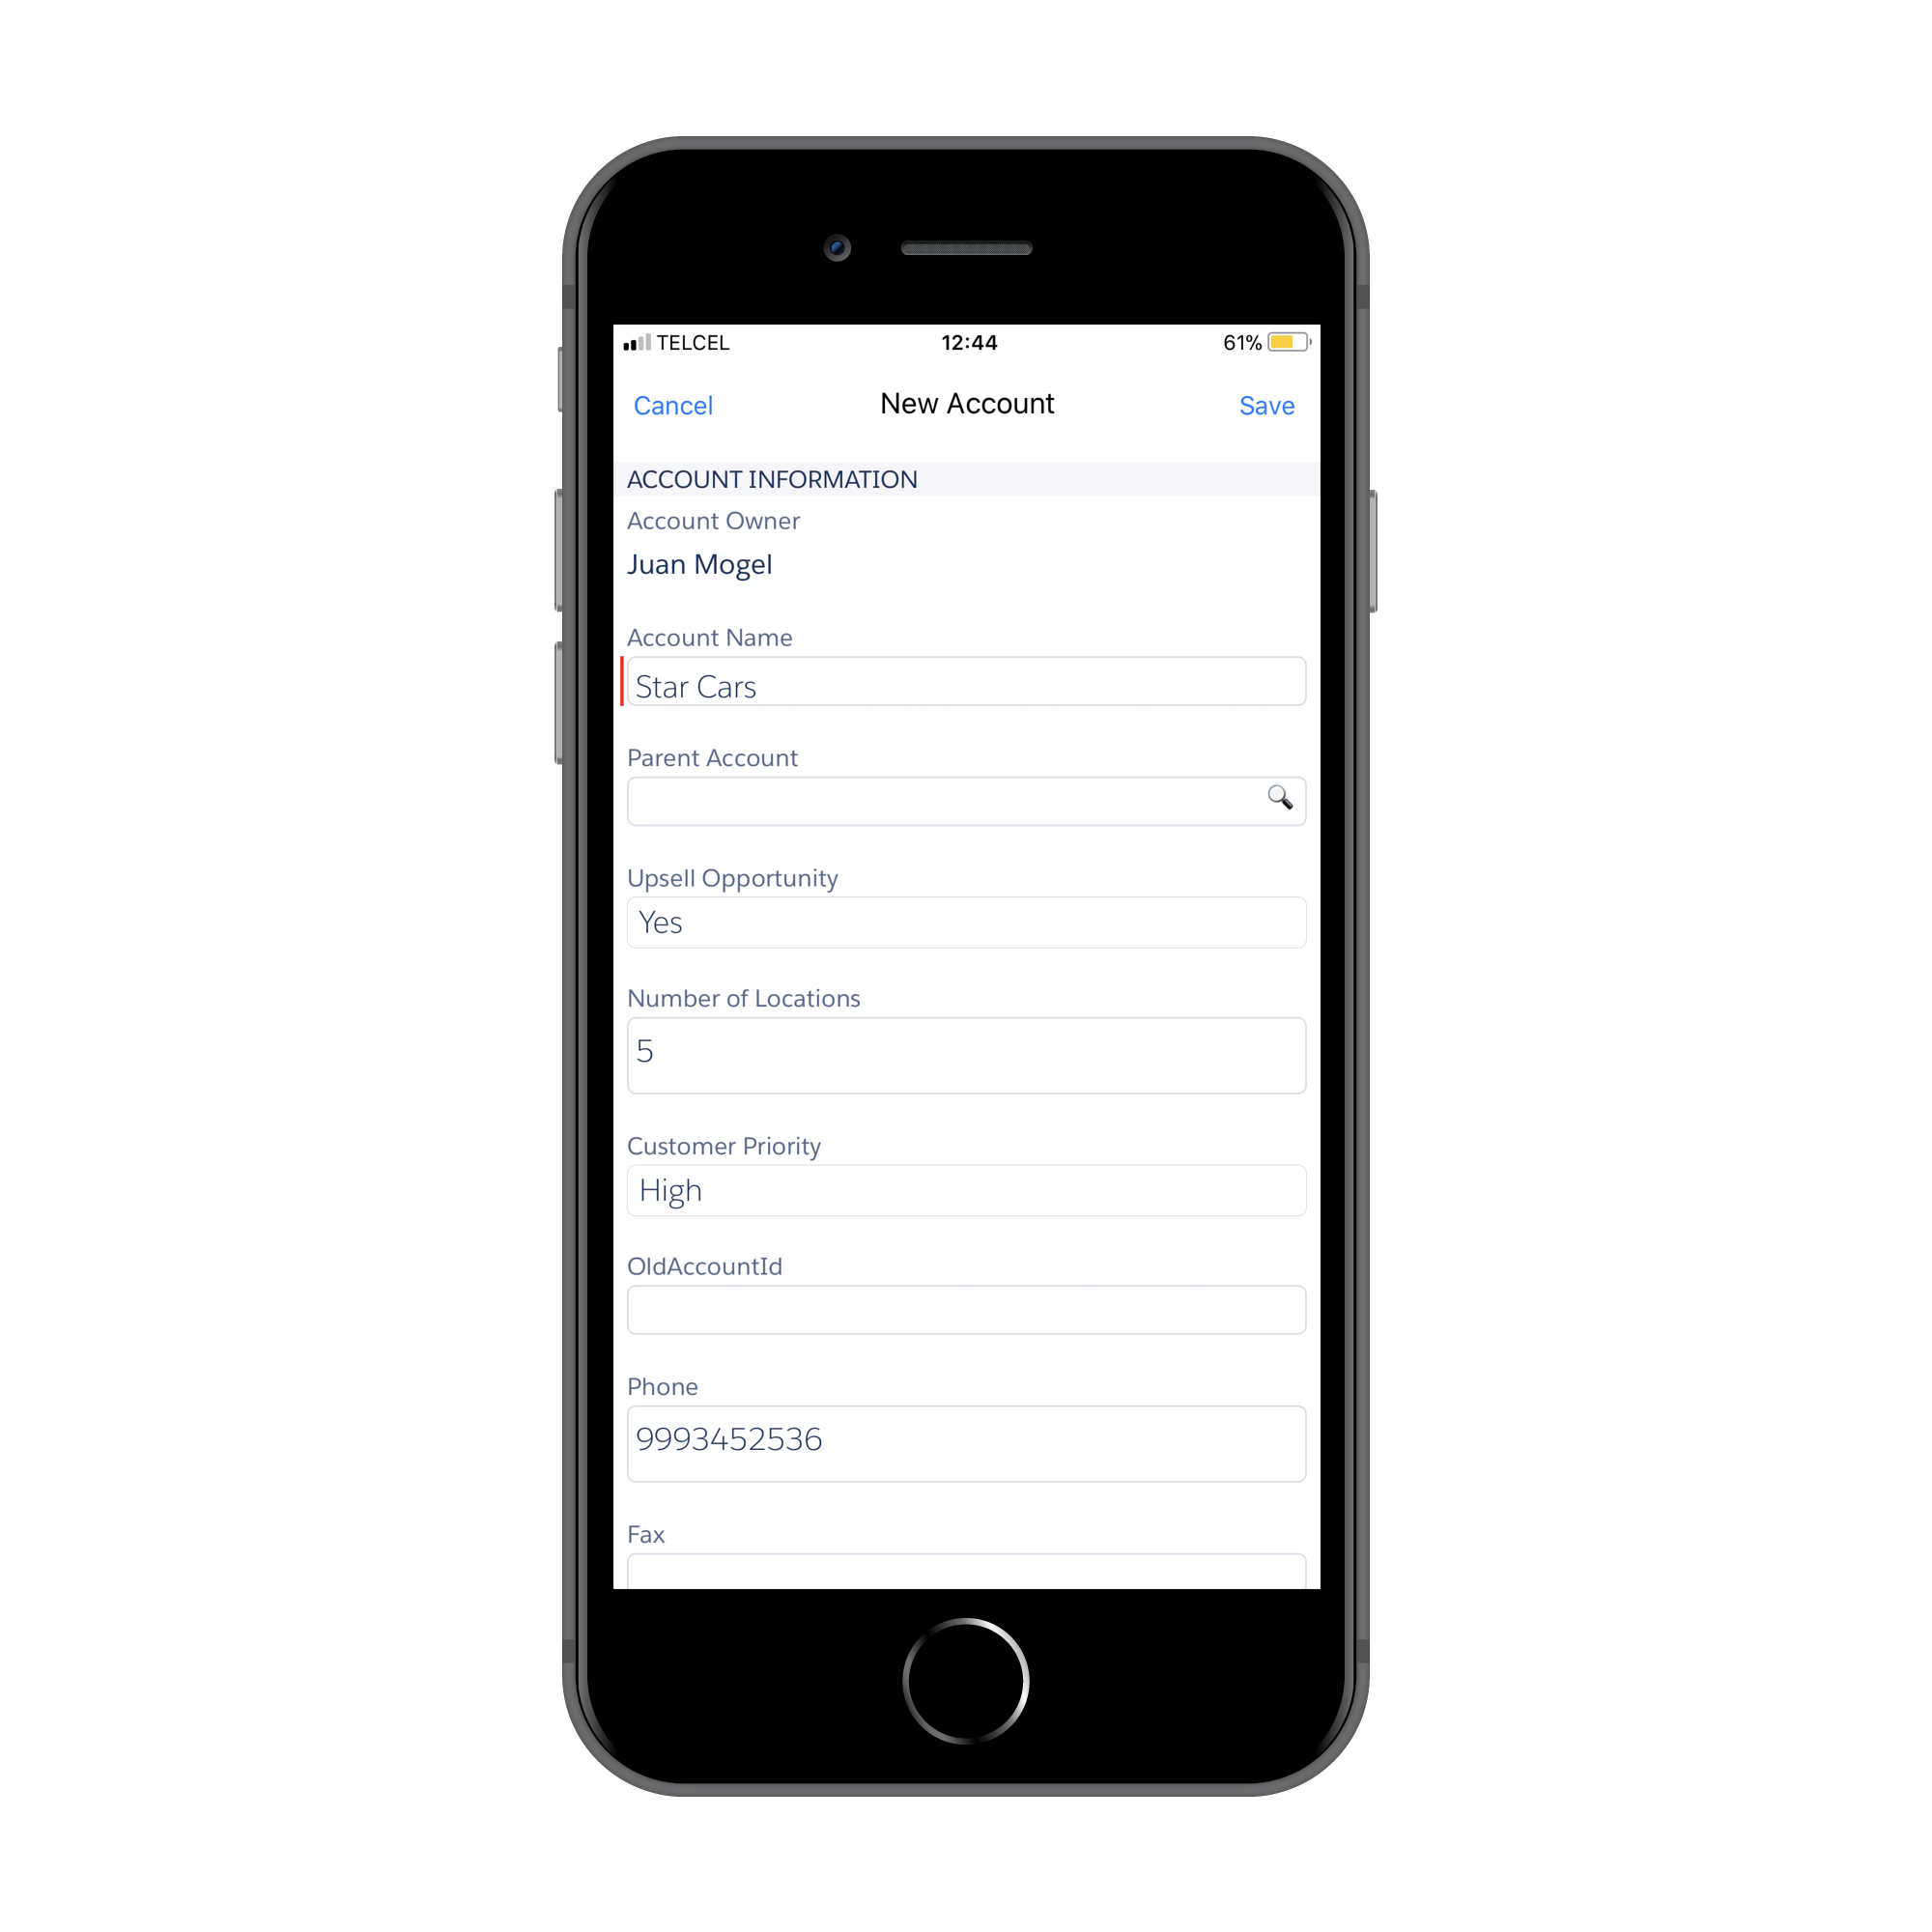

Save the new record and you will see that the gray dot have now a number inside, this number means how many records you have created or updated since you are offline.
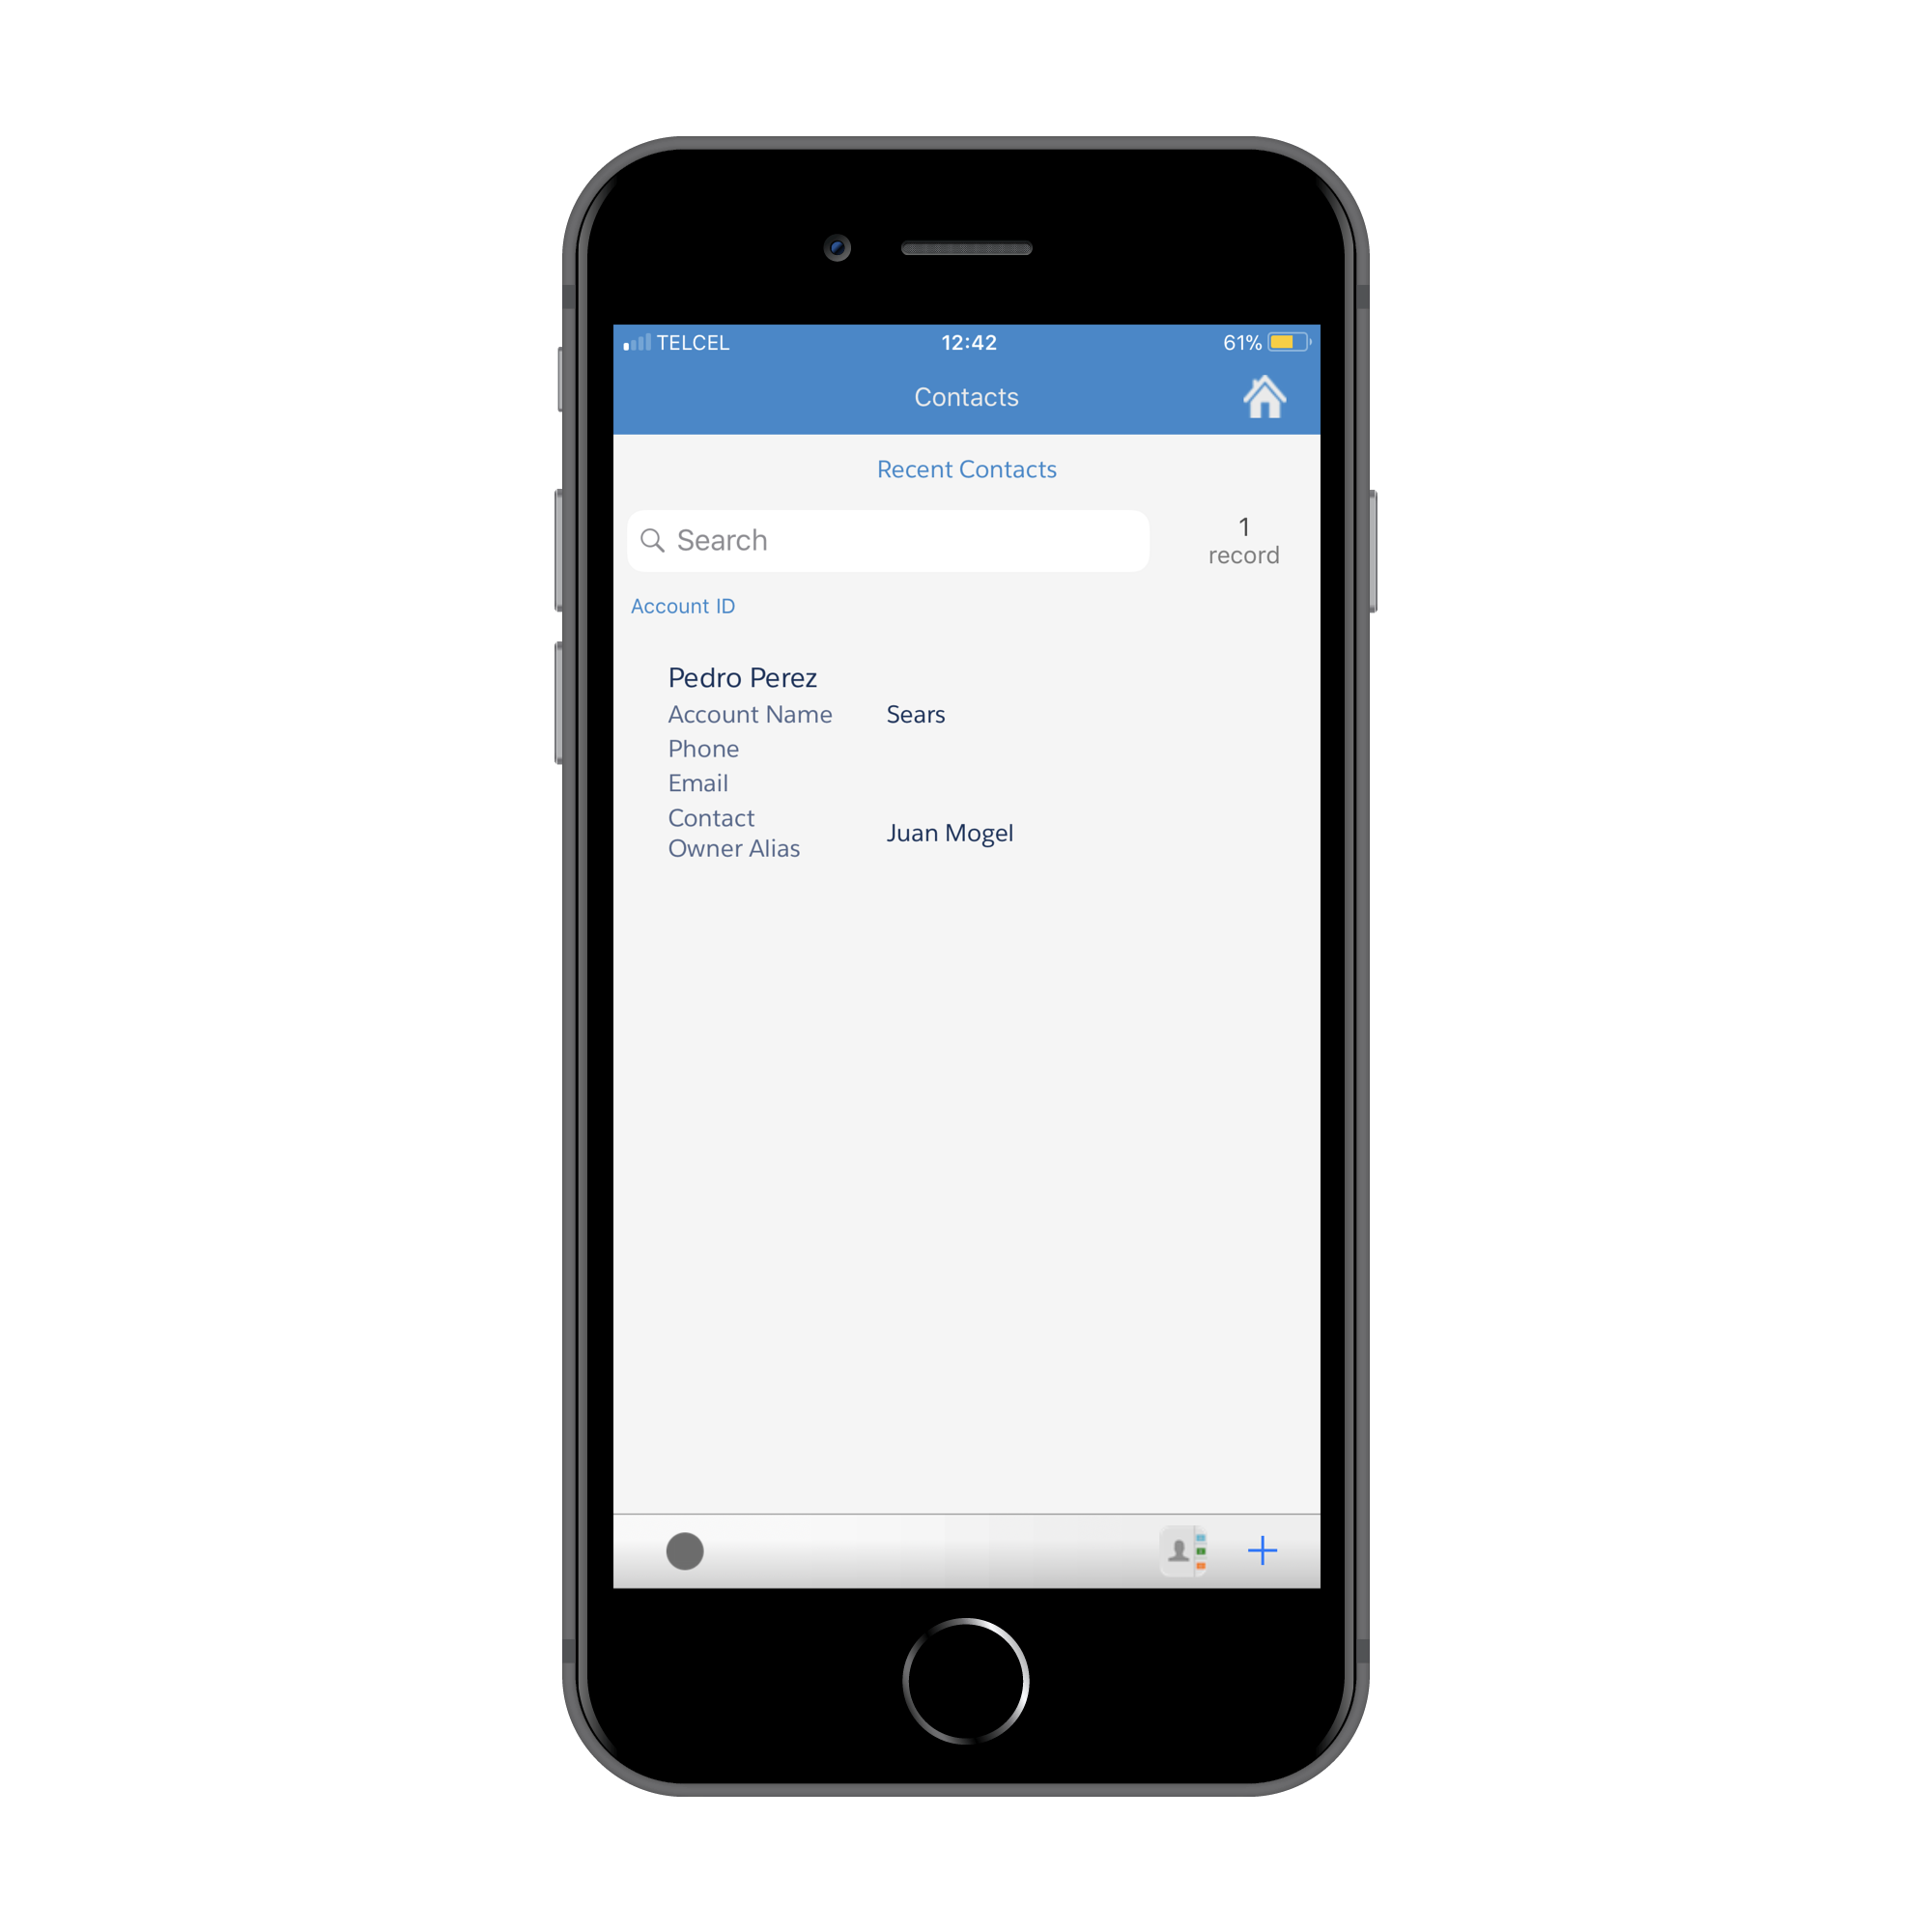
Now let’s create a new contact for the new account that you just created.
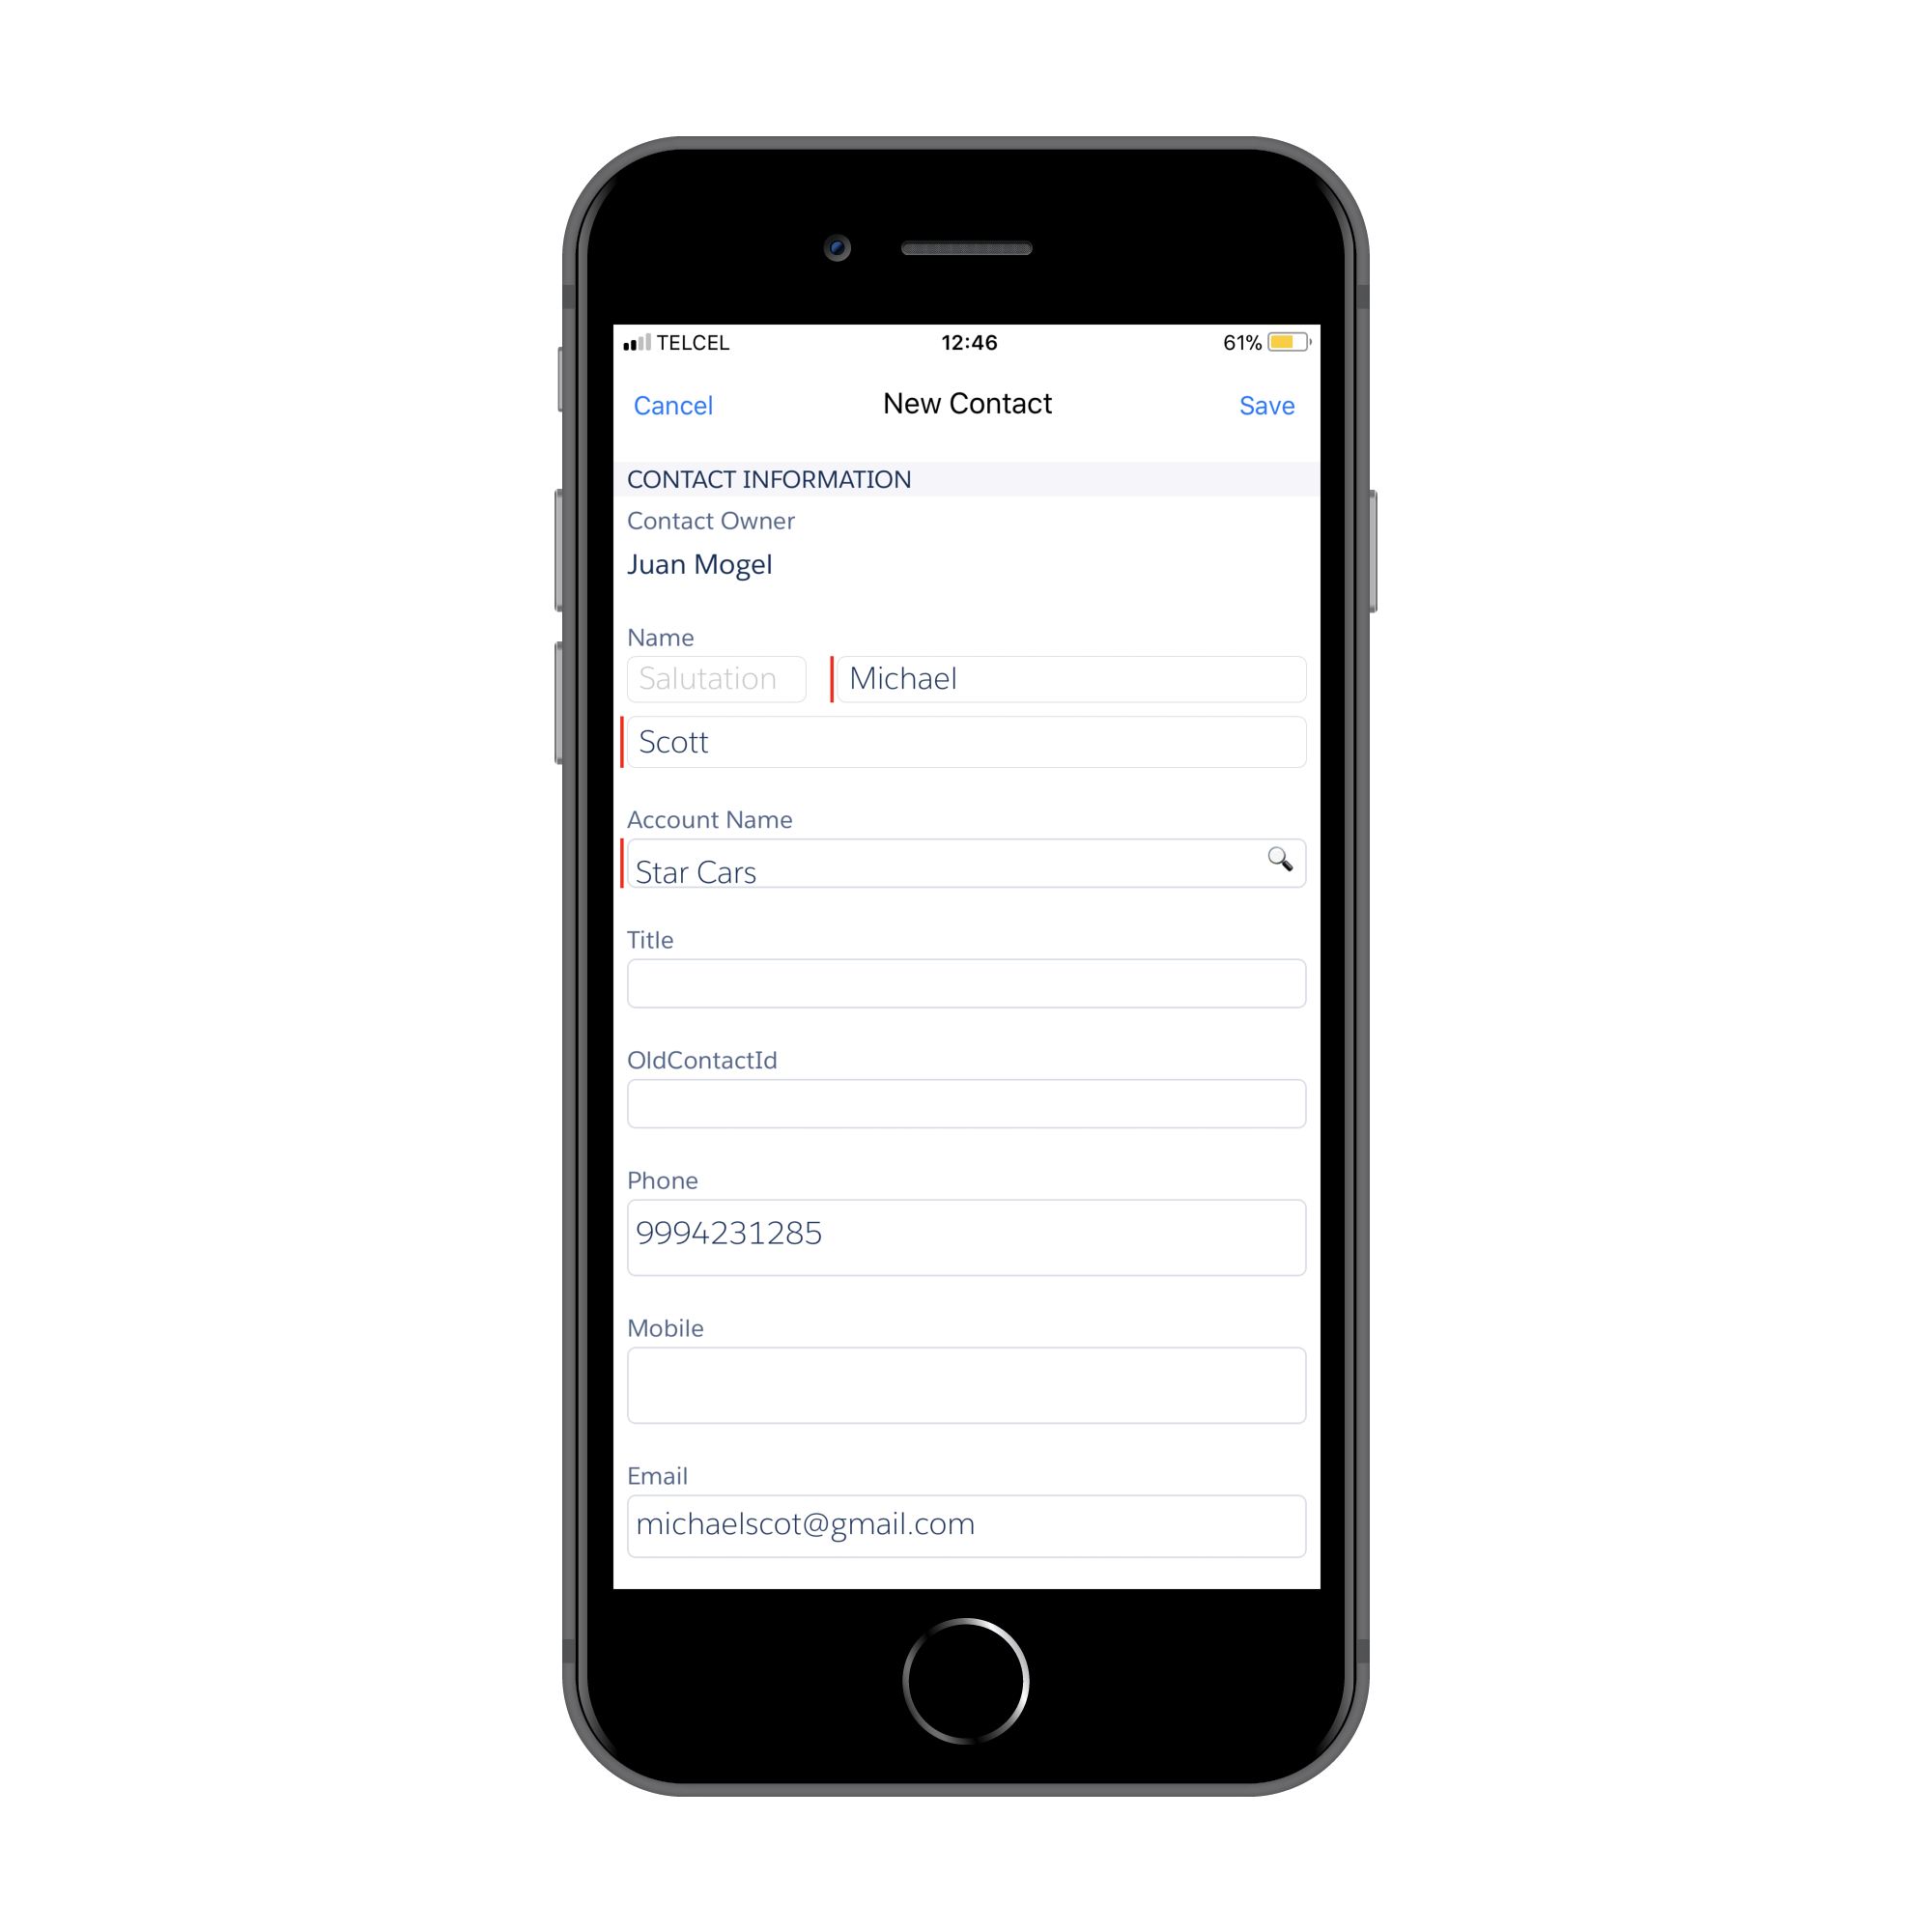
You can see that you can related the contact with the new account even if you haven’t synchronize the app with Salesforce.
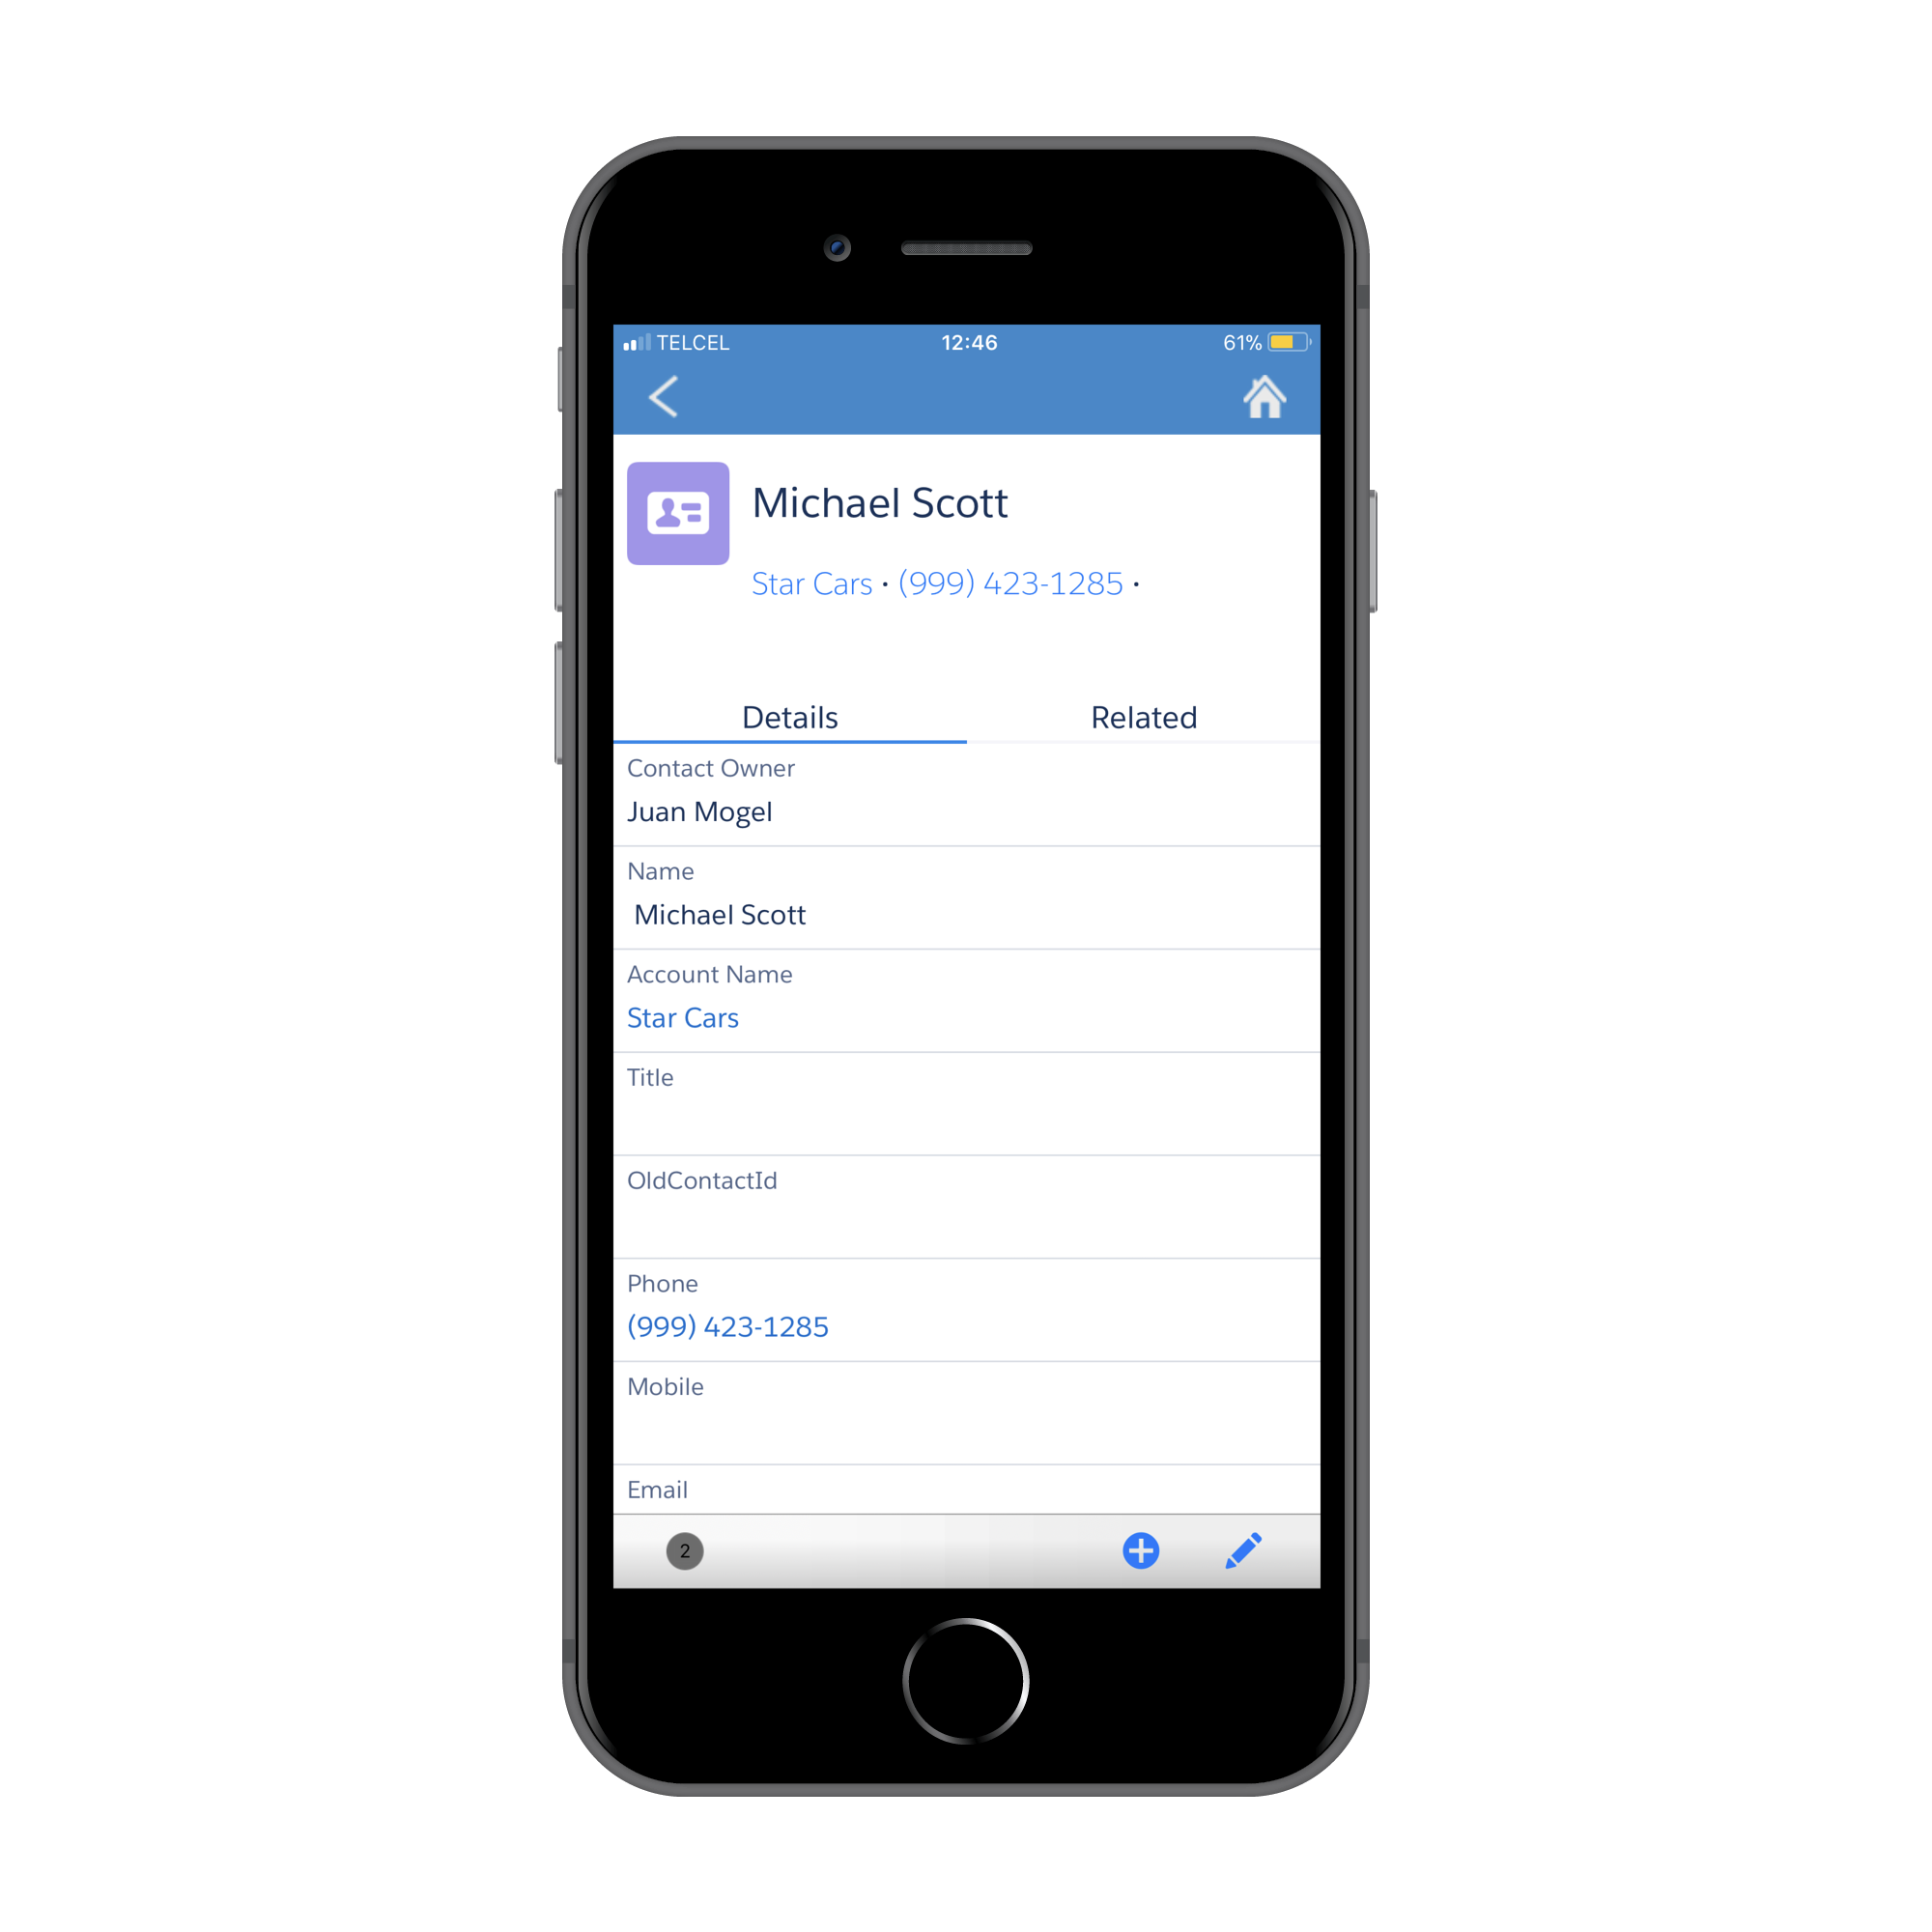
Now there is number 2 inside the dot because you have 2 new records to synchronize with Salesforce.
Let’s reconnect the phone to wifi in order to synchronize the app and upload the new records to Salesforce.

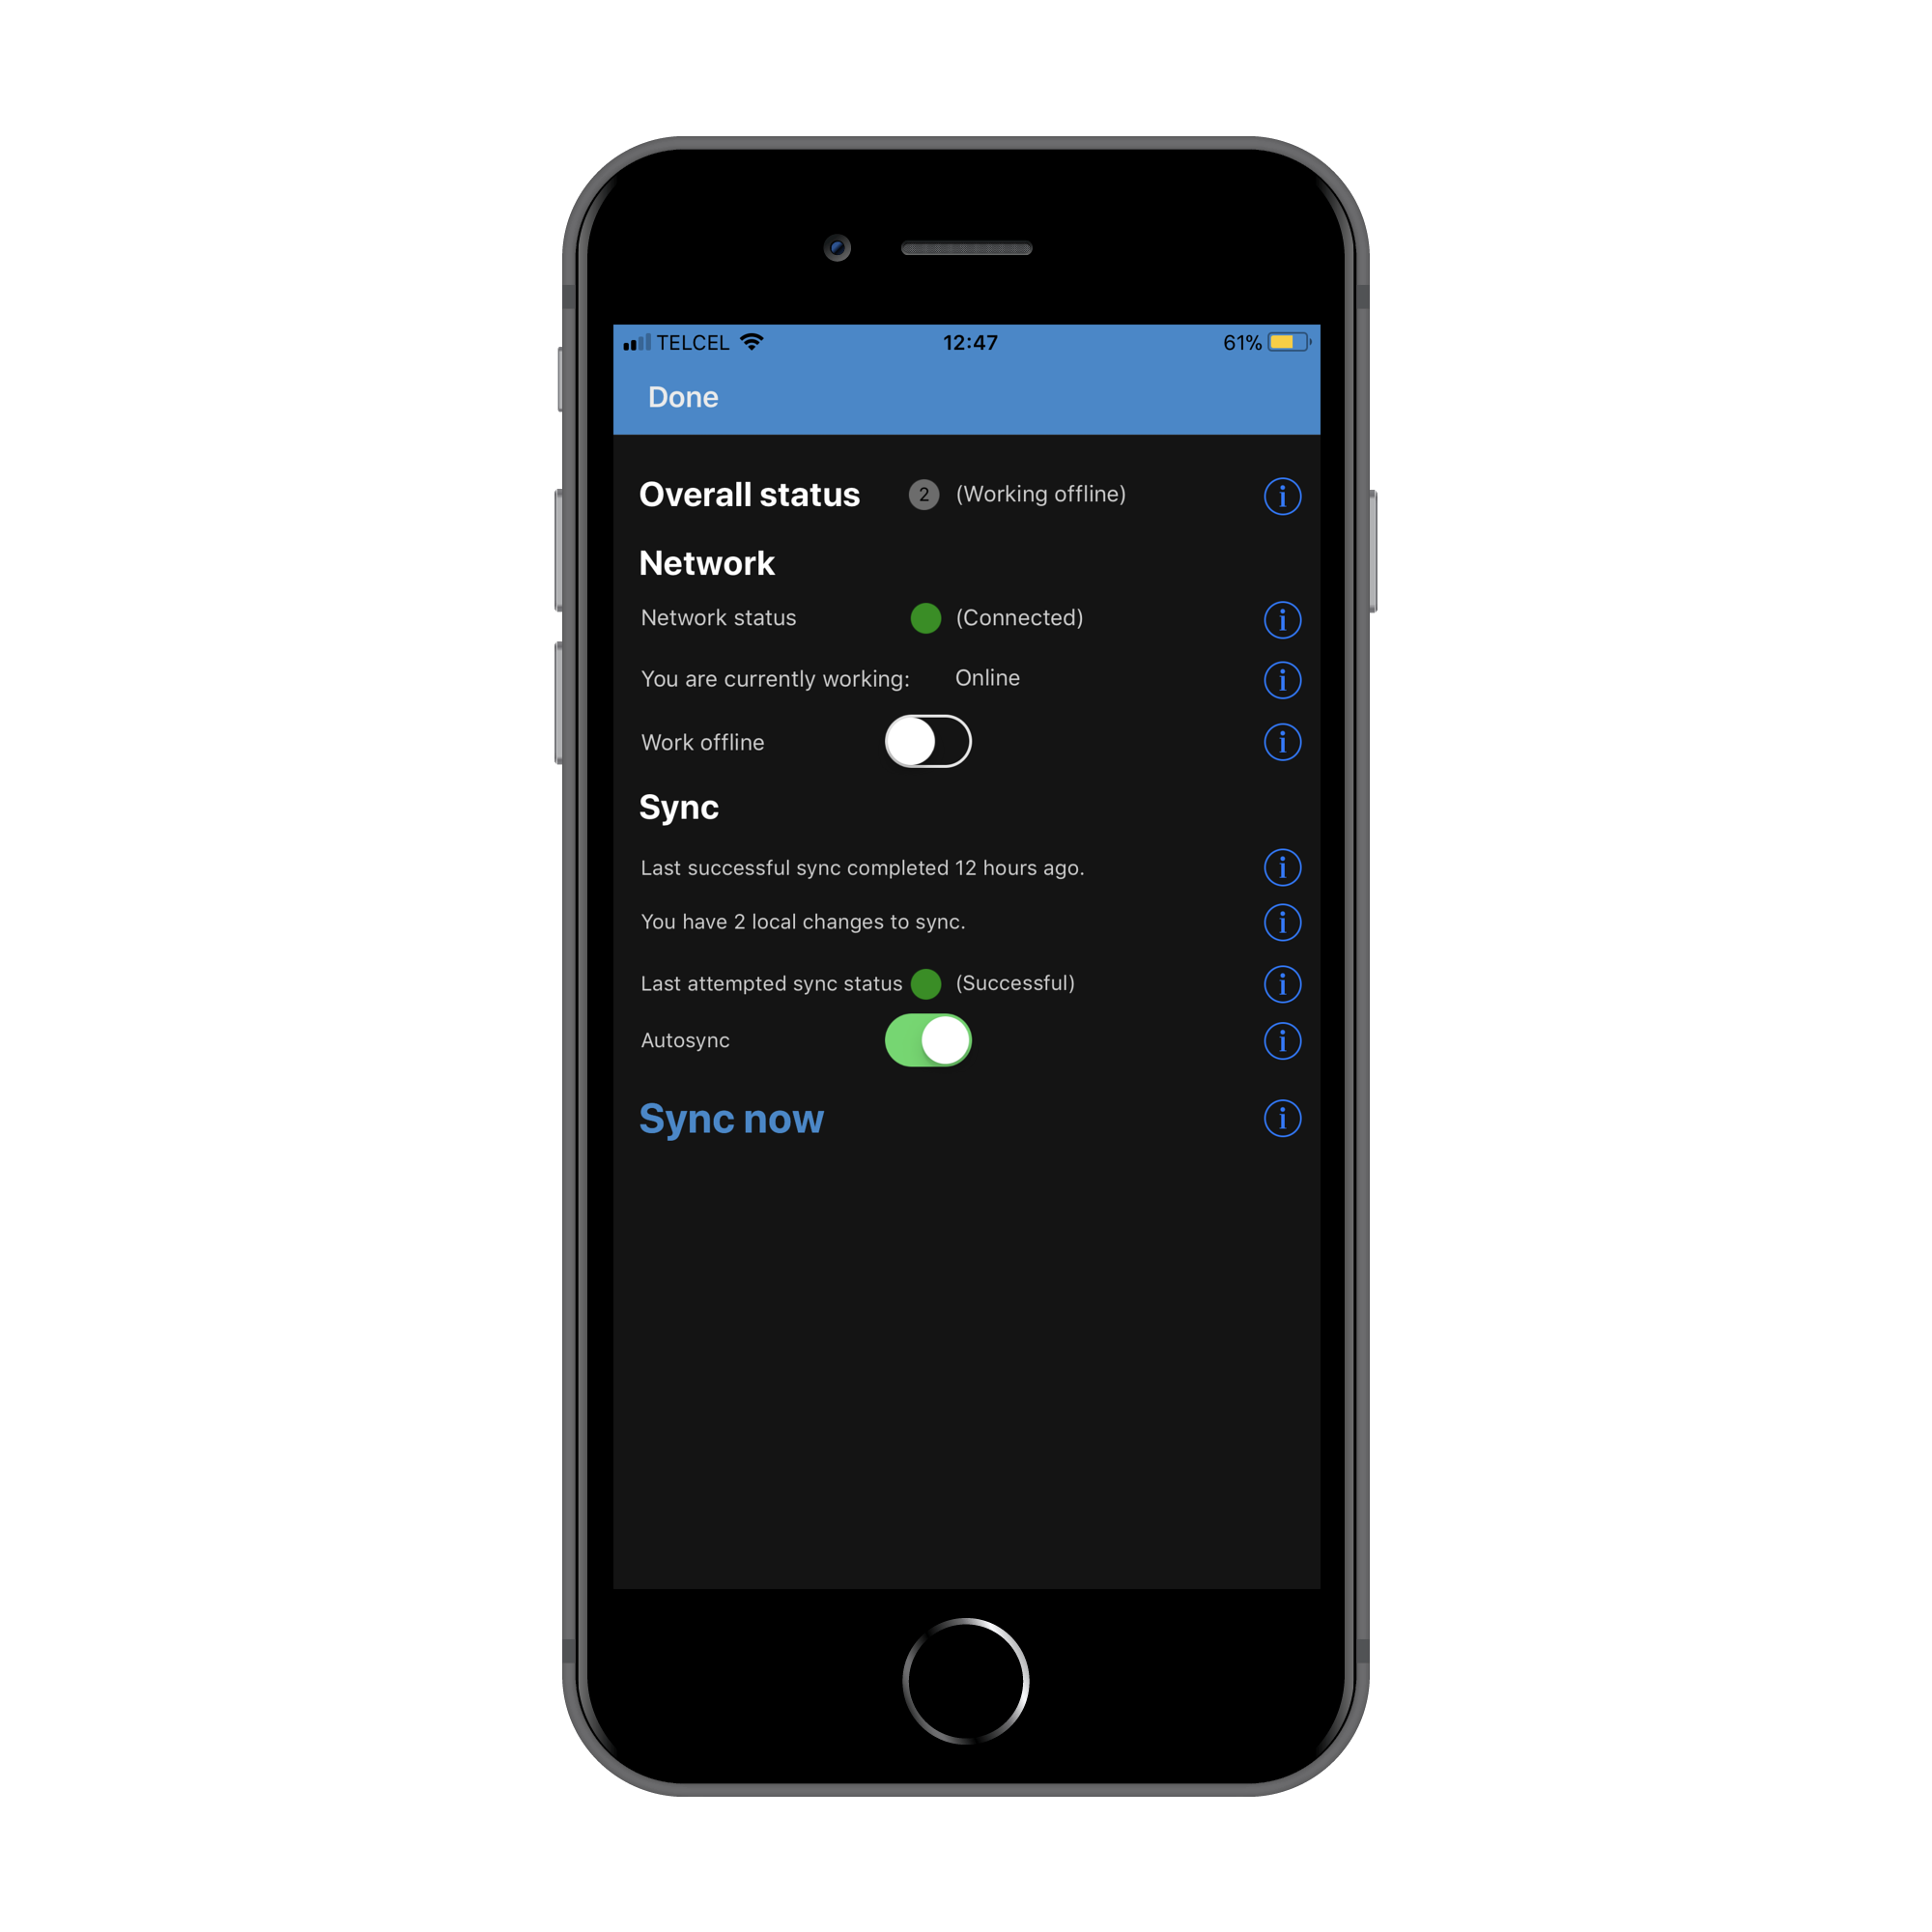
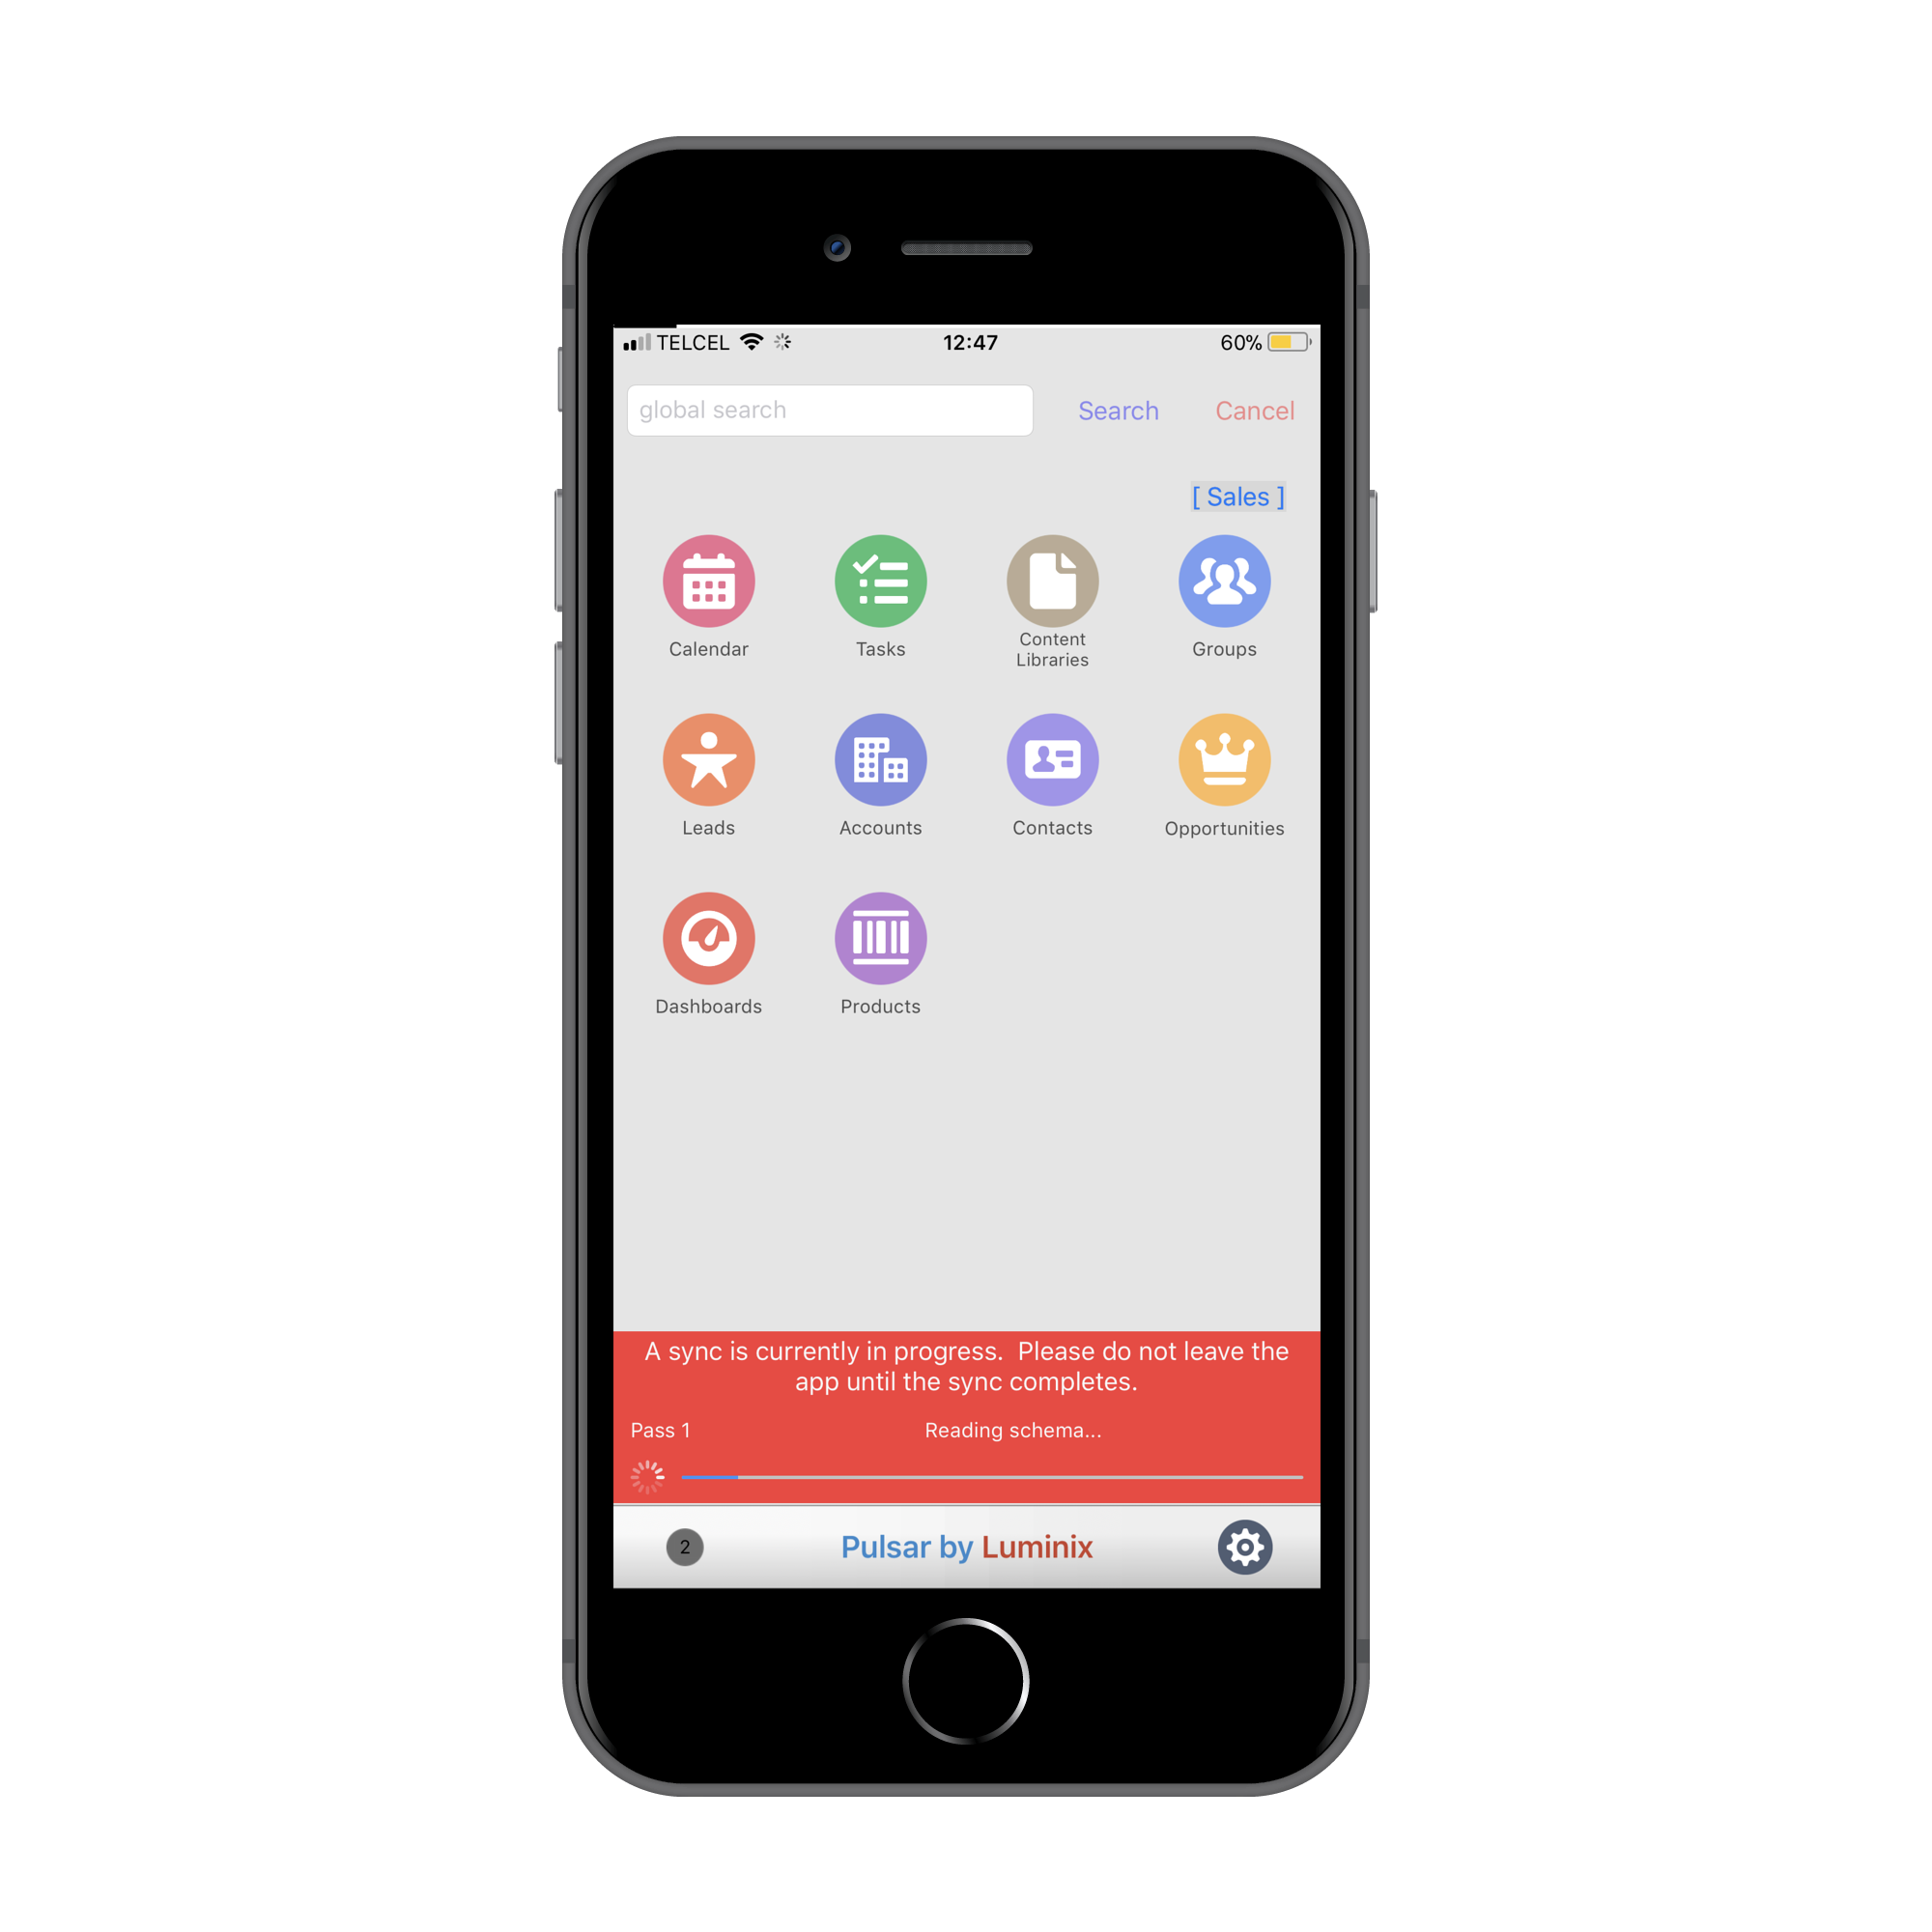
First of all you need to deactivate the work offline button and push the Sync now button.
You should remember that we created a Pulsar Setting record that declare which objects are going to be refresh during this Sync.
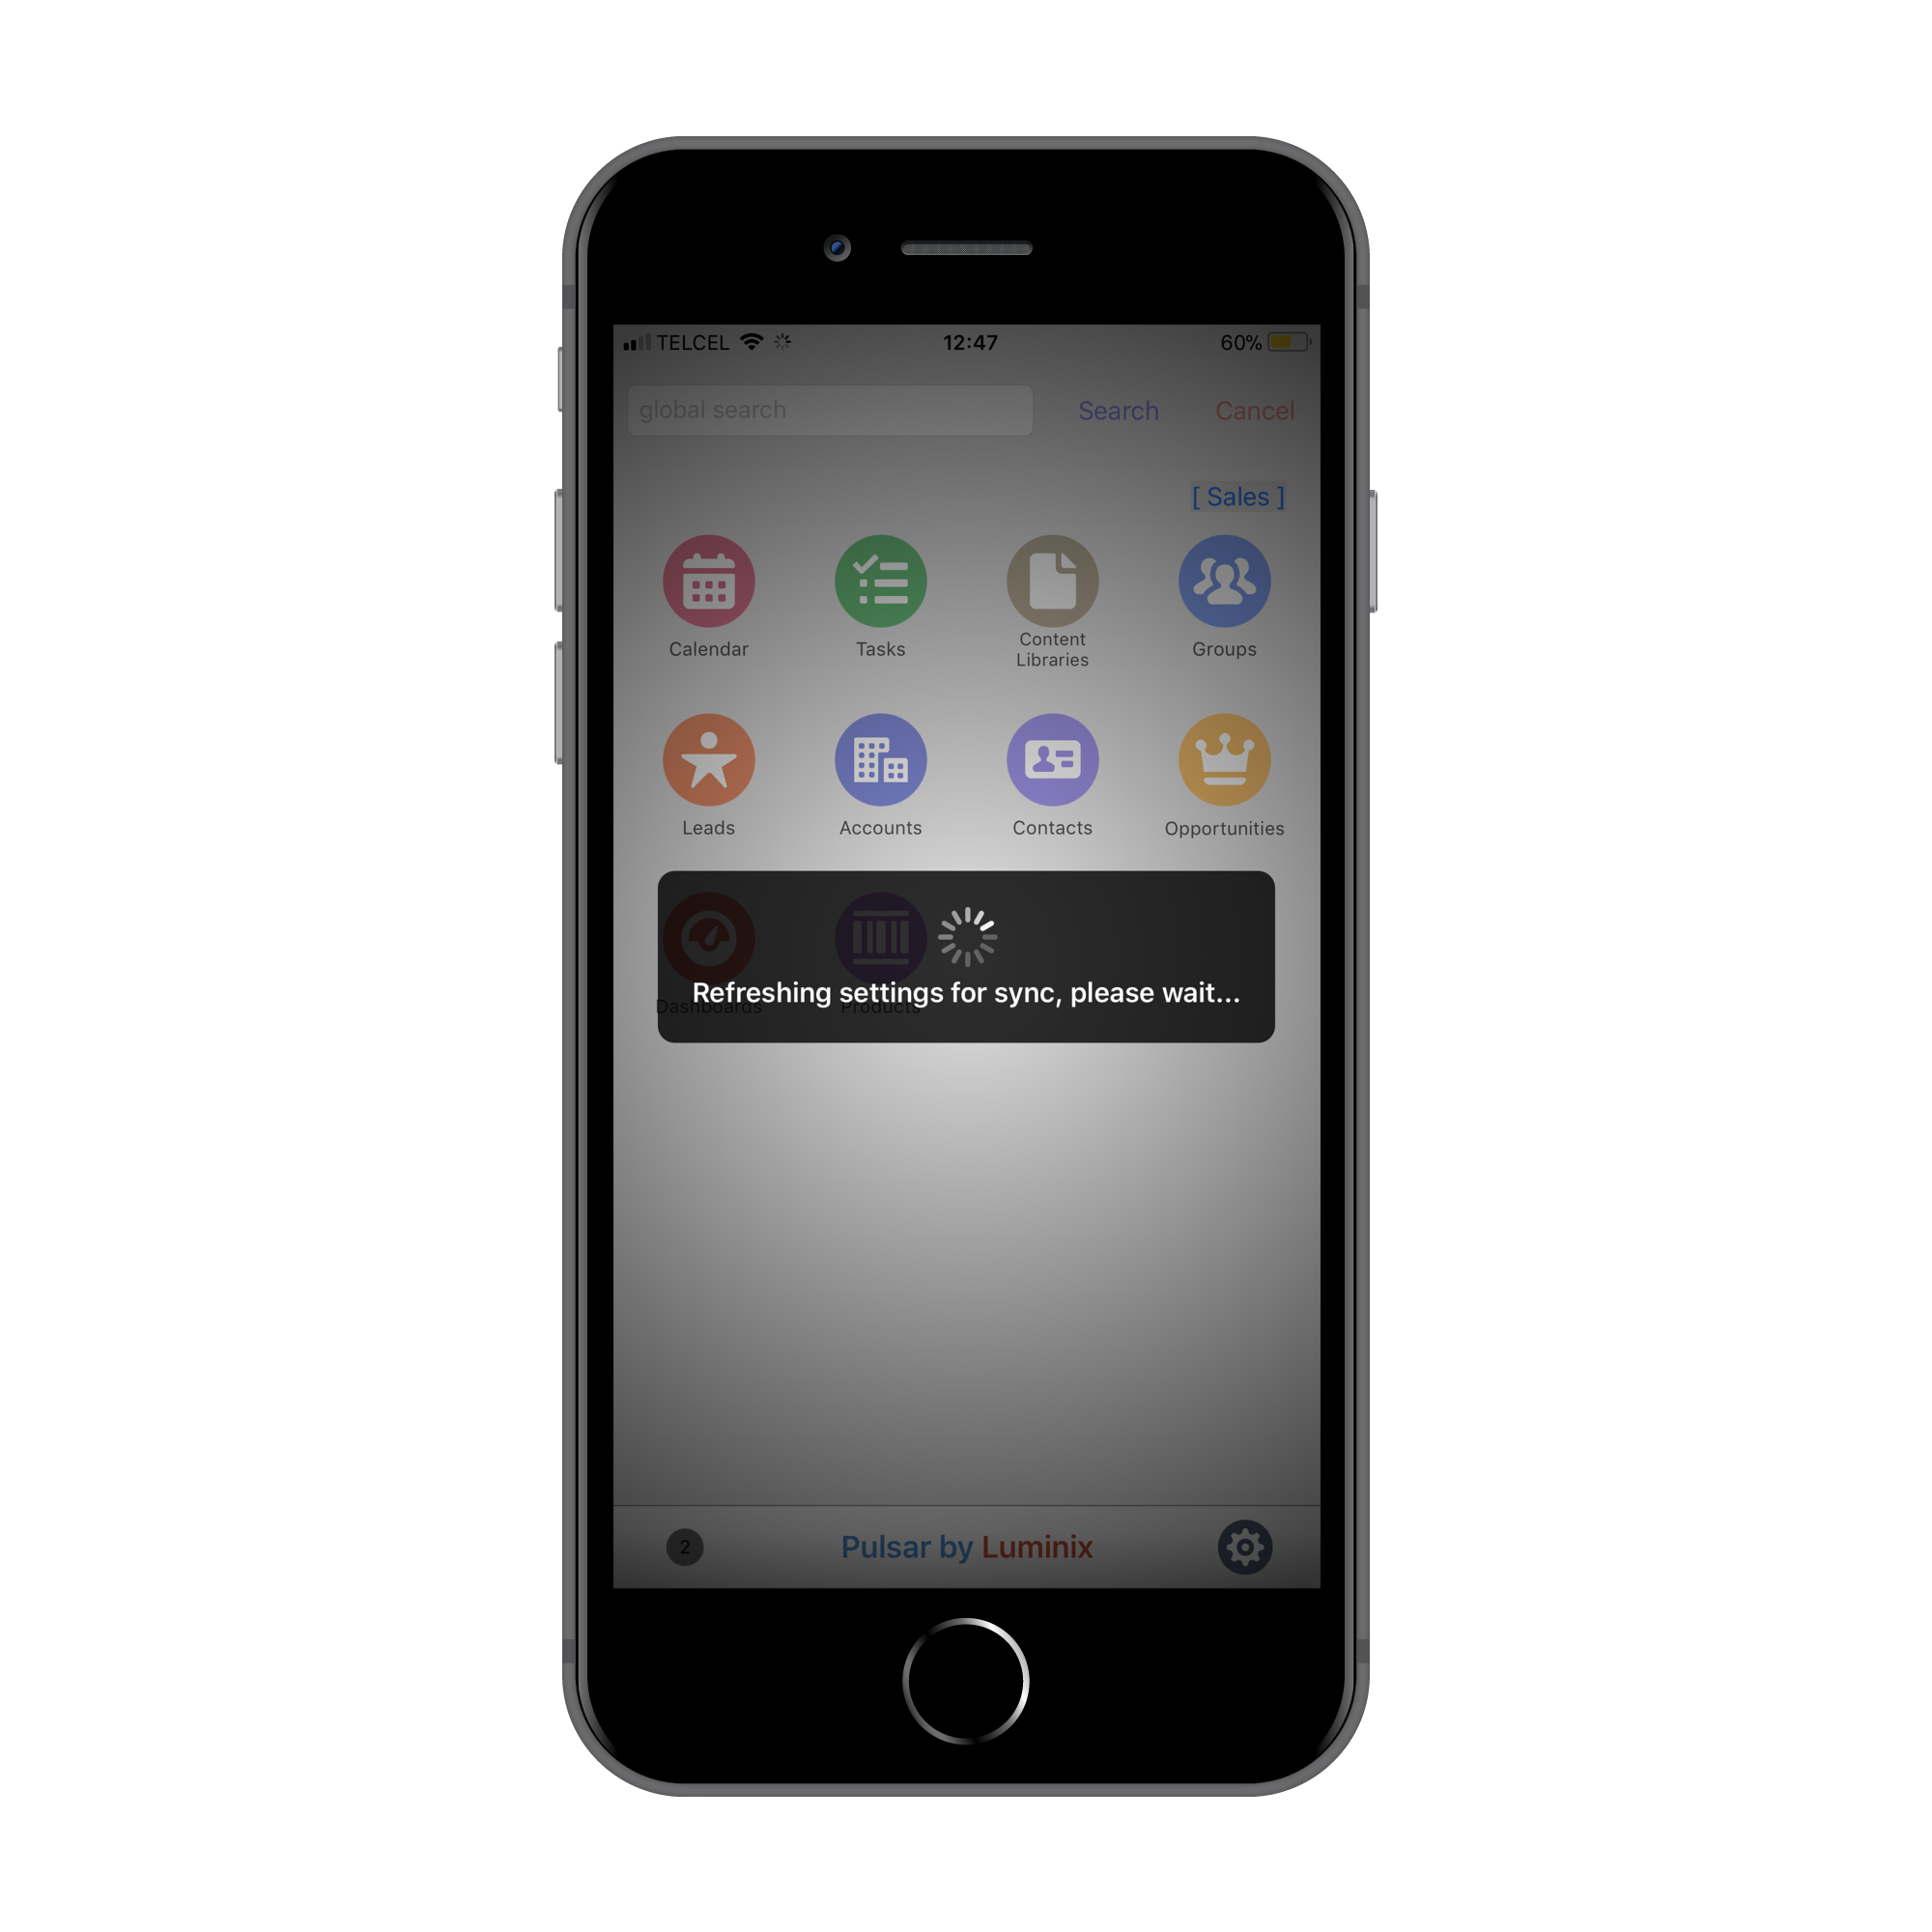
You will see the progress bar on your screen
At the end of the process the dot will turn to green if the sync was successfully completed.
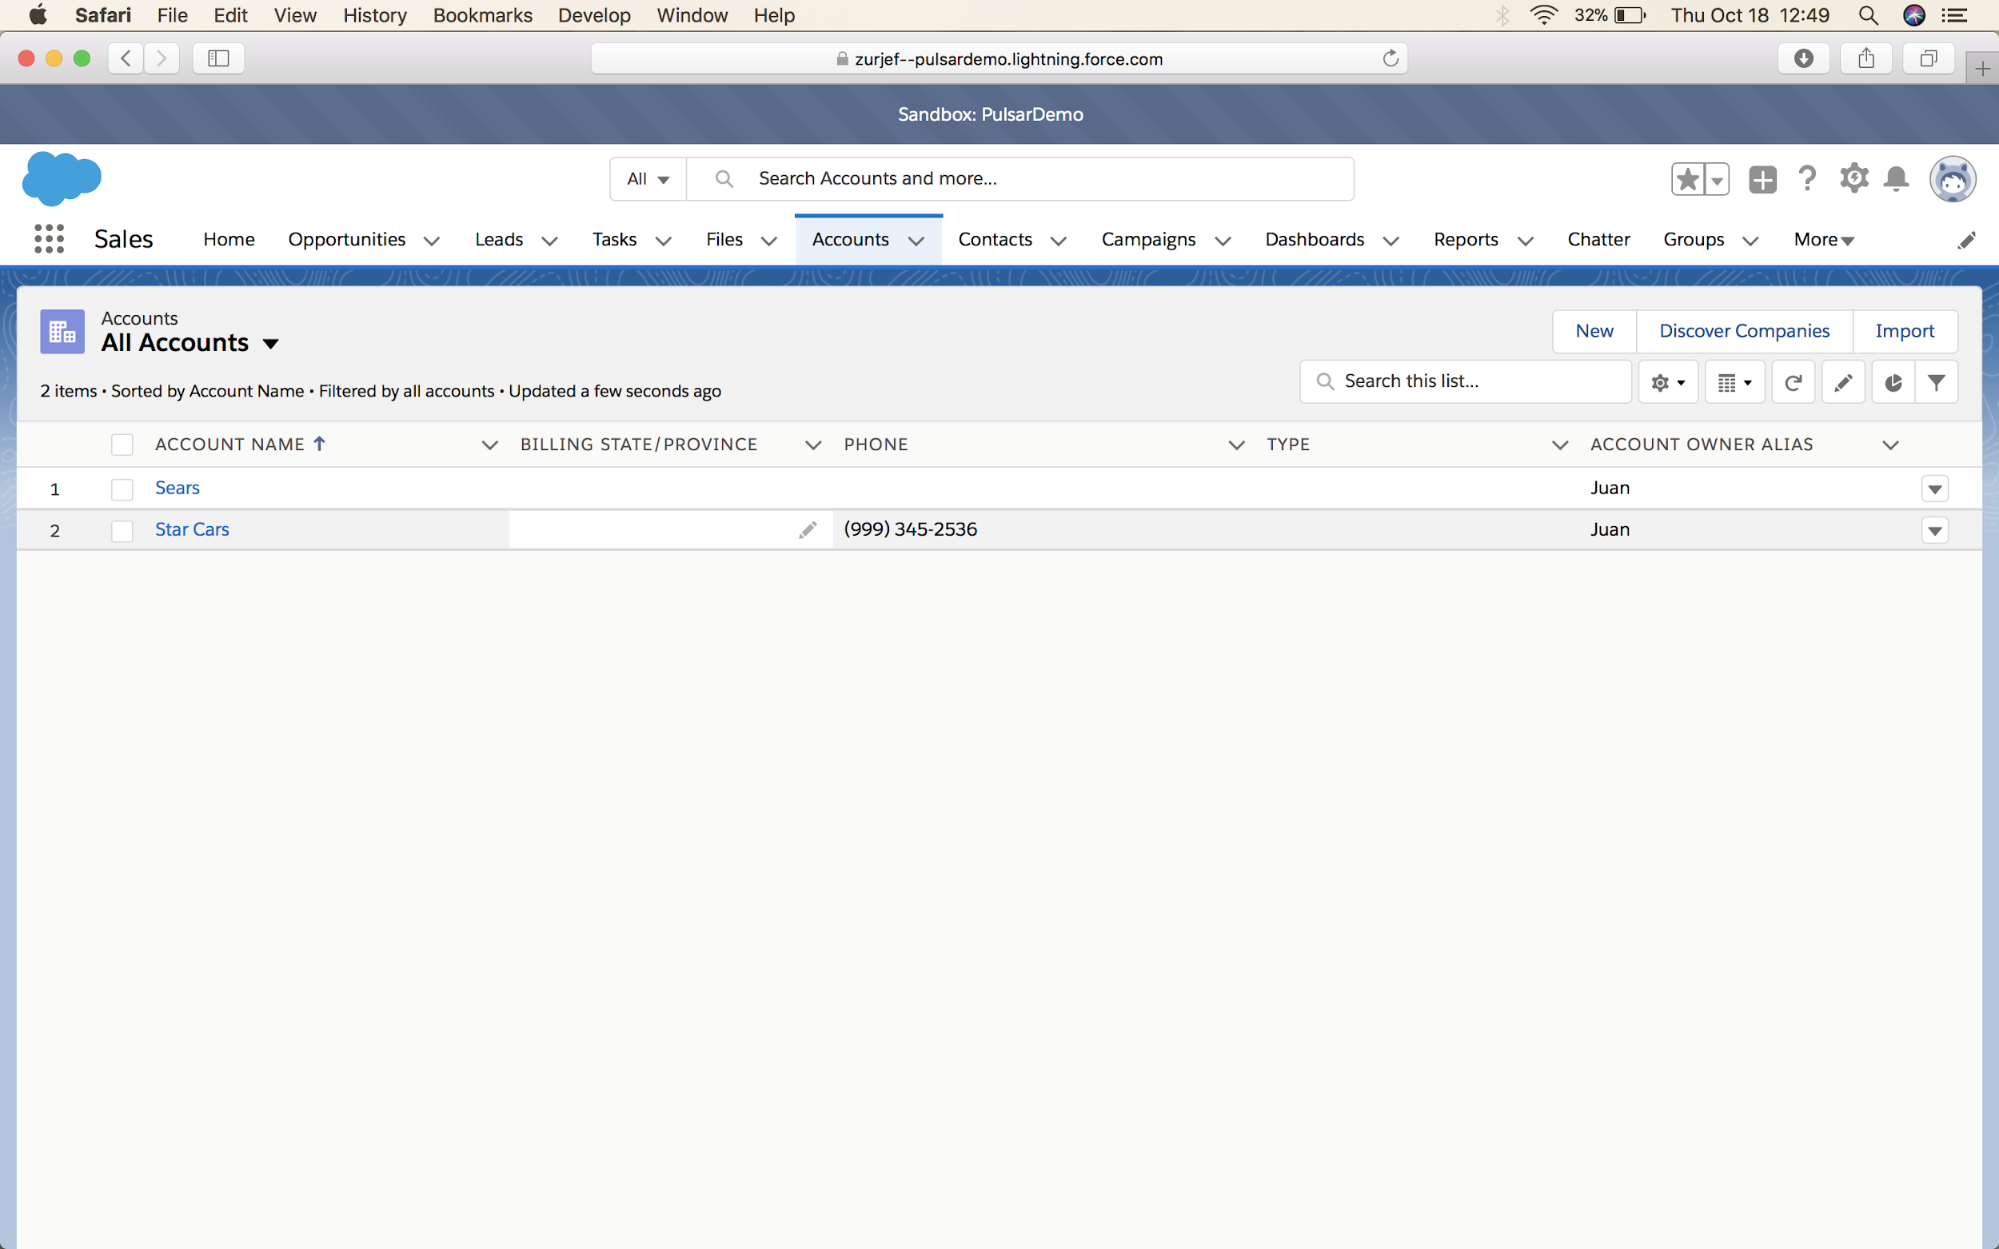
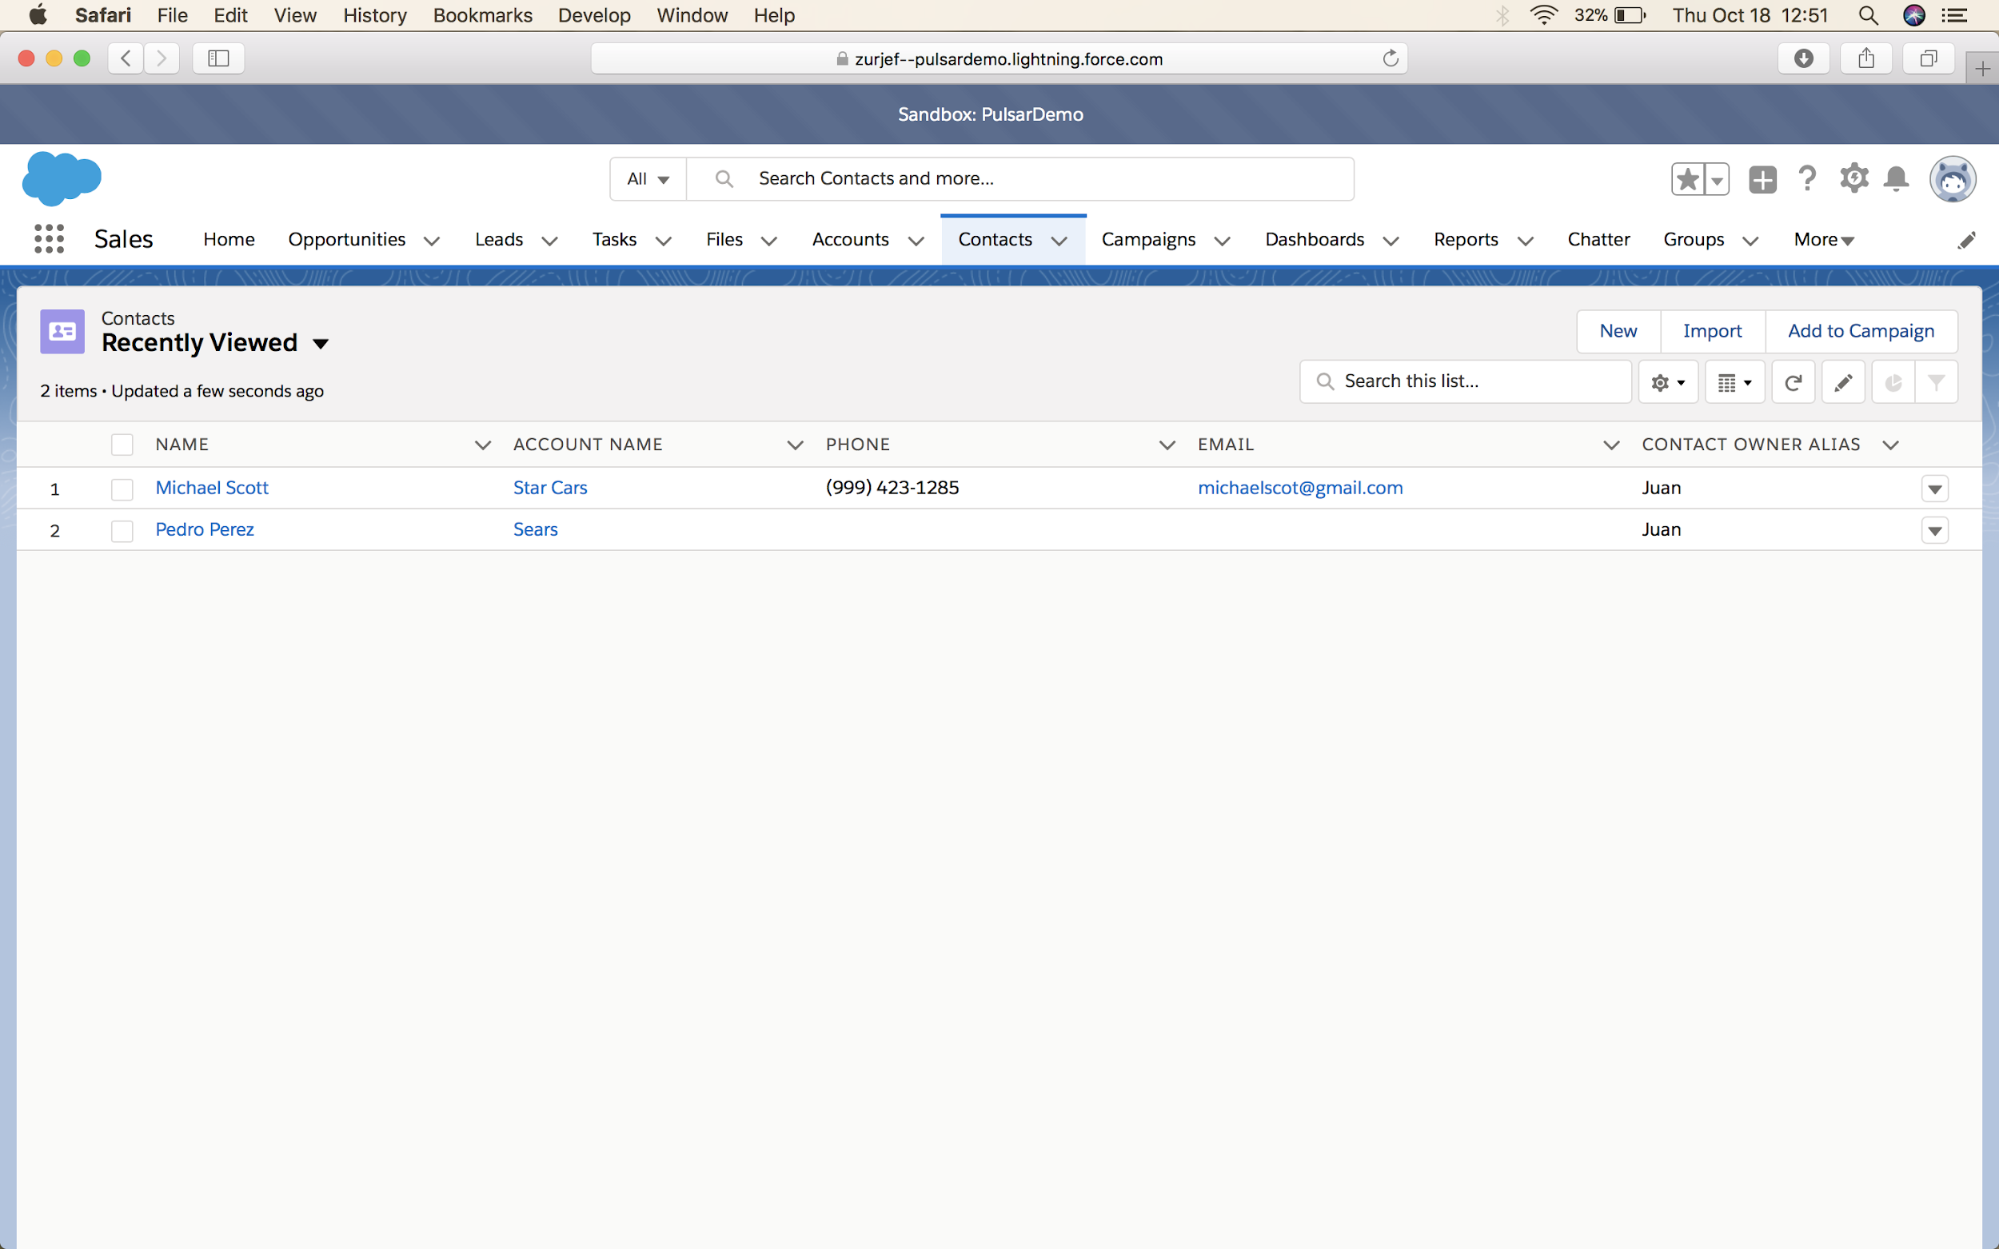
If you go to your Salesforce org, all the records that you created are there.
Making a custom Page
You have seen now how to use Salesforce with pulsar, but you can also have custom pages.
With this custom pages you can have your own HTML component that can have some functionality and you can use them offline.
You can make this pages do whatever you want , even CRUD operations.
Let’s do an example.
Here’s a problem:
There are people in Mexico, that sell uniforms for students in elementary and middle schools.
These people need to go to every school ,make a deal and take the order. Sometimes is difficult to take an online registration of the order because there aren’t wifi in every school.
That’s way the actual process is take notes in a notebook of everything. If these people work in a company they have to make a report of everything that have in the notebooks, and with this the company will know about the order.
Lets create a custom page that solves this problem.
First of all, we need to define how we are going to solve the problem through Salesforce.
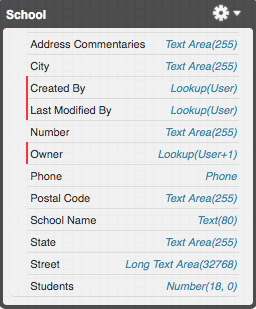
I have decided to make 3 custom objects and use to 2 standard objects.
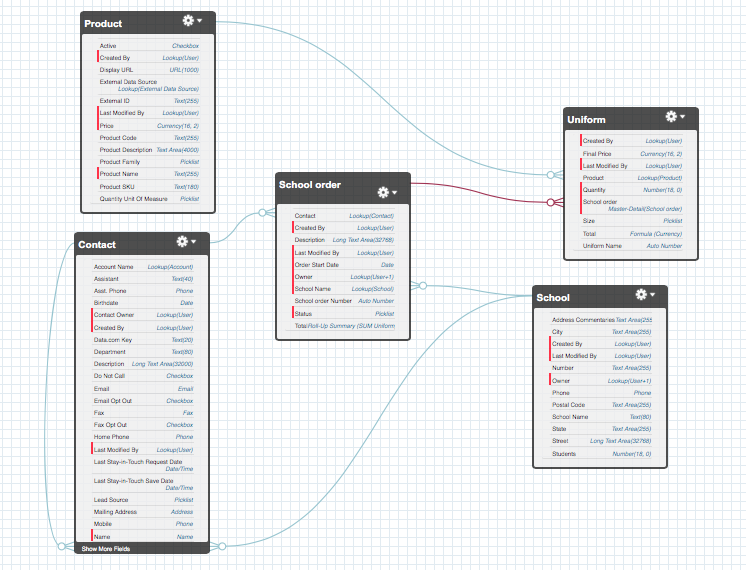
The green ones relationships are lookup, and the red one is master-detail relationship.
The 2 standard objects are:
- Contact
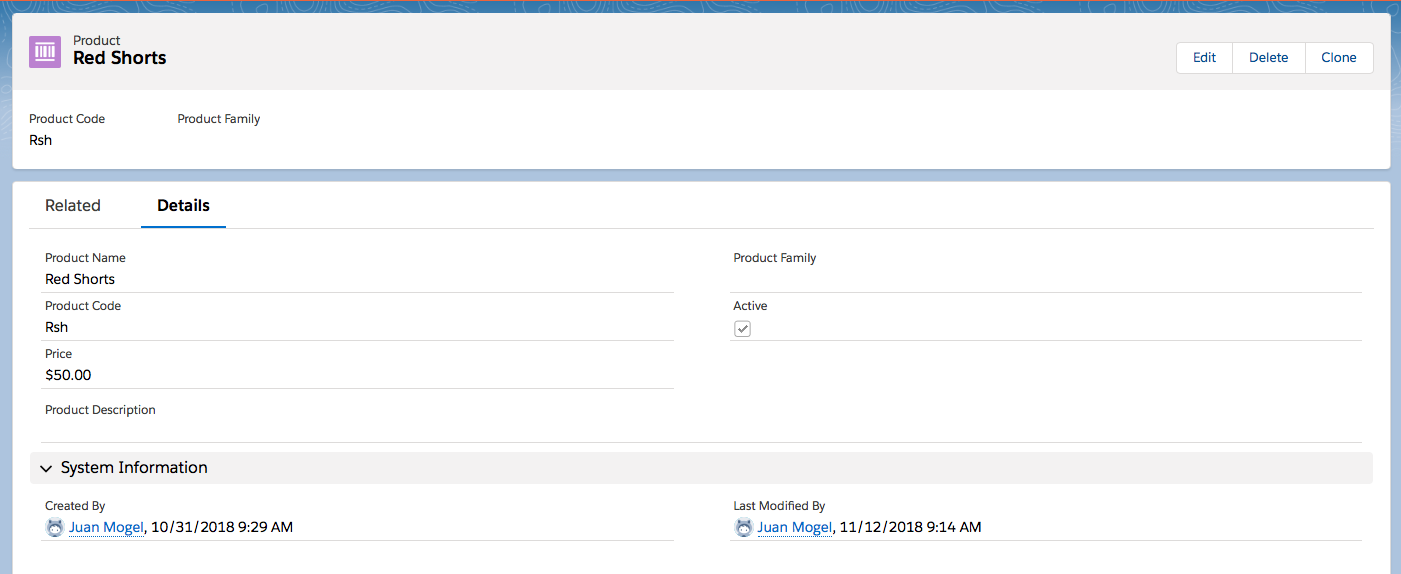
- Product: its a representation of every type of clothes that can be sold. For example:
The 3 custom objects are:
For example:

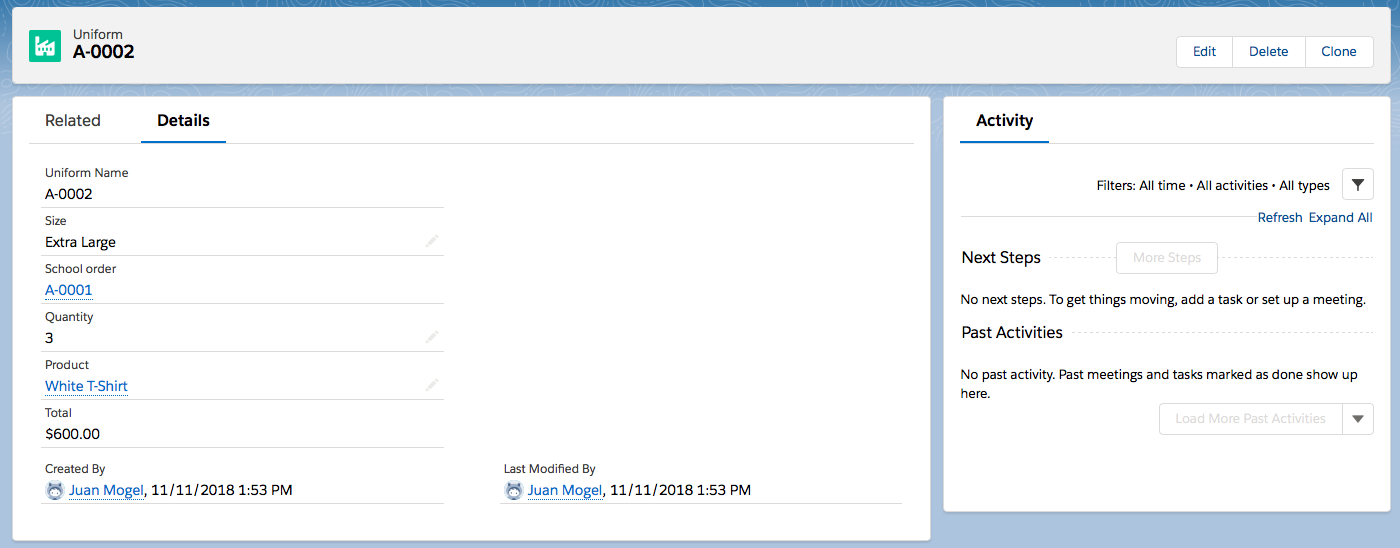
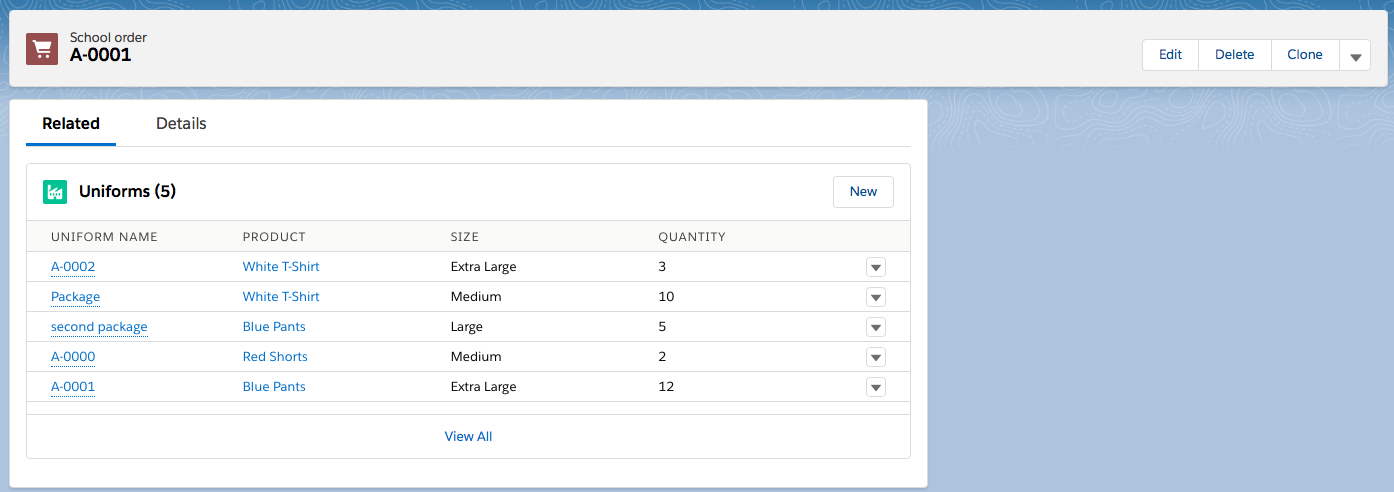
- Uniform: its a representation of a part of a school order, this object is used to add some products in some size in some quantity to the school order. One school order has many uniforms.
The Total field is a formula that multiplies the price field of the product related to the uniform and the quantity field.
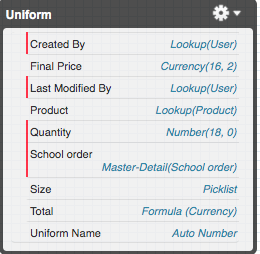
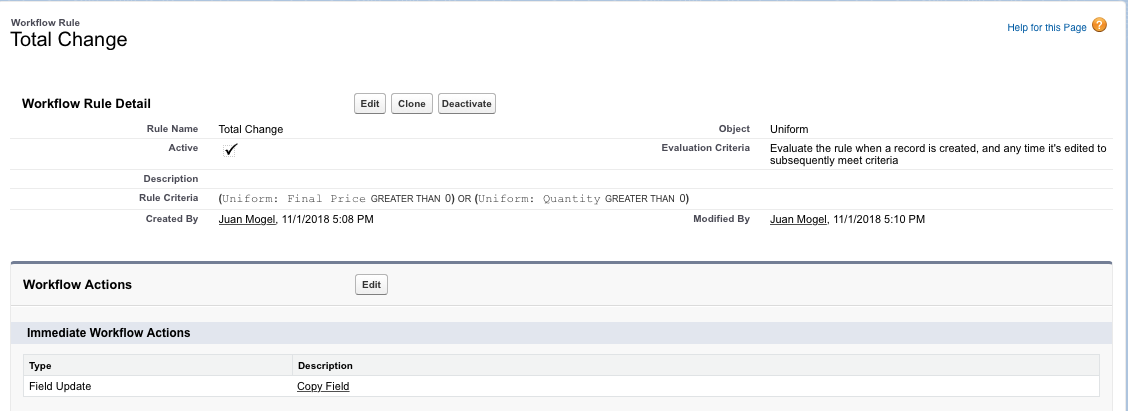
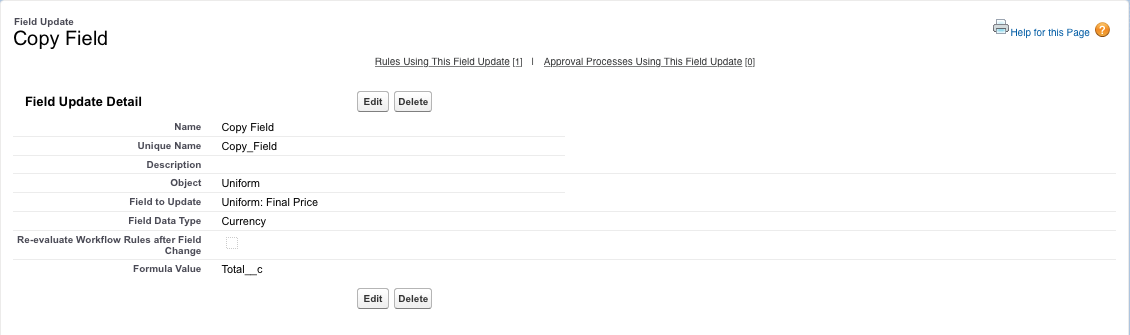
As the next step We are going to need the Total field in a Roll-Up Summary field from other object. You can’t use a formula field in a Roll-Up Summary field , that’s why we are going to use a workflow to copy the total field in a hidden field called Final Price.
For example:
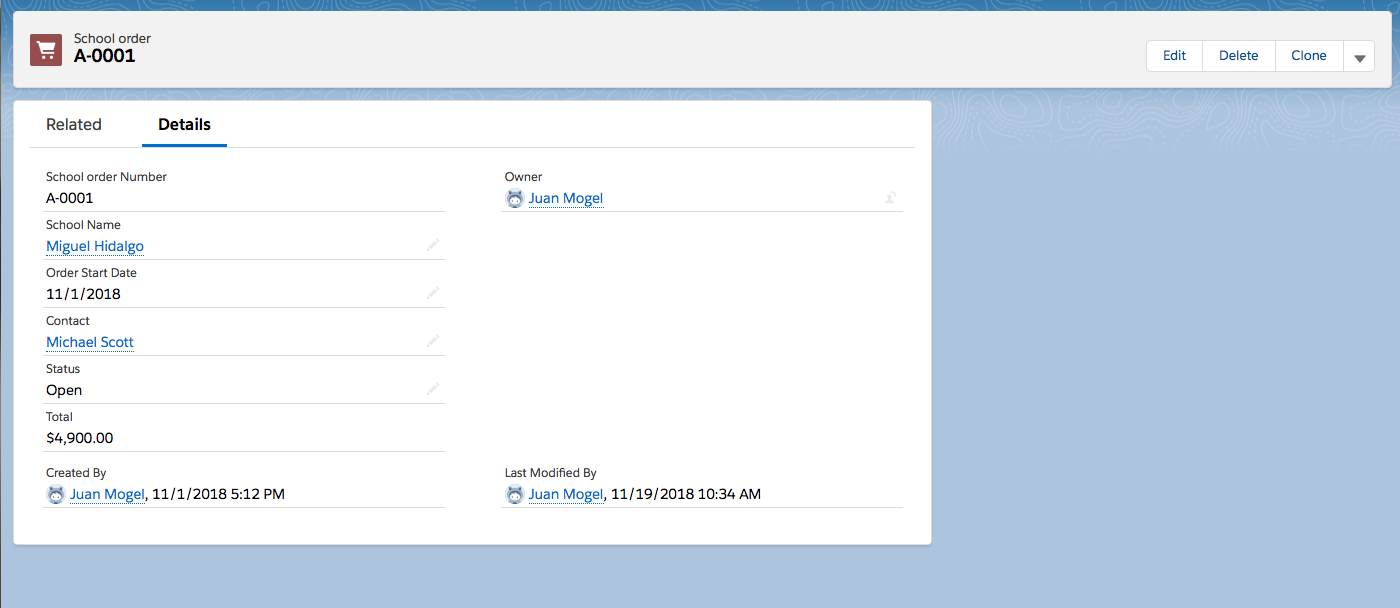
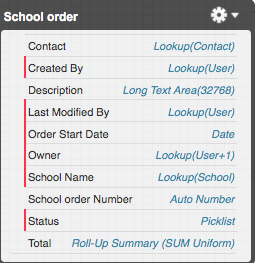
- School Order: its the order that is generated in every school.
For example:
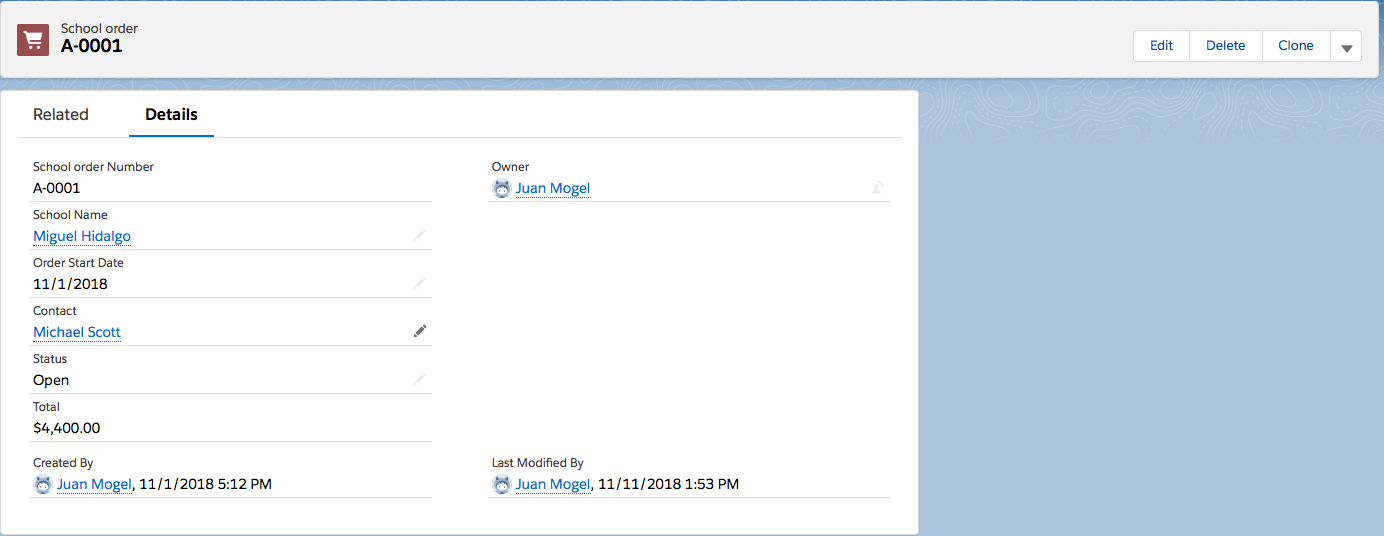
This object has a Roll-Up Summary field called Total, it summarizes the final price field from all the uniform records related to the School Order Record.
Create an HTML file
Before start we need to clarify something,there are 2 ways to get to a custom page inside pulsar:
- Define a tab on Pulsar Homepage: with this option you need to add some features for users in order to related the record that you are going to create with other records or objects
- Define a button on a particular record, so that the user can open the page from a particular record
For this example we are going to work with the second option, you need to take this decision before start because if you choose the second option the Record ID will be passed as an argument to the HTML file which can then be used to look up relevant information and display.
You need to create a HTML page that add functionality to Pulsar.
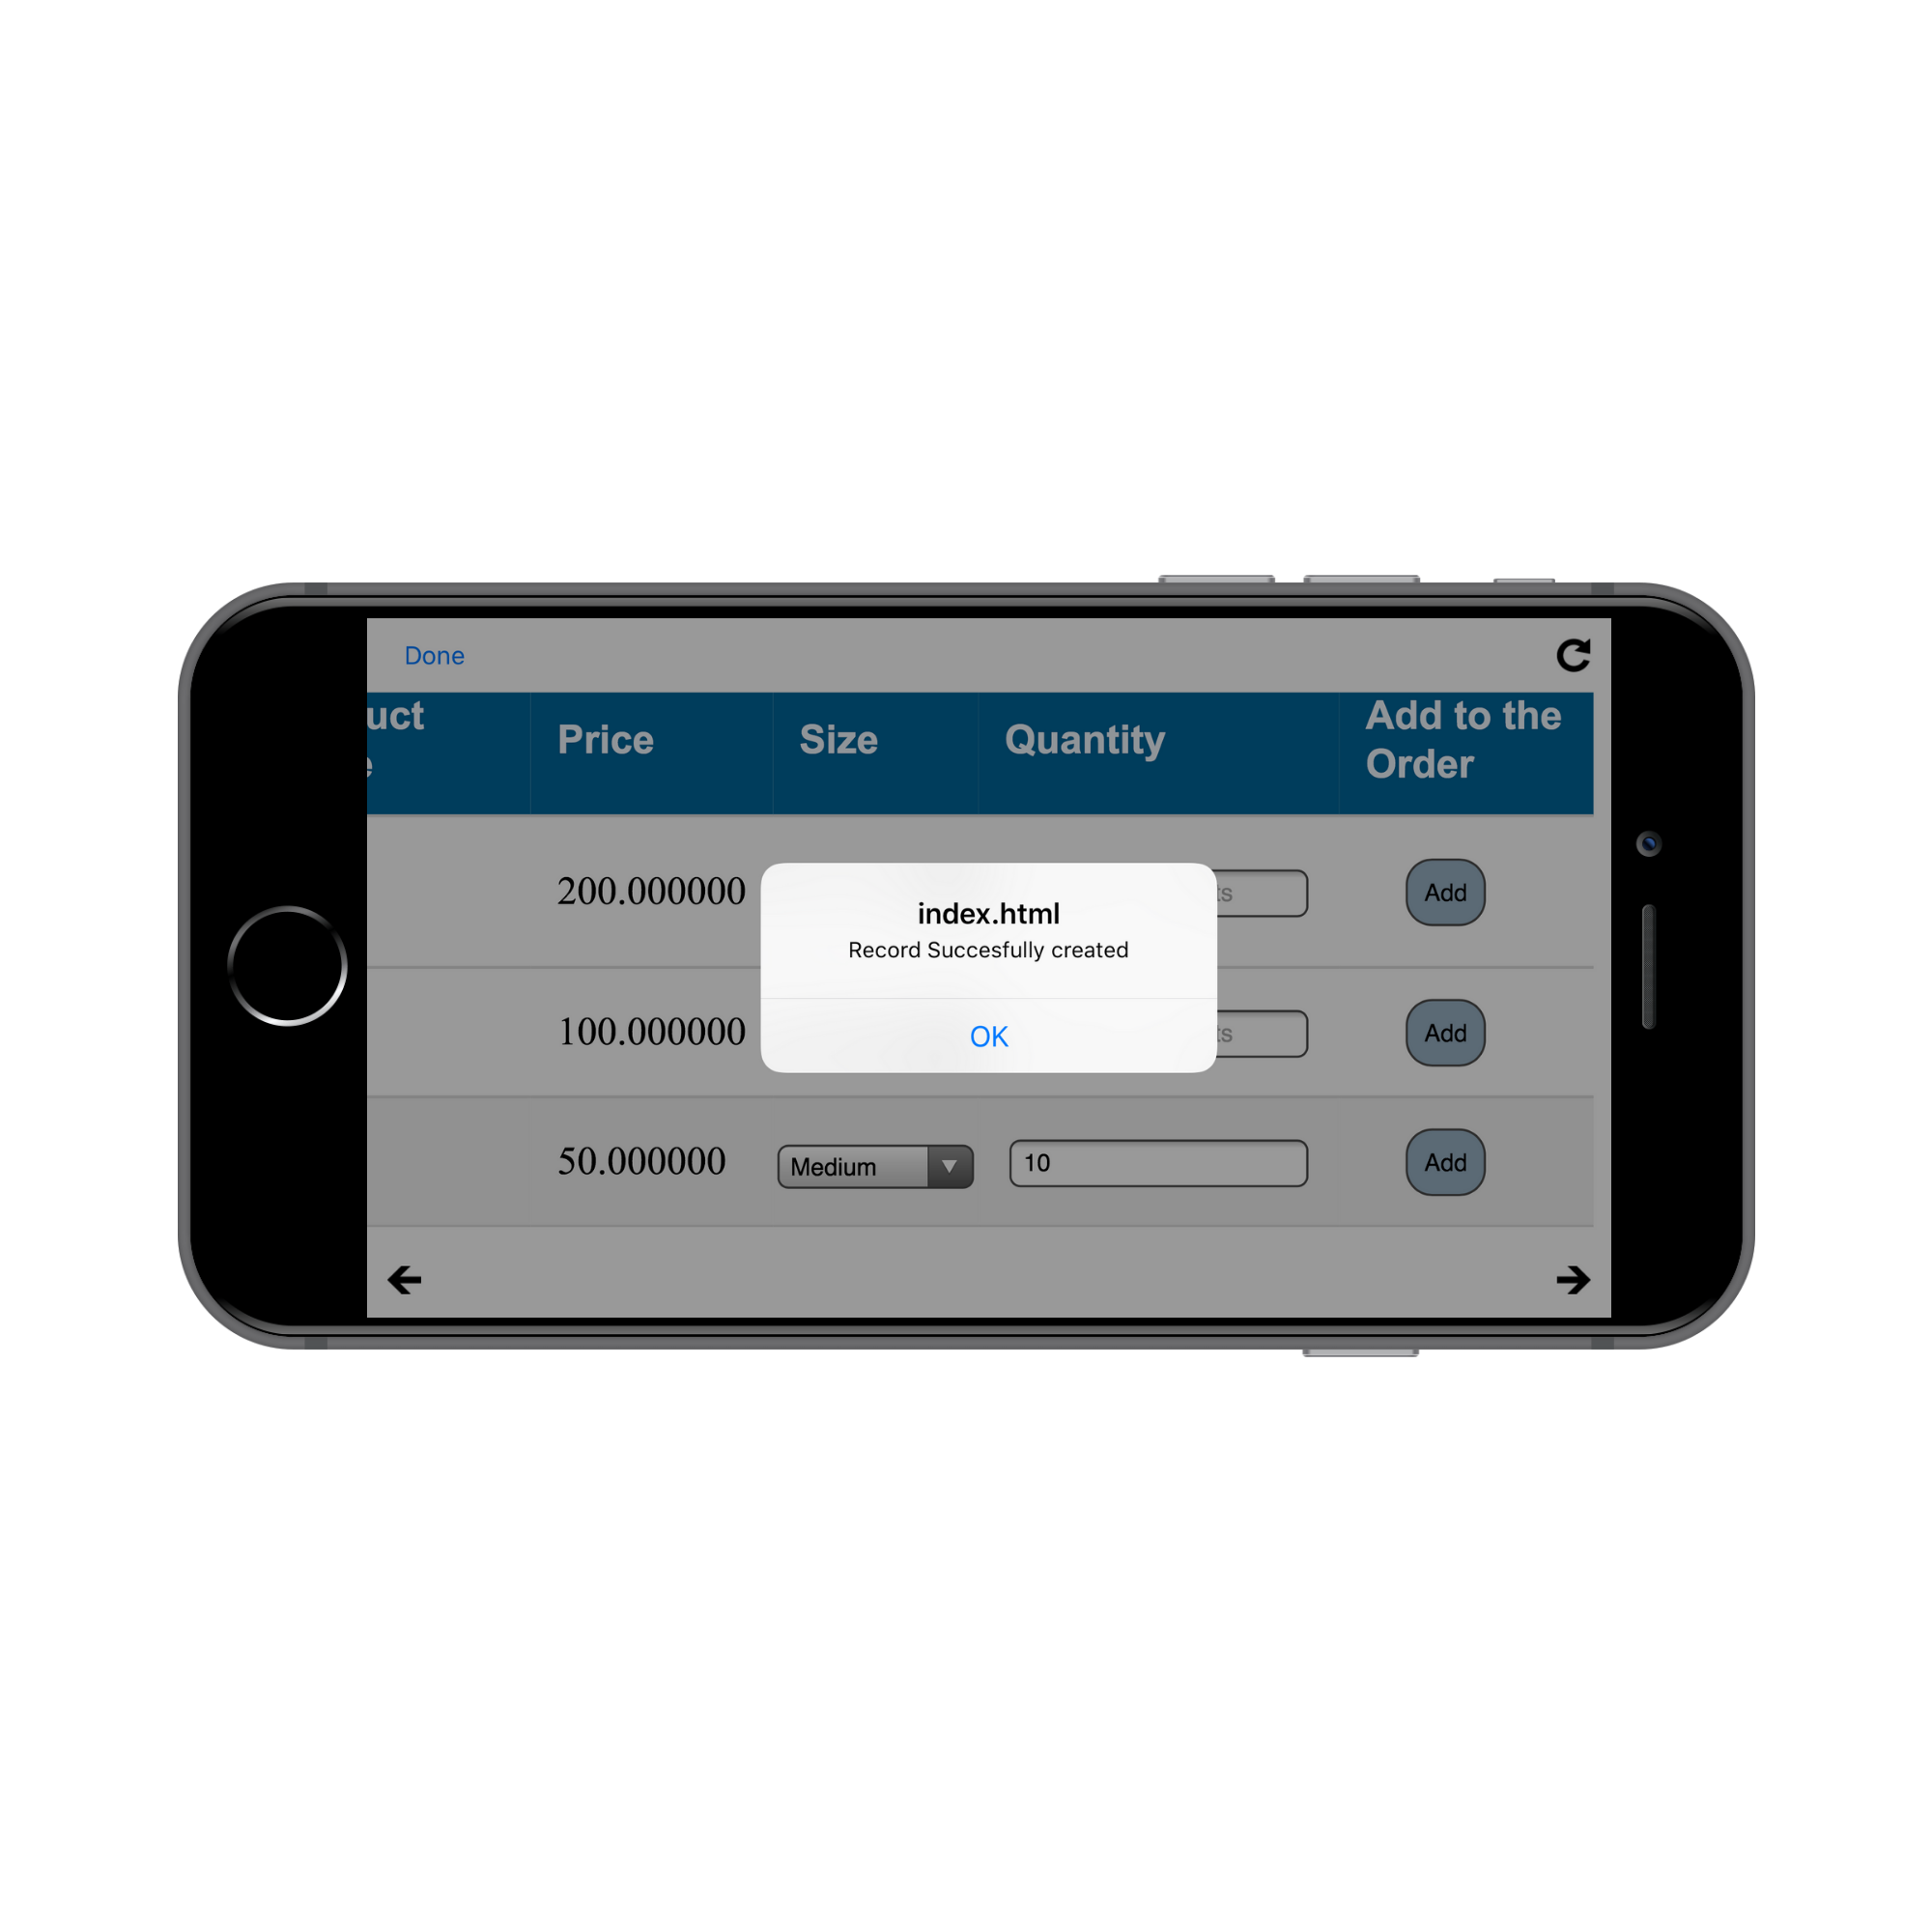
In this example we are going to make a table that has all the existing products records and there will be a button that add the order to the School order.
In order to add an order to the record you need to choose the size of the product and how many products of the chosen size you want to add. When you push the Add button you are creating a Uniform record related to the School Order record.
This is how it’s going to work
First the user get in to School Order list
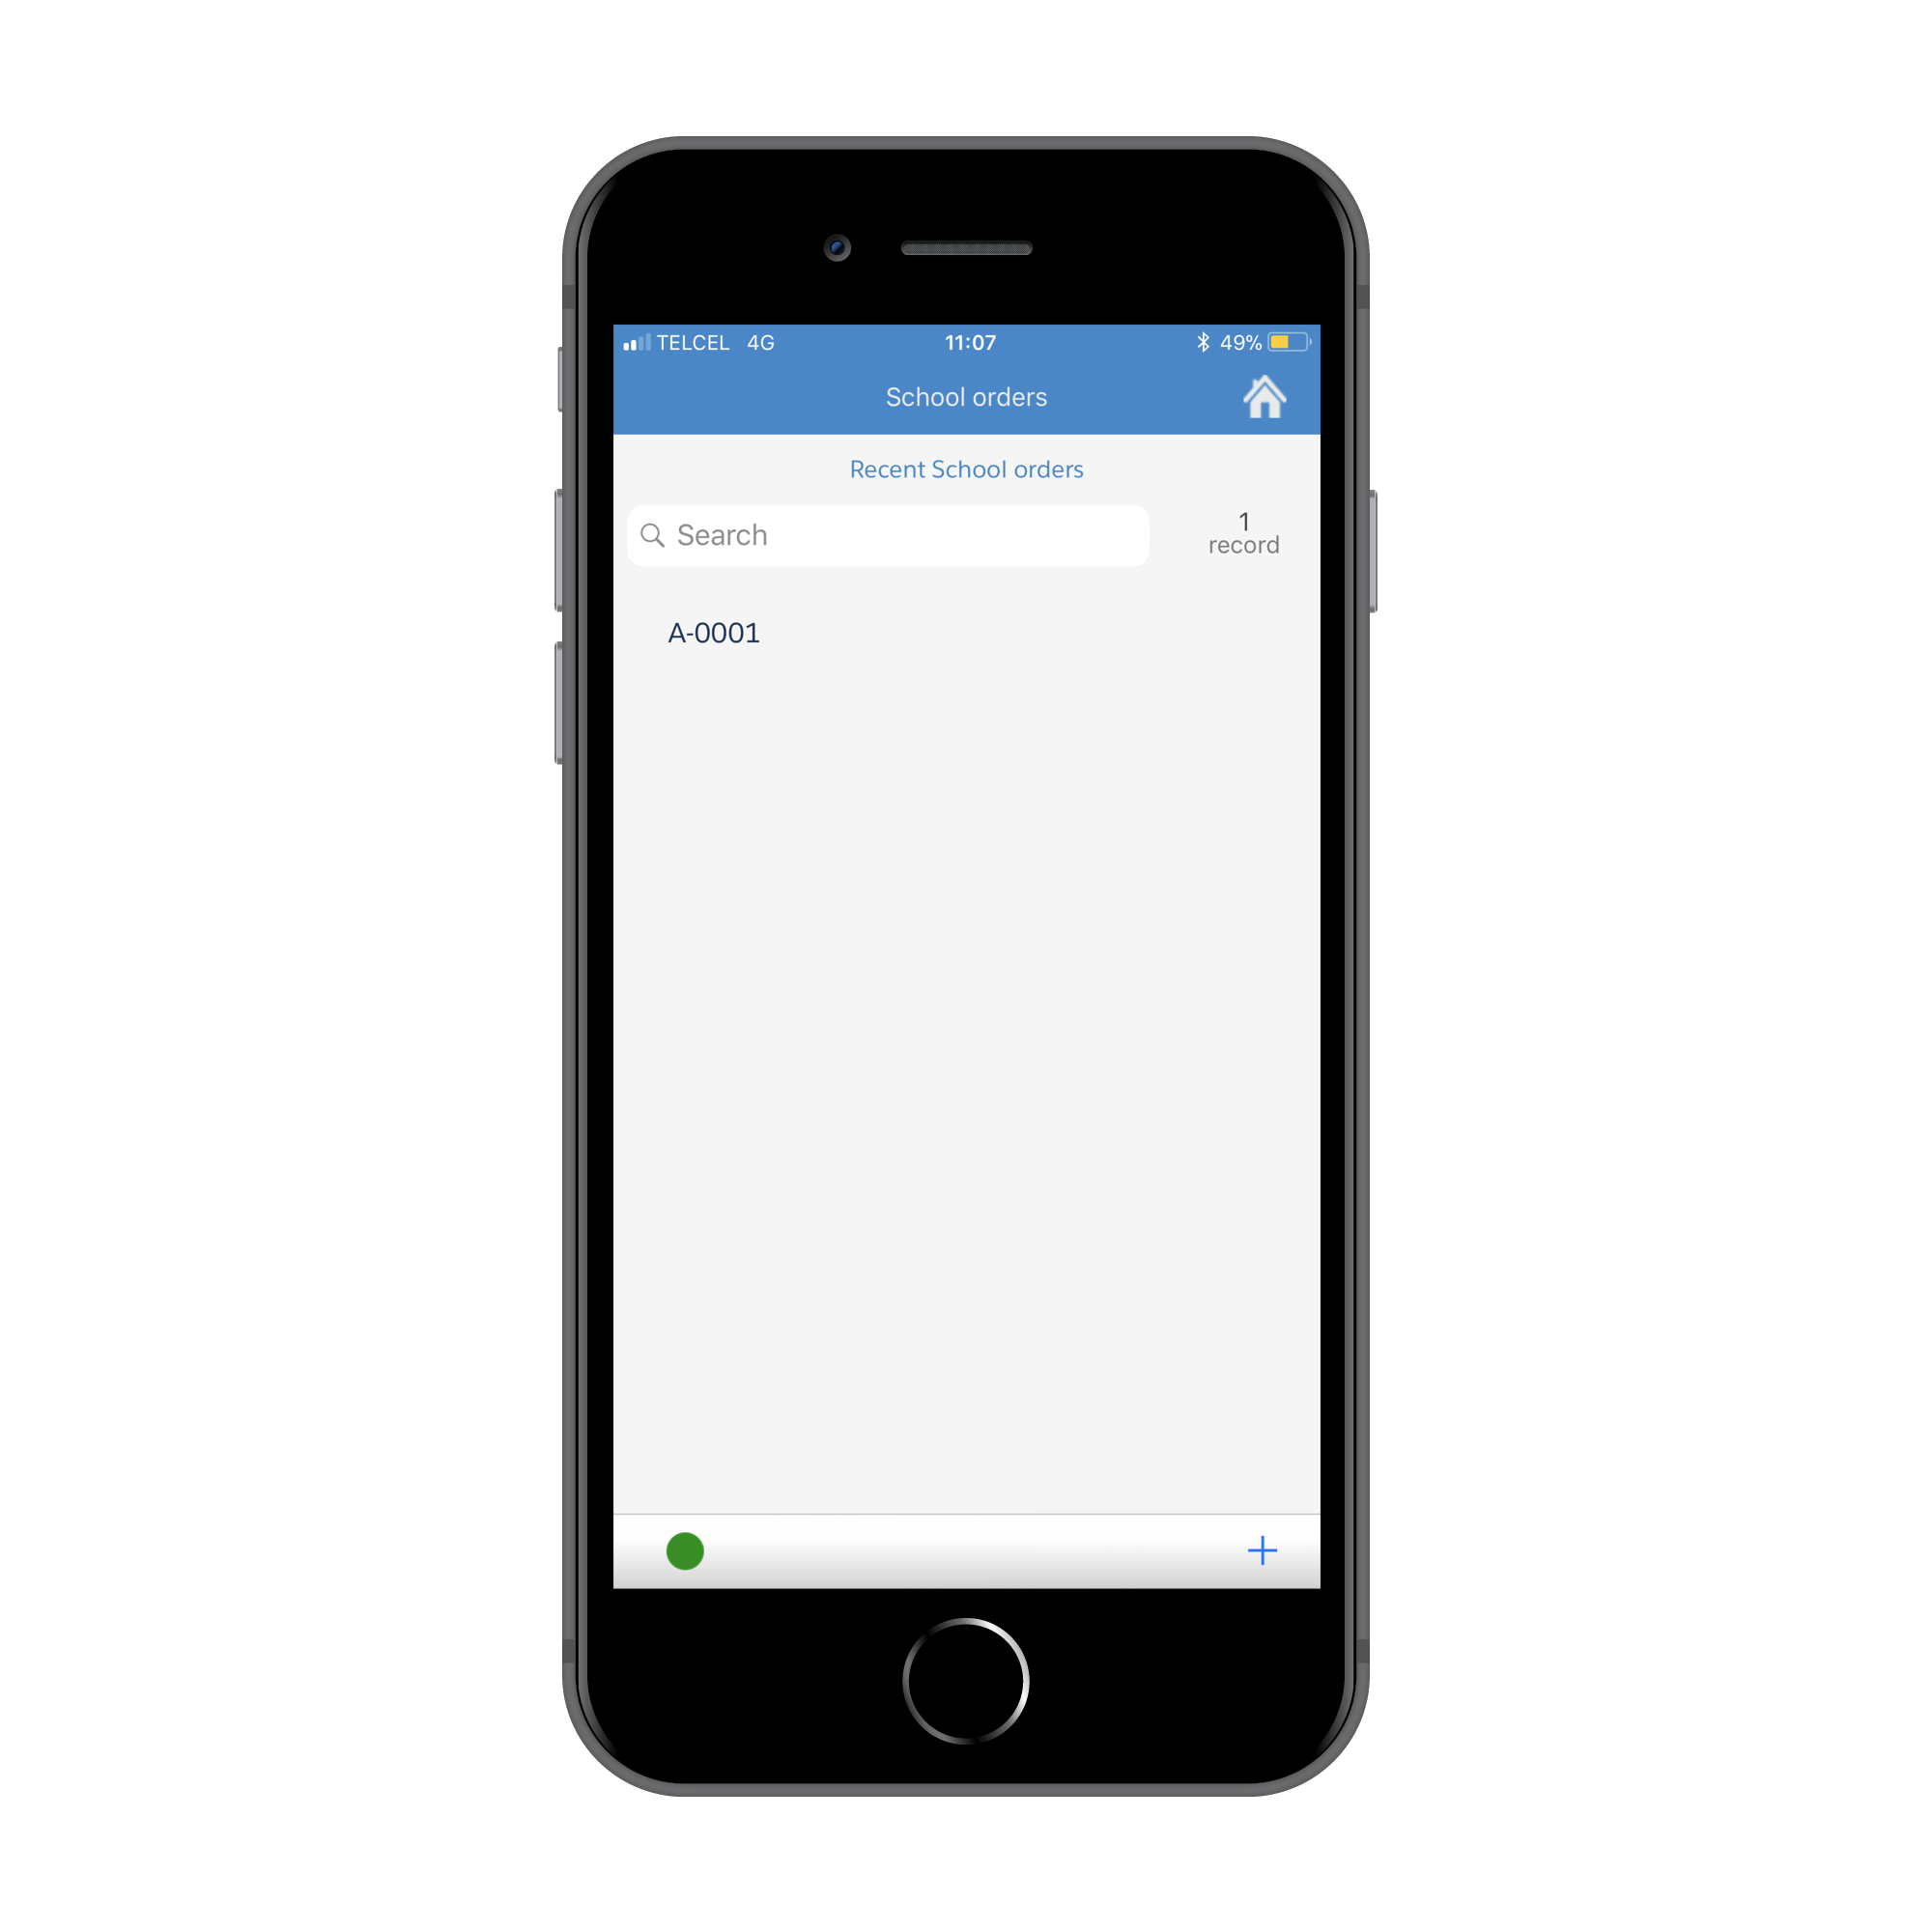
Choose one record.
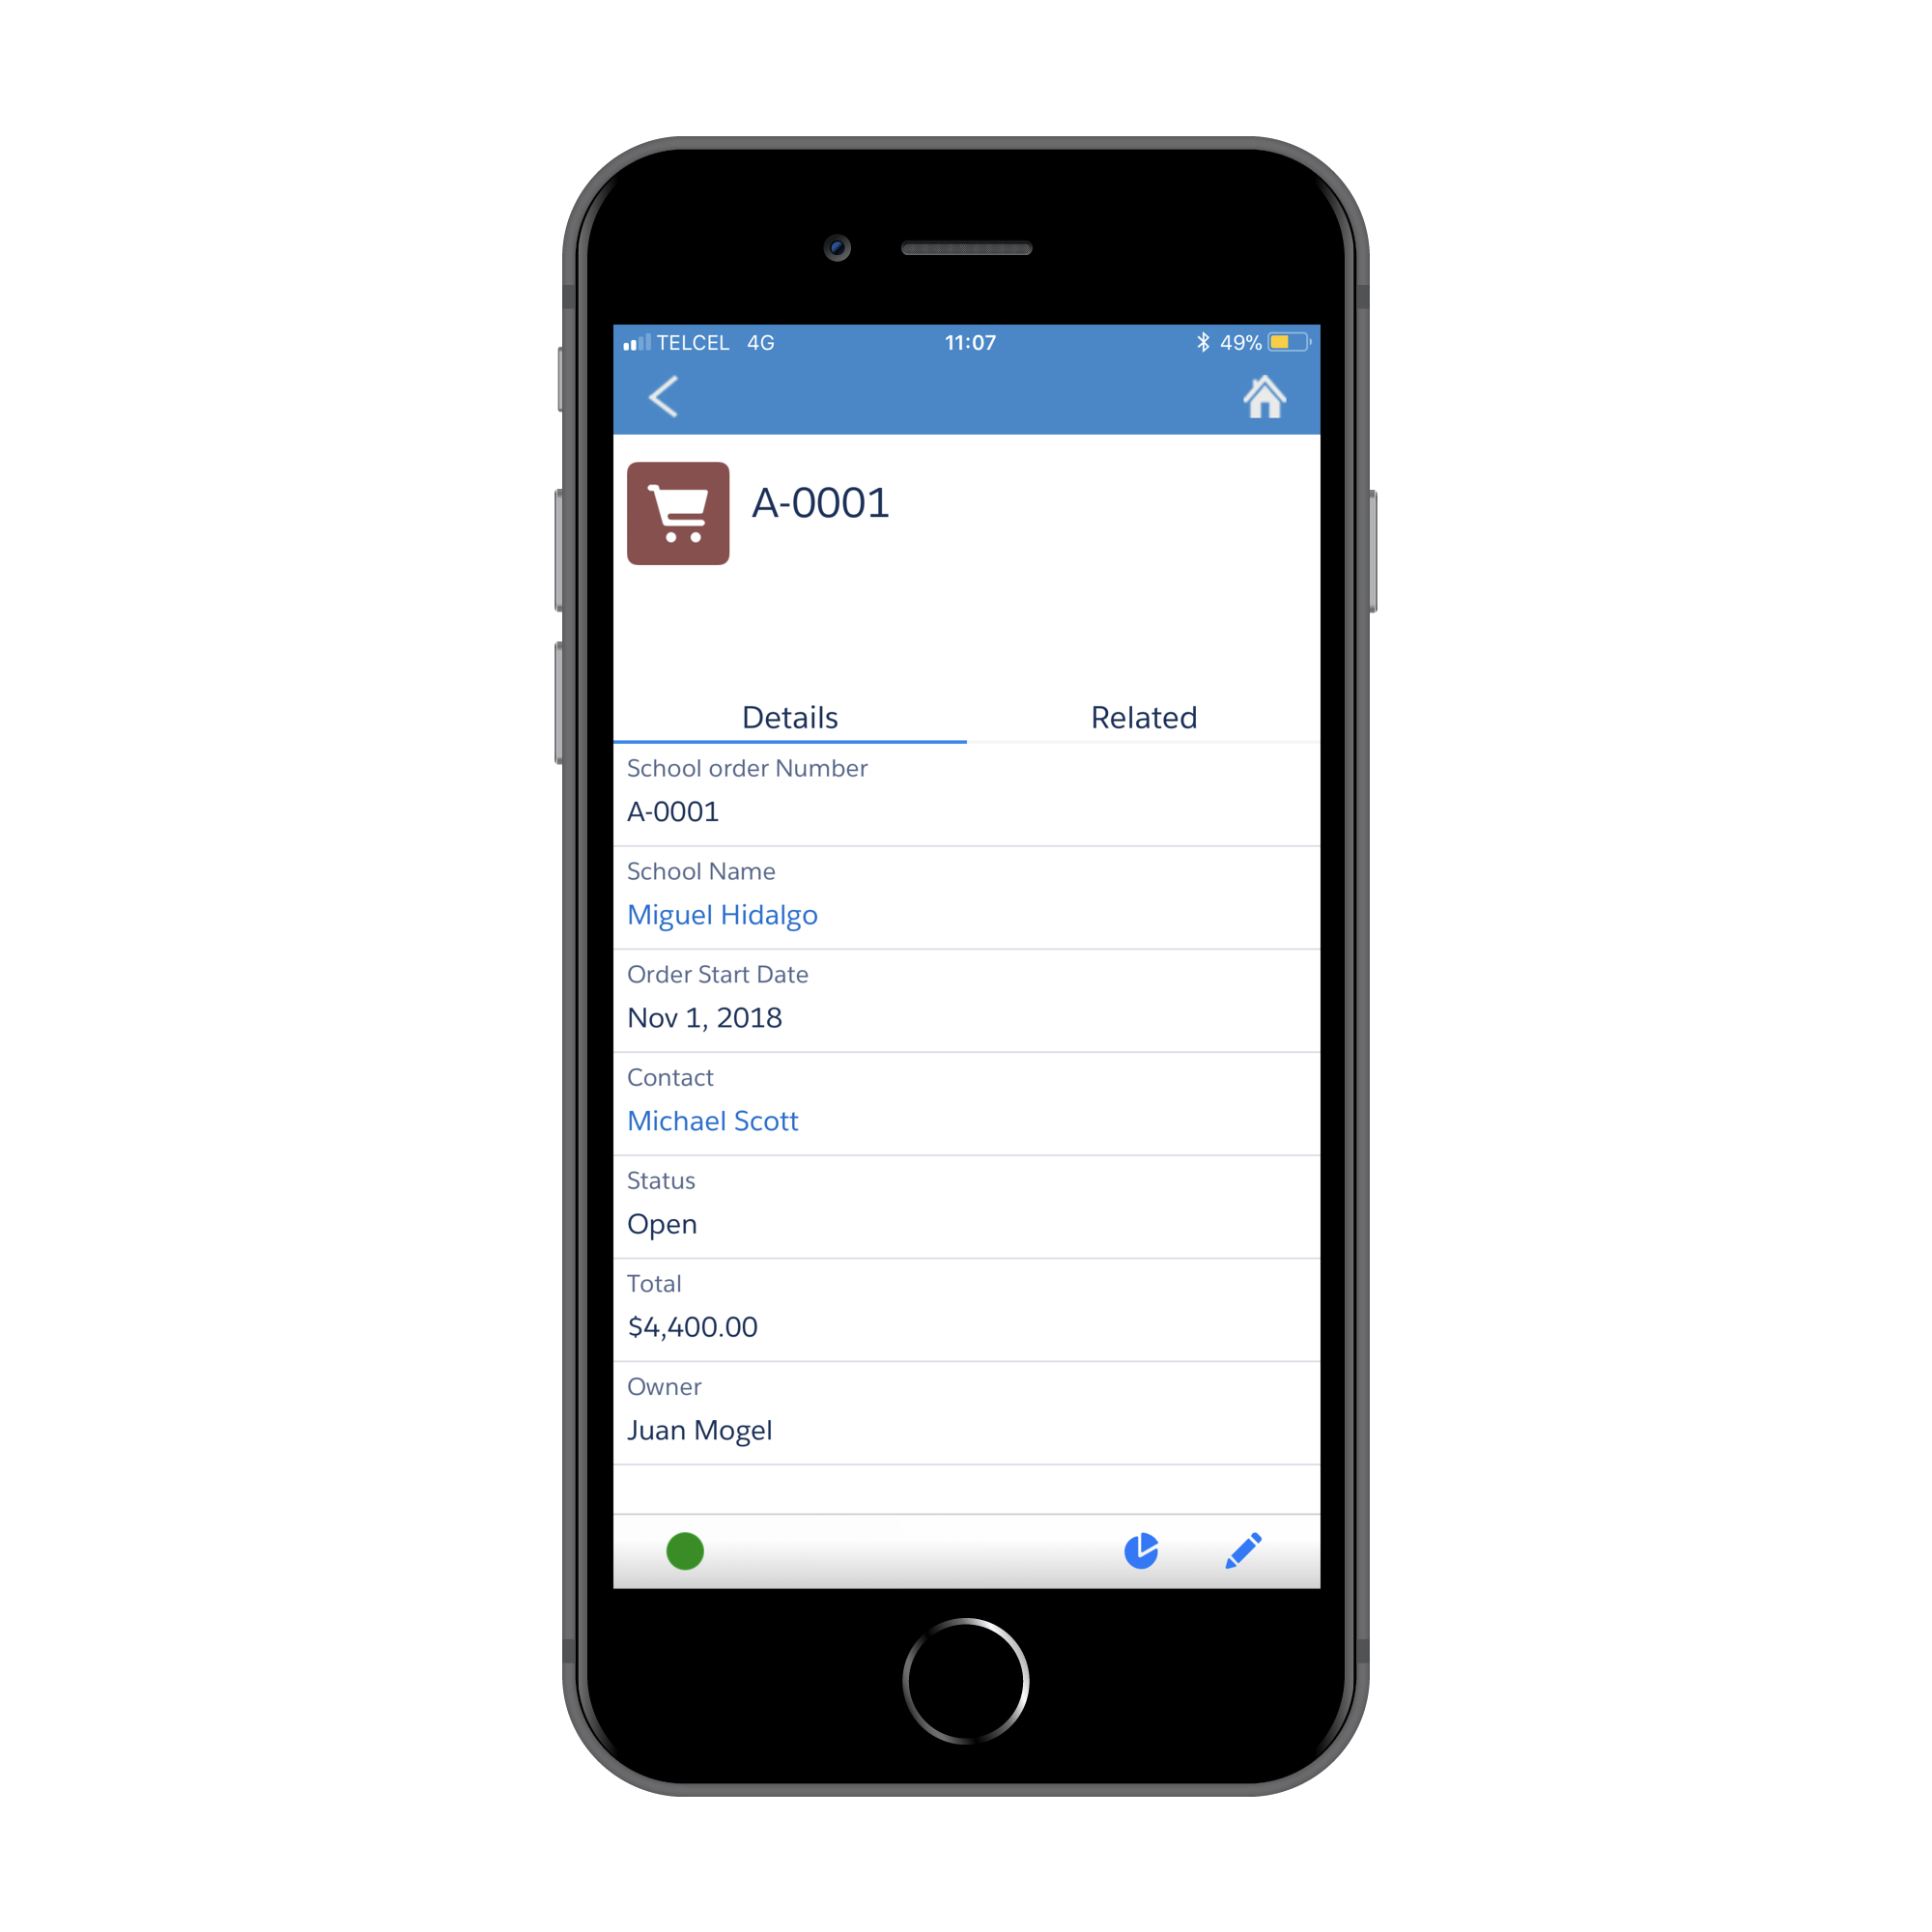
Push the graphic button and will see the table
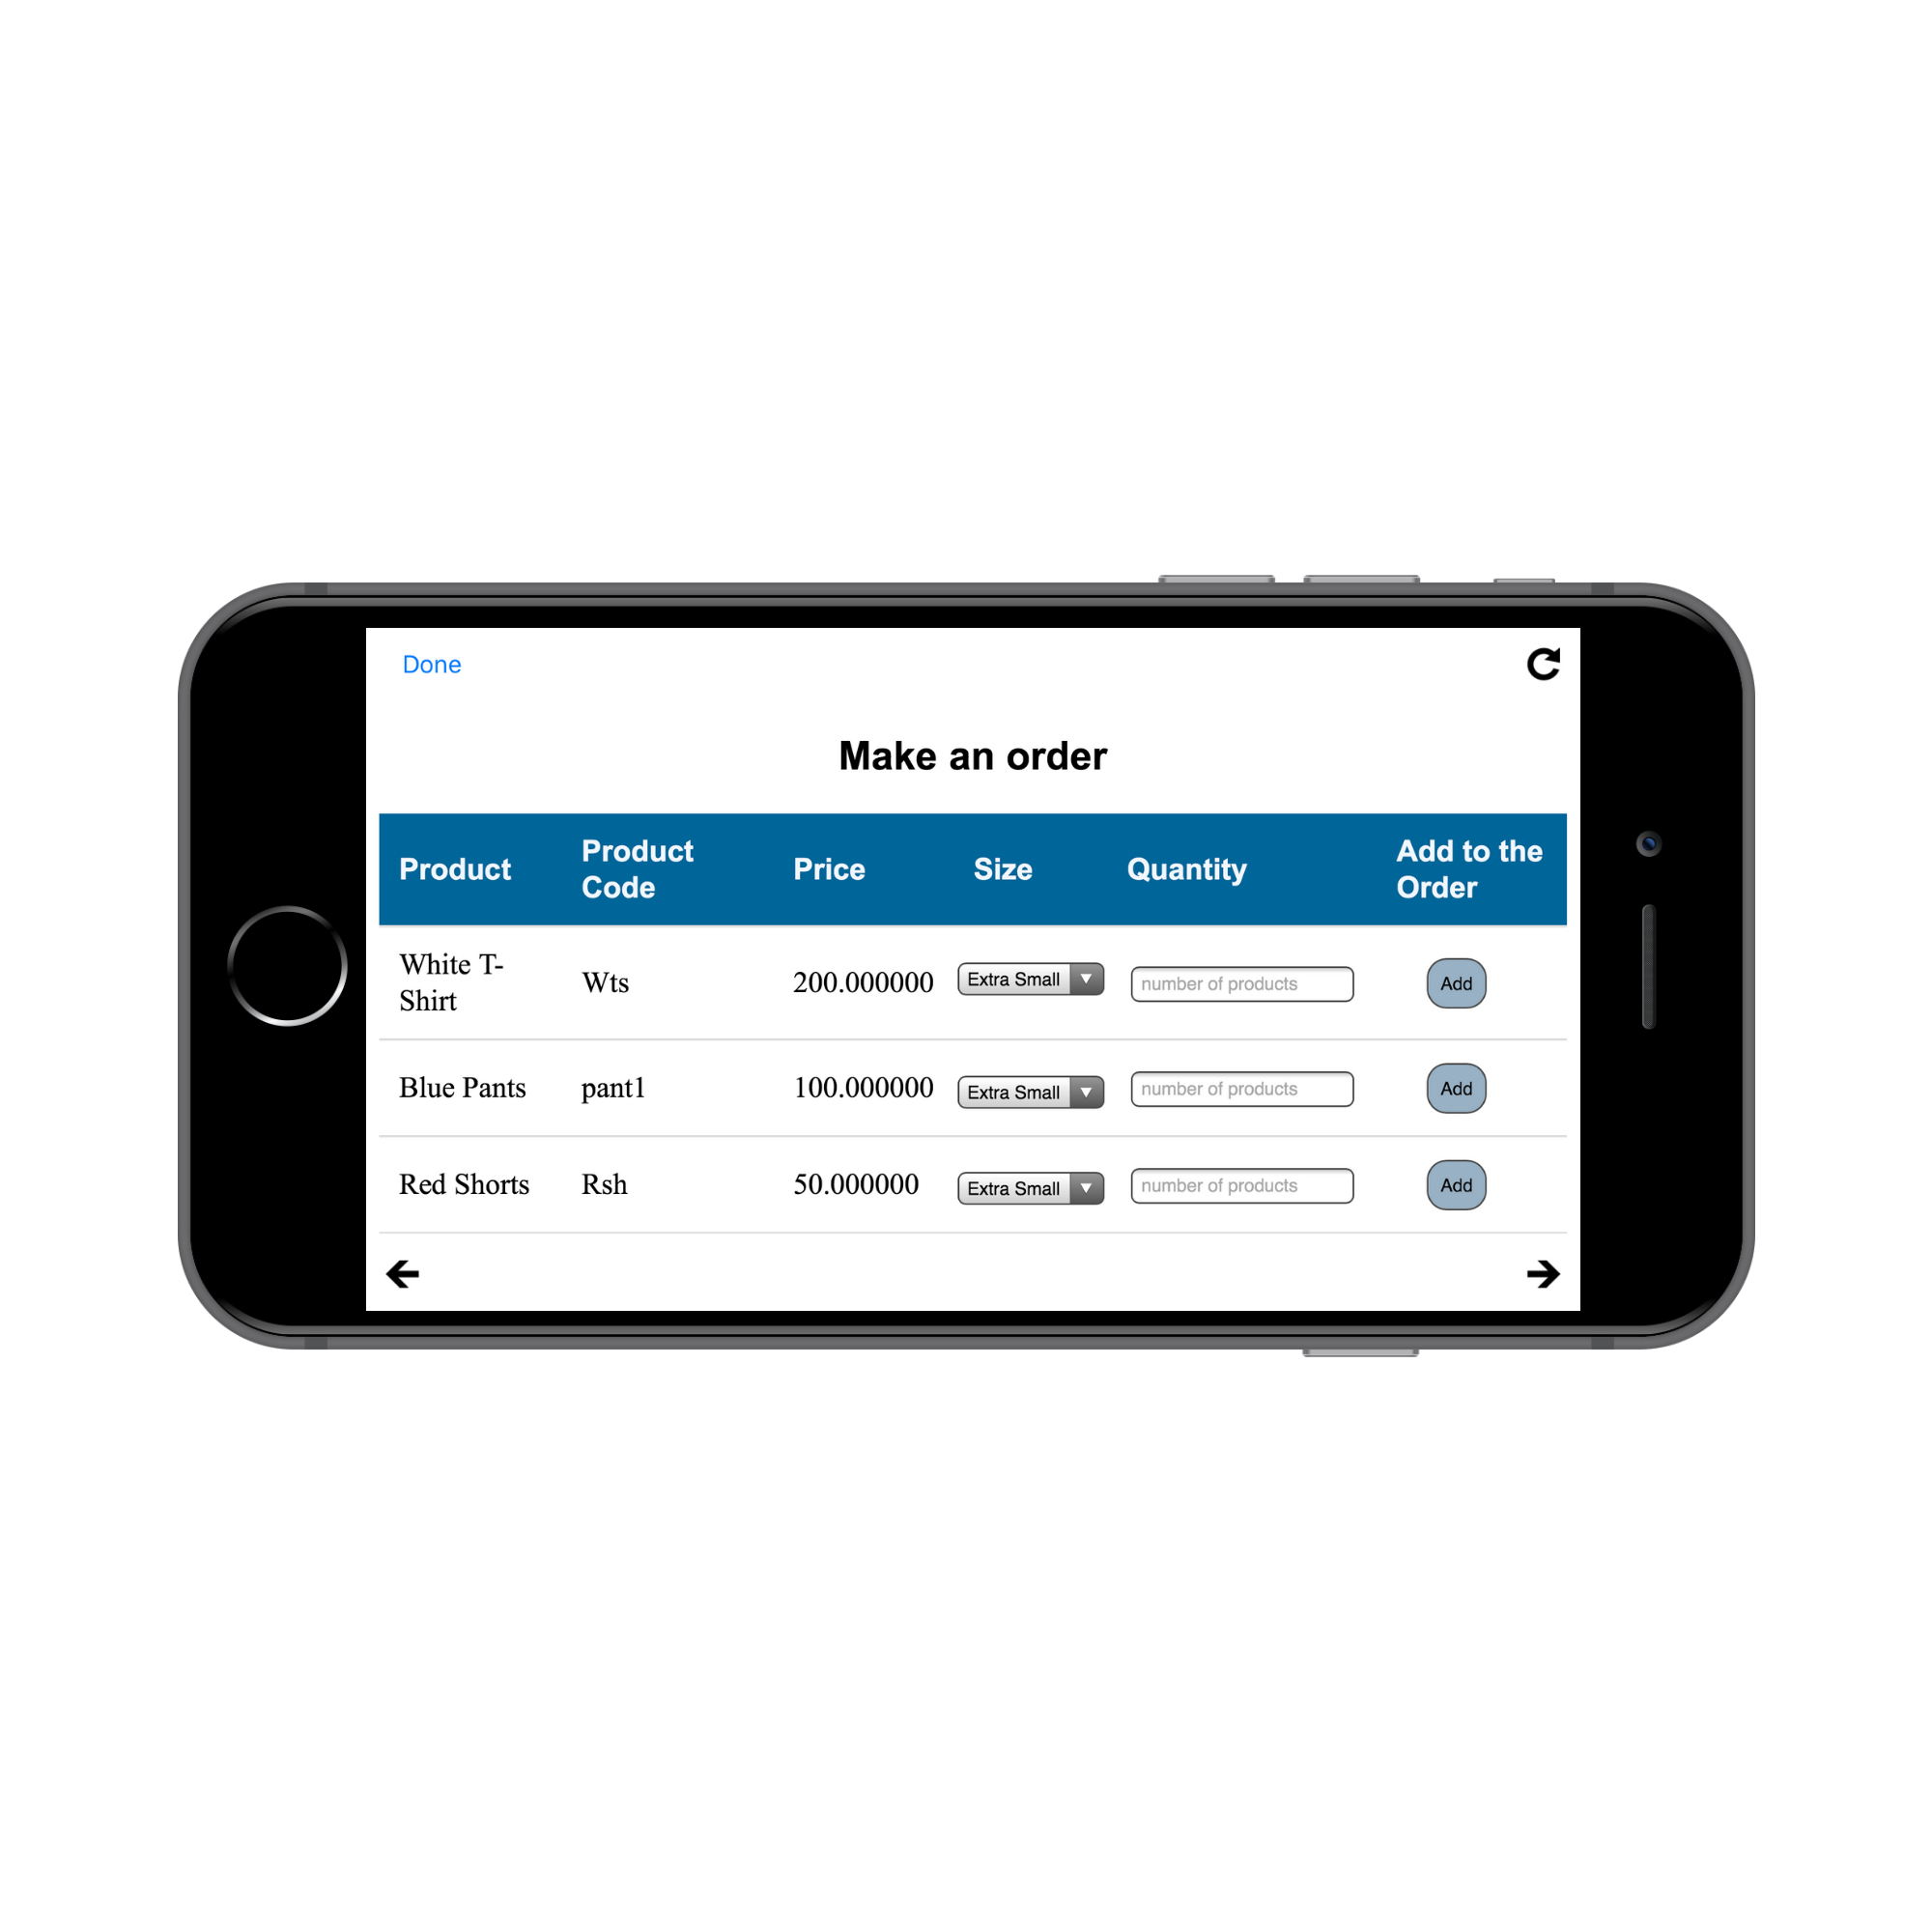
Here the user can add uniforms records related to the school order record.
Now that you know what are we looking for with HTML file
Let’s start coding
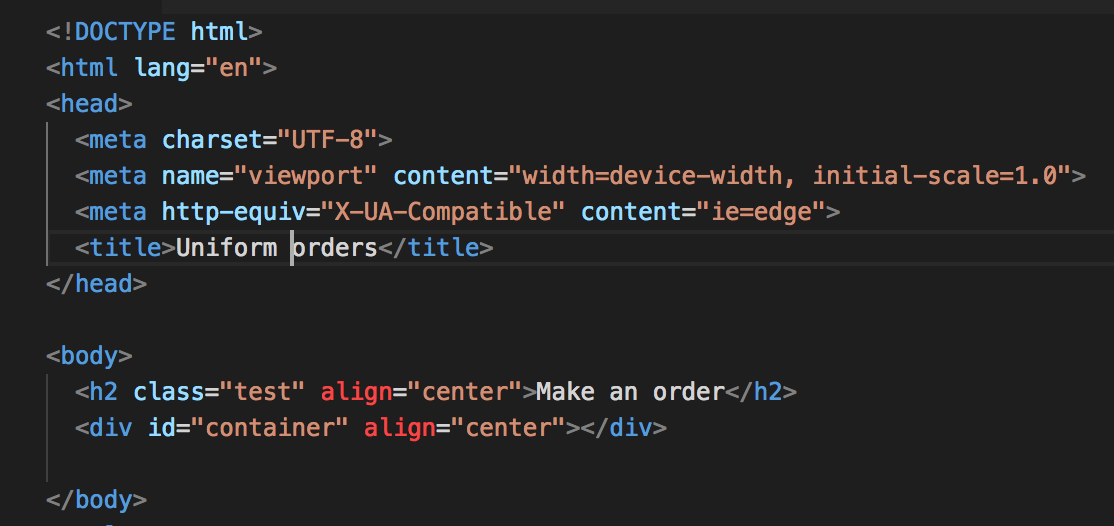
First of all
You should code the regular HTML tags and inside the body write a div tag with an id.
That’s the complete HTML code that you will code.
Now we will work with JavaScript
We are going to define 2 arrays that will help us in some operations later.
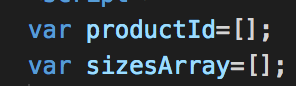
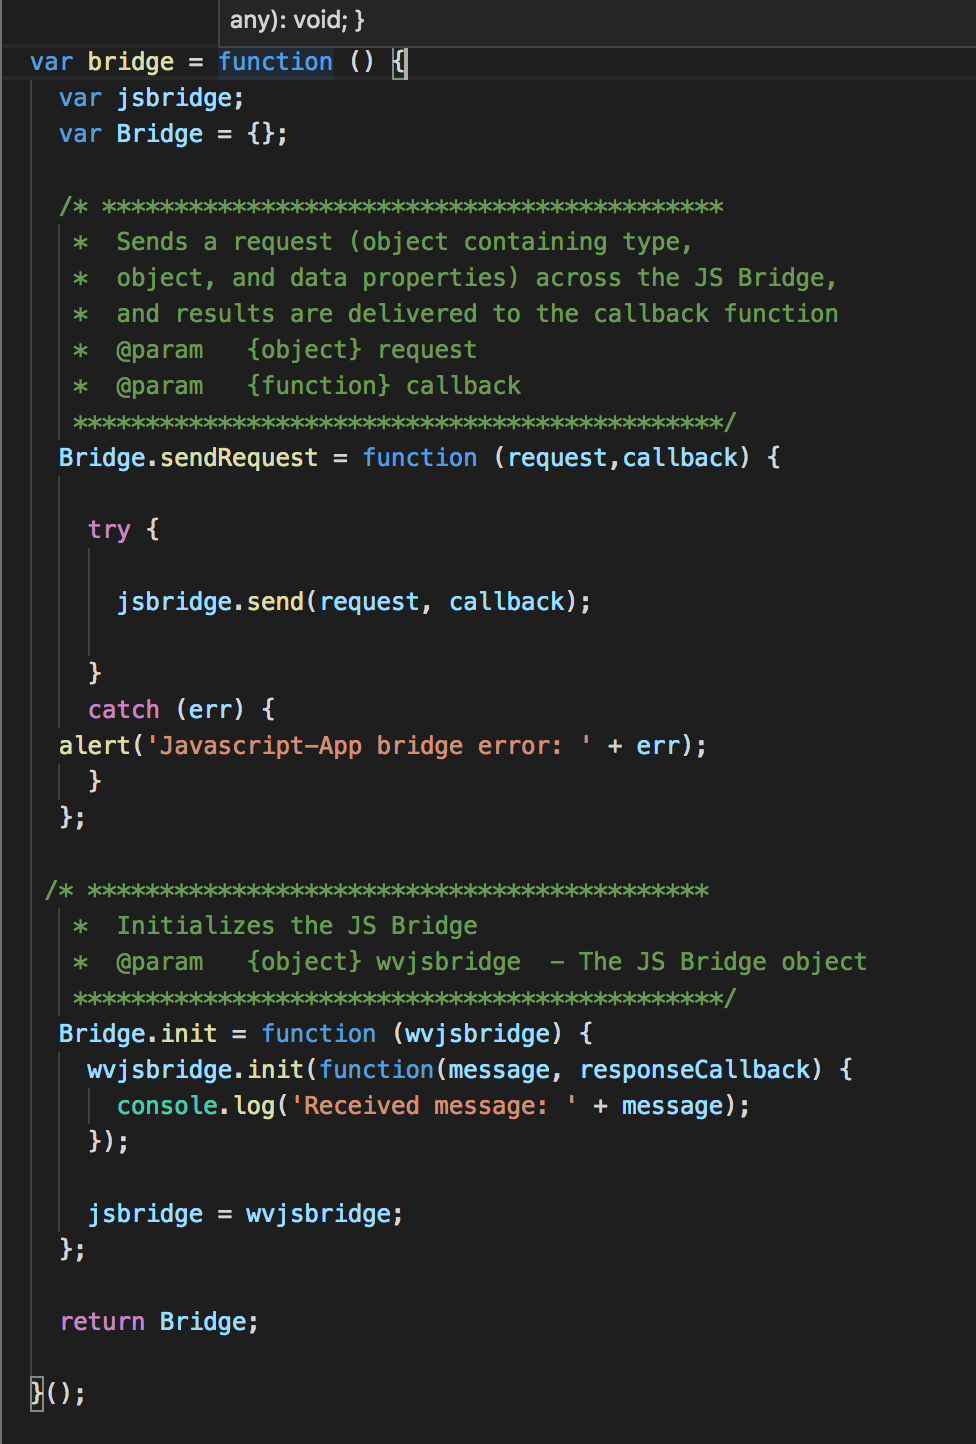
Now we need to step to set up the bridge object.Pulsar has a specific JavaScript Bridge APIs so that HTML app can communicate with underlying Pulsar Database.The bridge object can abstract the salesforce object CRUD operations.
In the code below with define a bridge object and its behaviour. There are 2 important functions here: send request and init. Send request send a request across the bridge and deliver the results in the call back.
Now we are going to add an Event Listener that fire when the pulsar side of the bridge is ready.
When it’s ready we initialize the bridge and when this happen you can start doing your app functionality
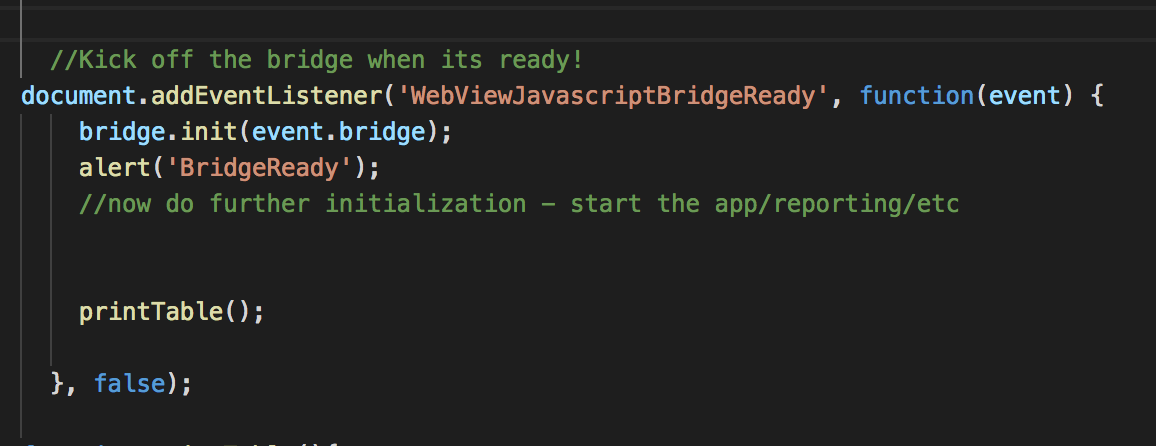
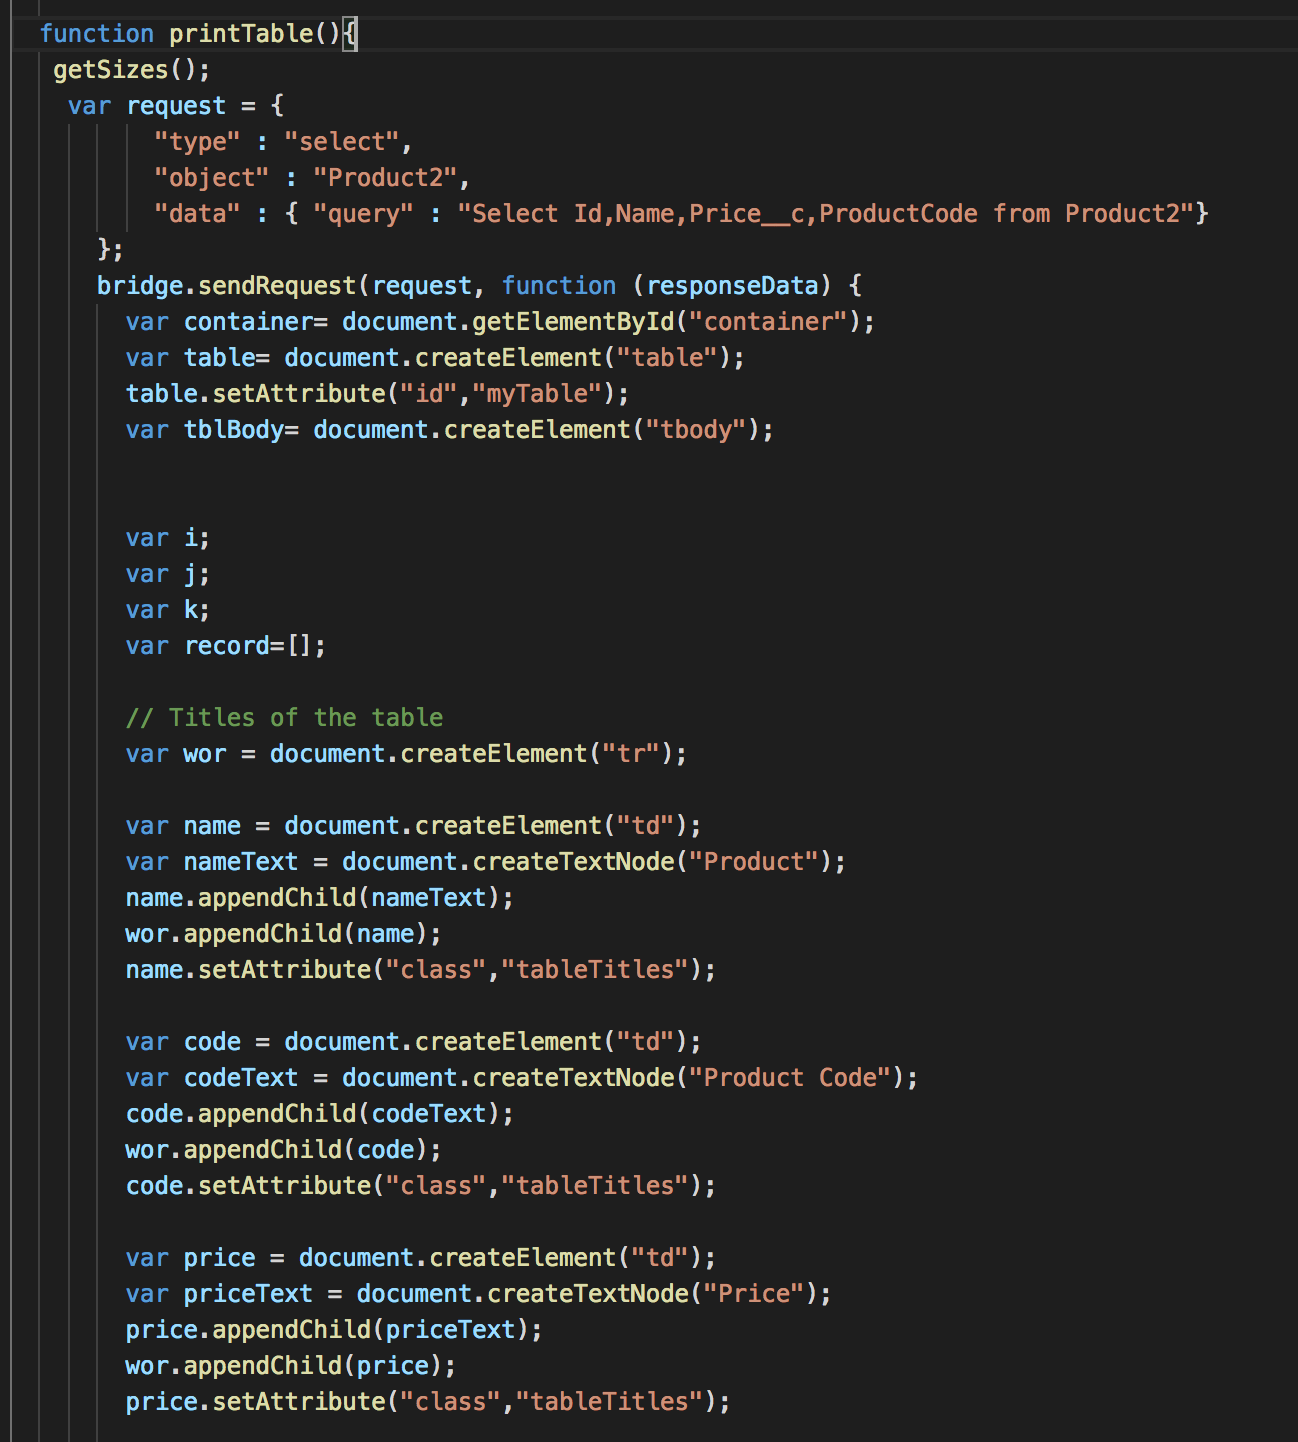
When everything is ready you call the function printTable. This function is the main one where you get the product records from Salesforce and put them into the table.
We are going to explain step by step
At the beginning of the code the getSizes function is called. Let’s have a quick view of the function.
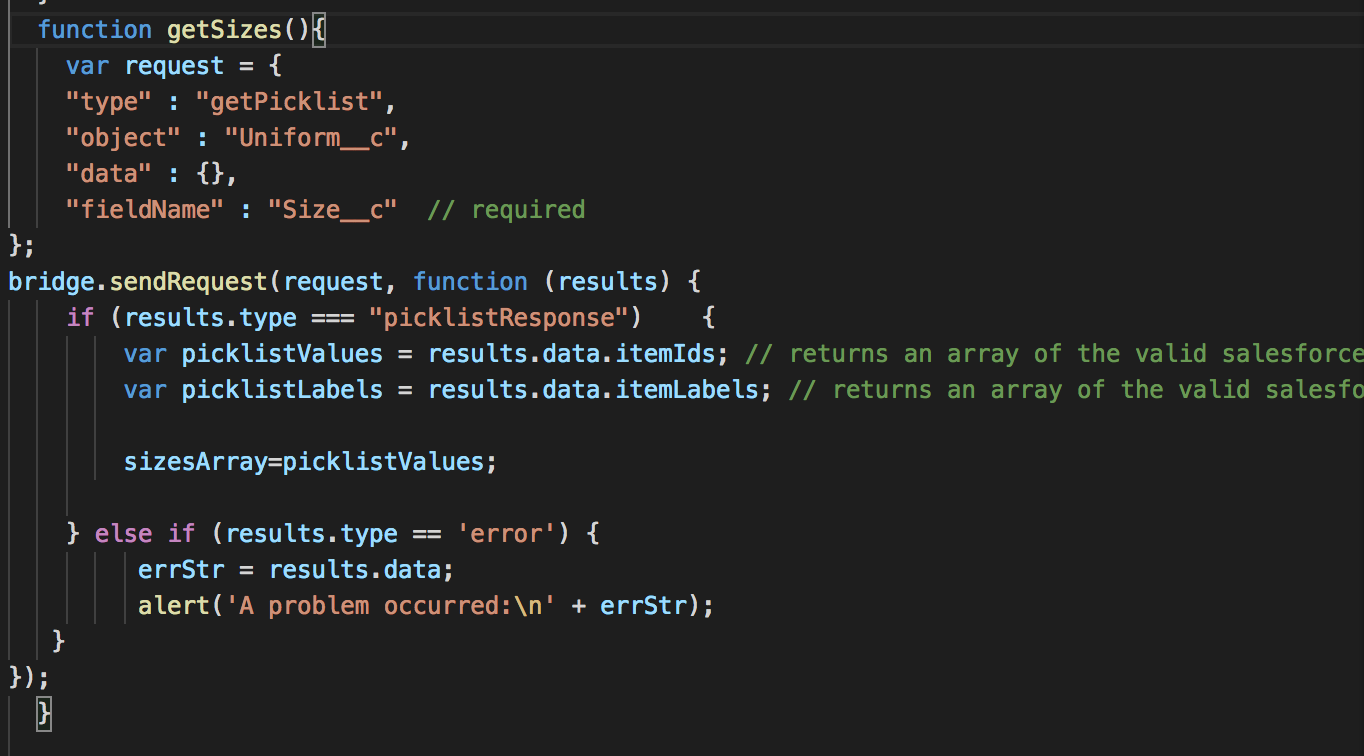
it has an object called request. Pulsar define CRUD request types, this objects has the fields type, object,data and fieldName. In this example we use the request object with the local SQL query in order to get all the values. Specifically this object use the getPicklist query, this query, returns an array of the available picklist values and labels for the supplied field.
Now we have the parameters for the send request function that will return the picklist values.
You can remember that Uniform object has a picklist value with this object we are going to get them and save them into an array.
Now we have the picklist options in an array that we will use later.
We are going to come back to printTable. Because the main goal for the function is to create the table. We will make a bridge request, in order to get all the product records.
All the records are pass in responseData variable inside the callback. All the successful request response has the following structure:
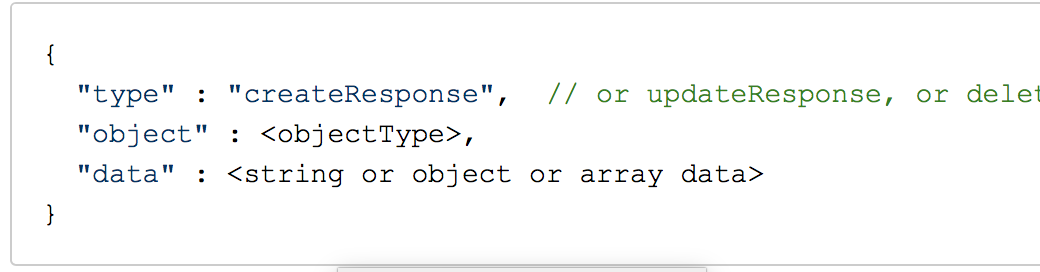
If you want to get some field from the message you need to write
response.fieldName[index] for example response.data[i].
The following code make a request for the products and when we get the products array we start creating the table inside the container in the body and then we create the table titles
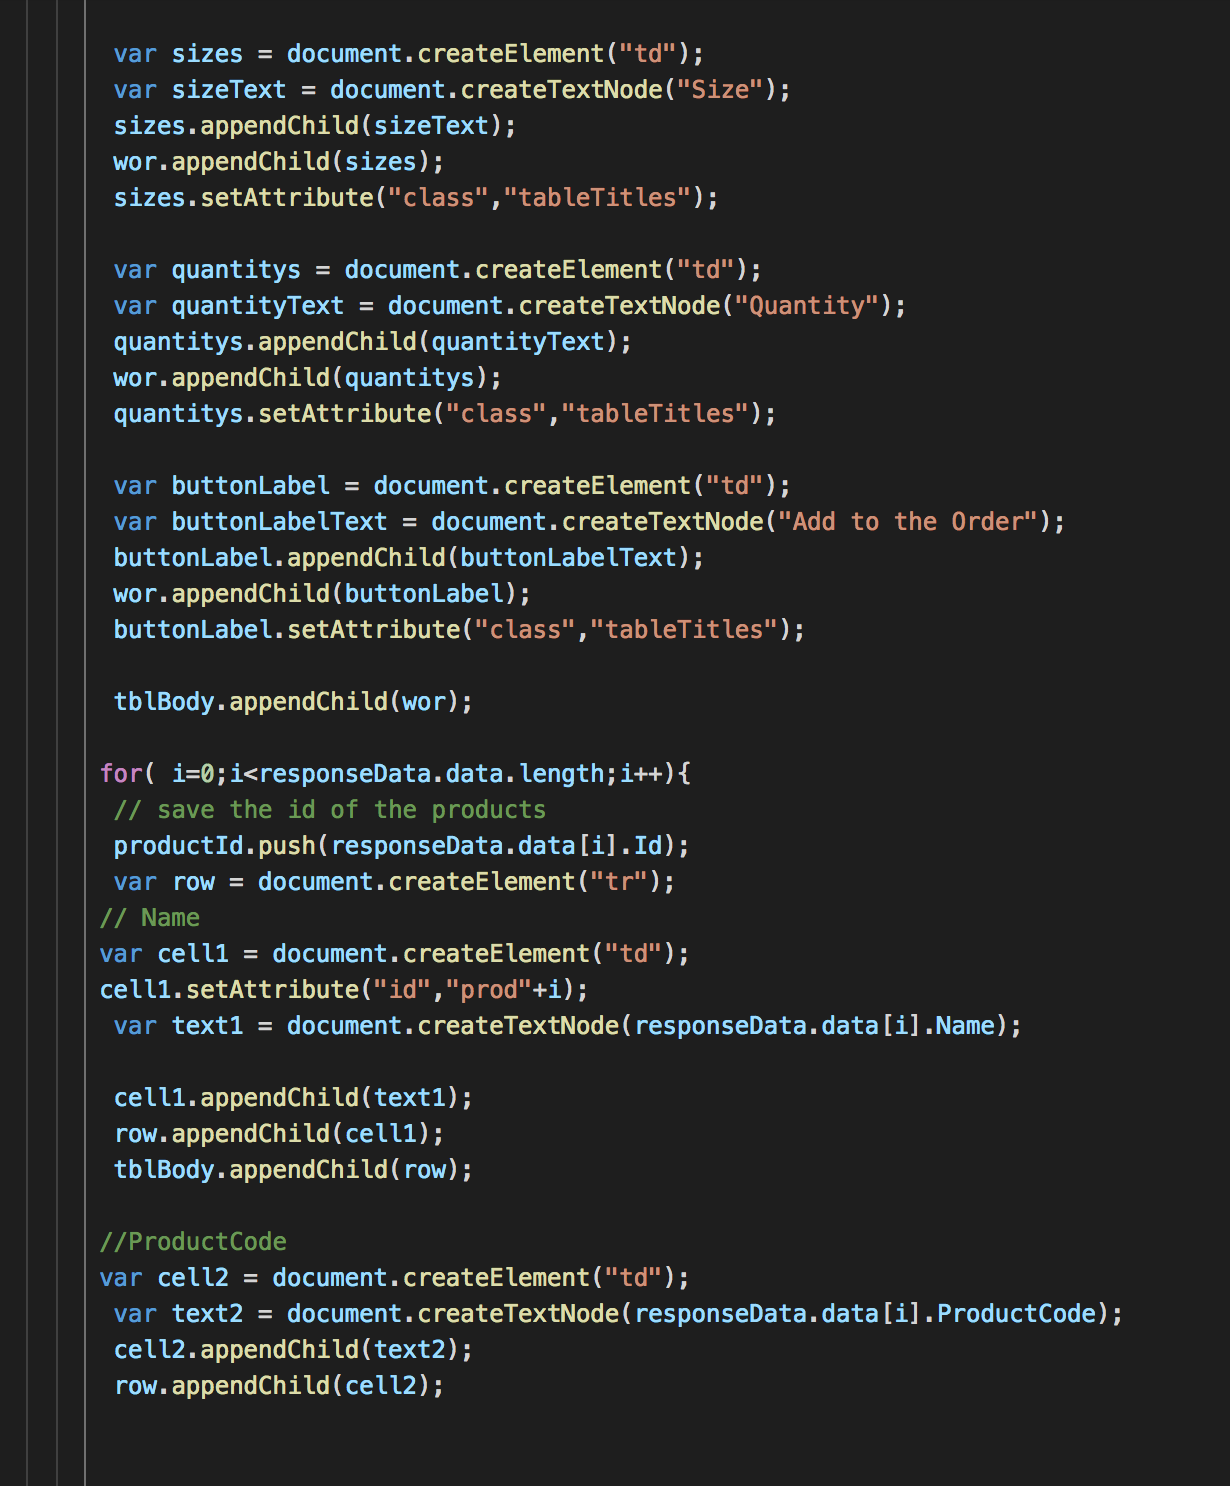
We already have the titles now we need to add all the product records
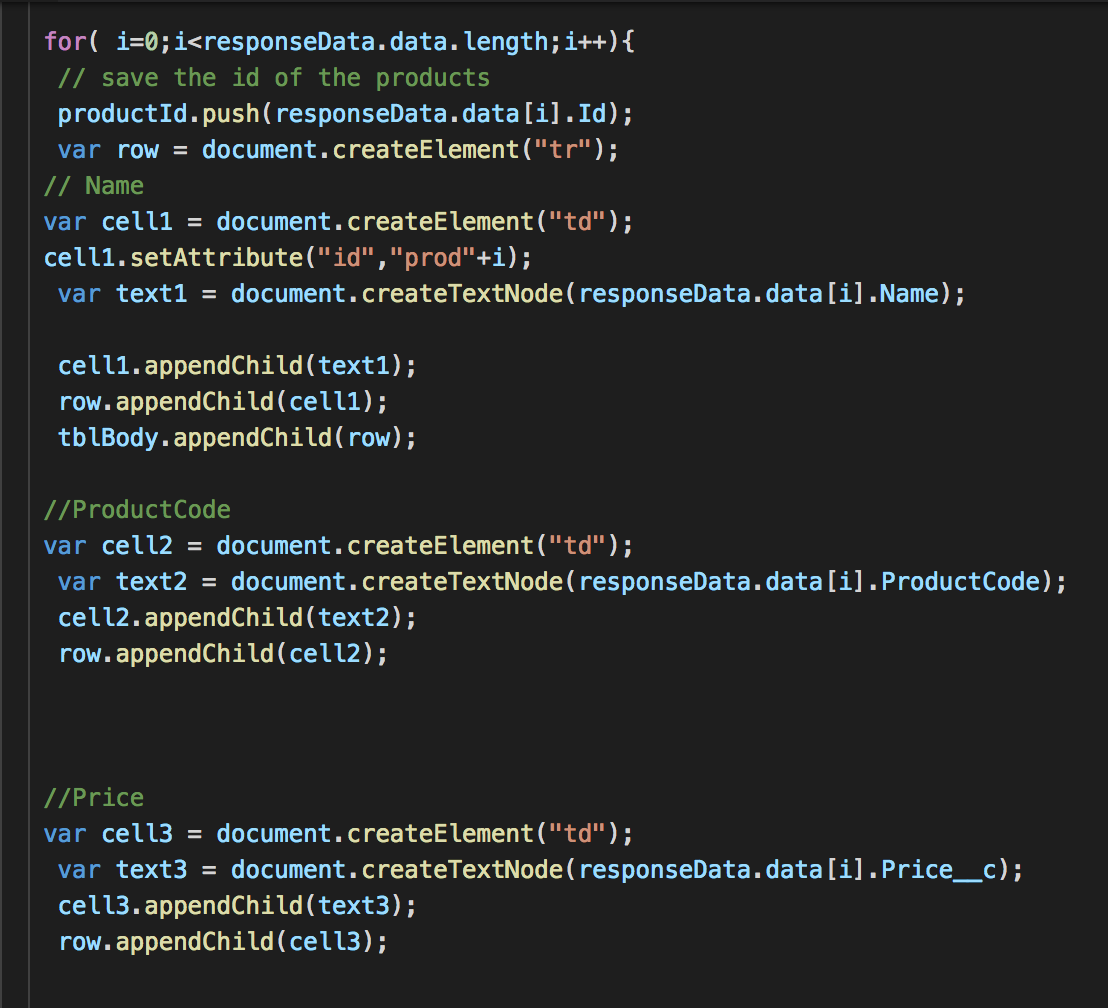
We are using a for loop that add every the product to the table and adding to every element and an id created with a keyword and the index of the loop in order to all the elements have a unique id.
We are saving the product ids in an array because we are using them later.
For every product in the org we get every field of the object with responseData.data[i].FieldName
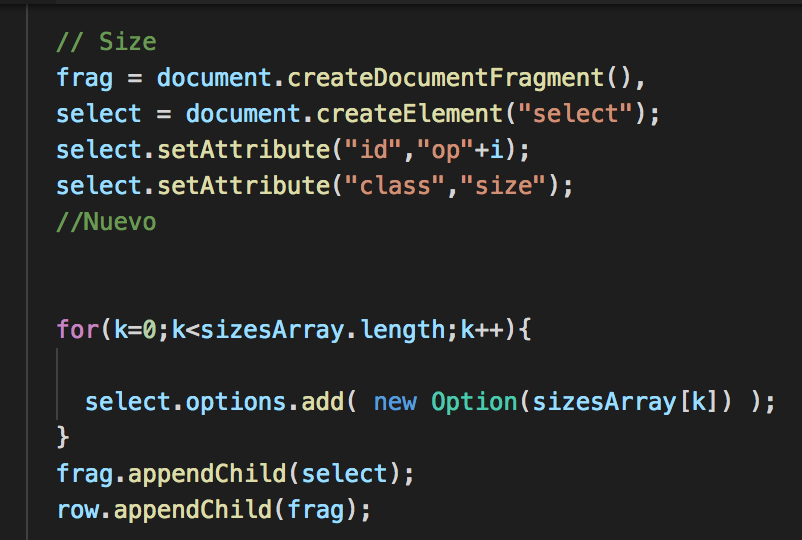
There is a special implementation with the size field, you should remember that we got the picklist options for the size object. We are going to use those values, that are stock in sizesArray, to create a picklist in the table.
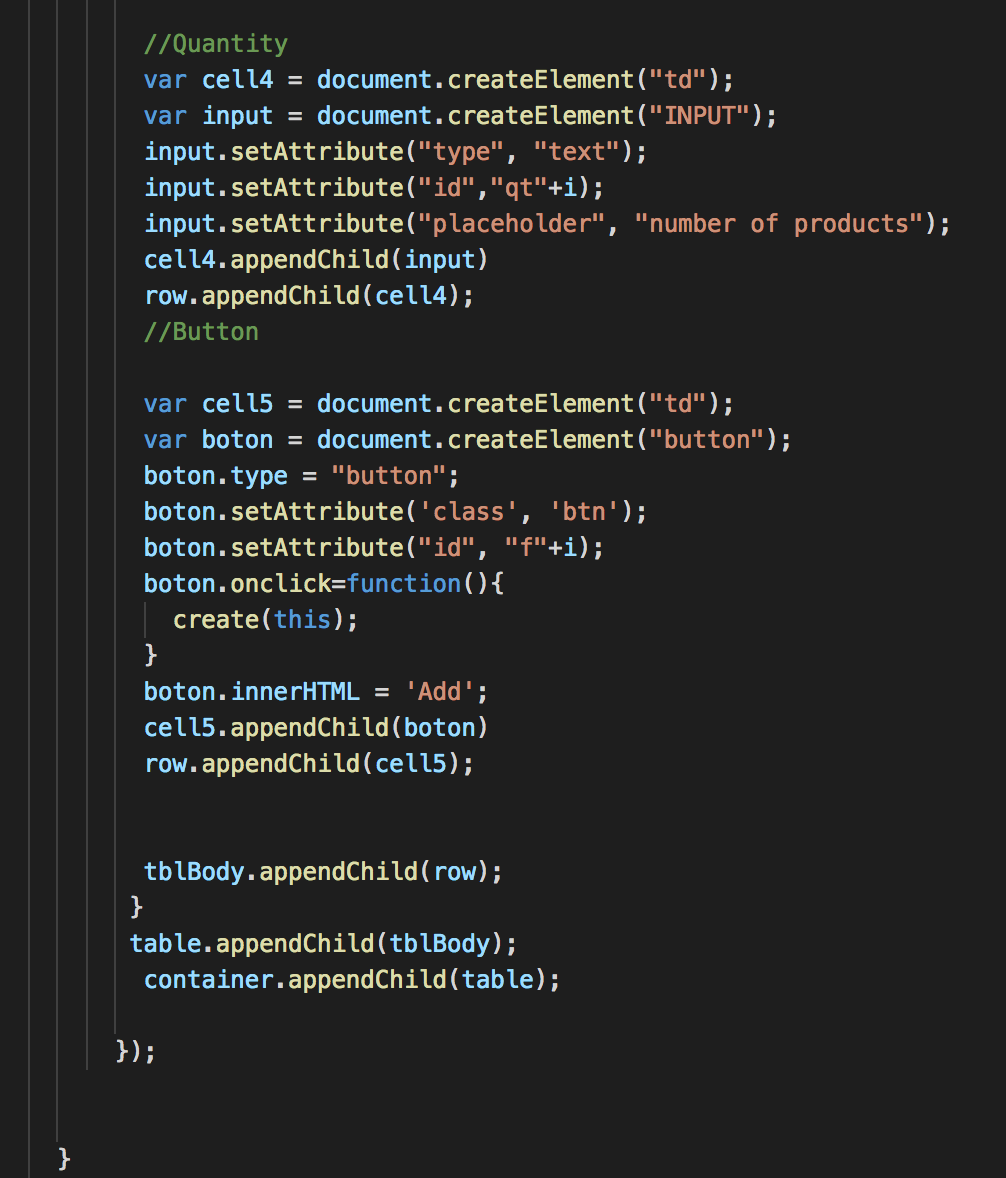
Now we can continue with the table. With the button we declare a onclick function that call another function that will get the data from the row of the button and add the product to the order.
Let’s see what’s inside the create function.
The function has only one parameter and we pass the button variable because we need to get the id of the button in order to separate it and get the row of the pushed button. With the row we can get all the fields on that row and create the object. We also use the row to get the correct product id in the producId array.
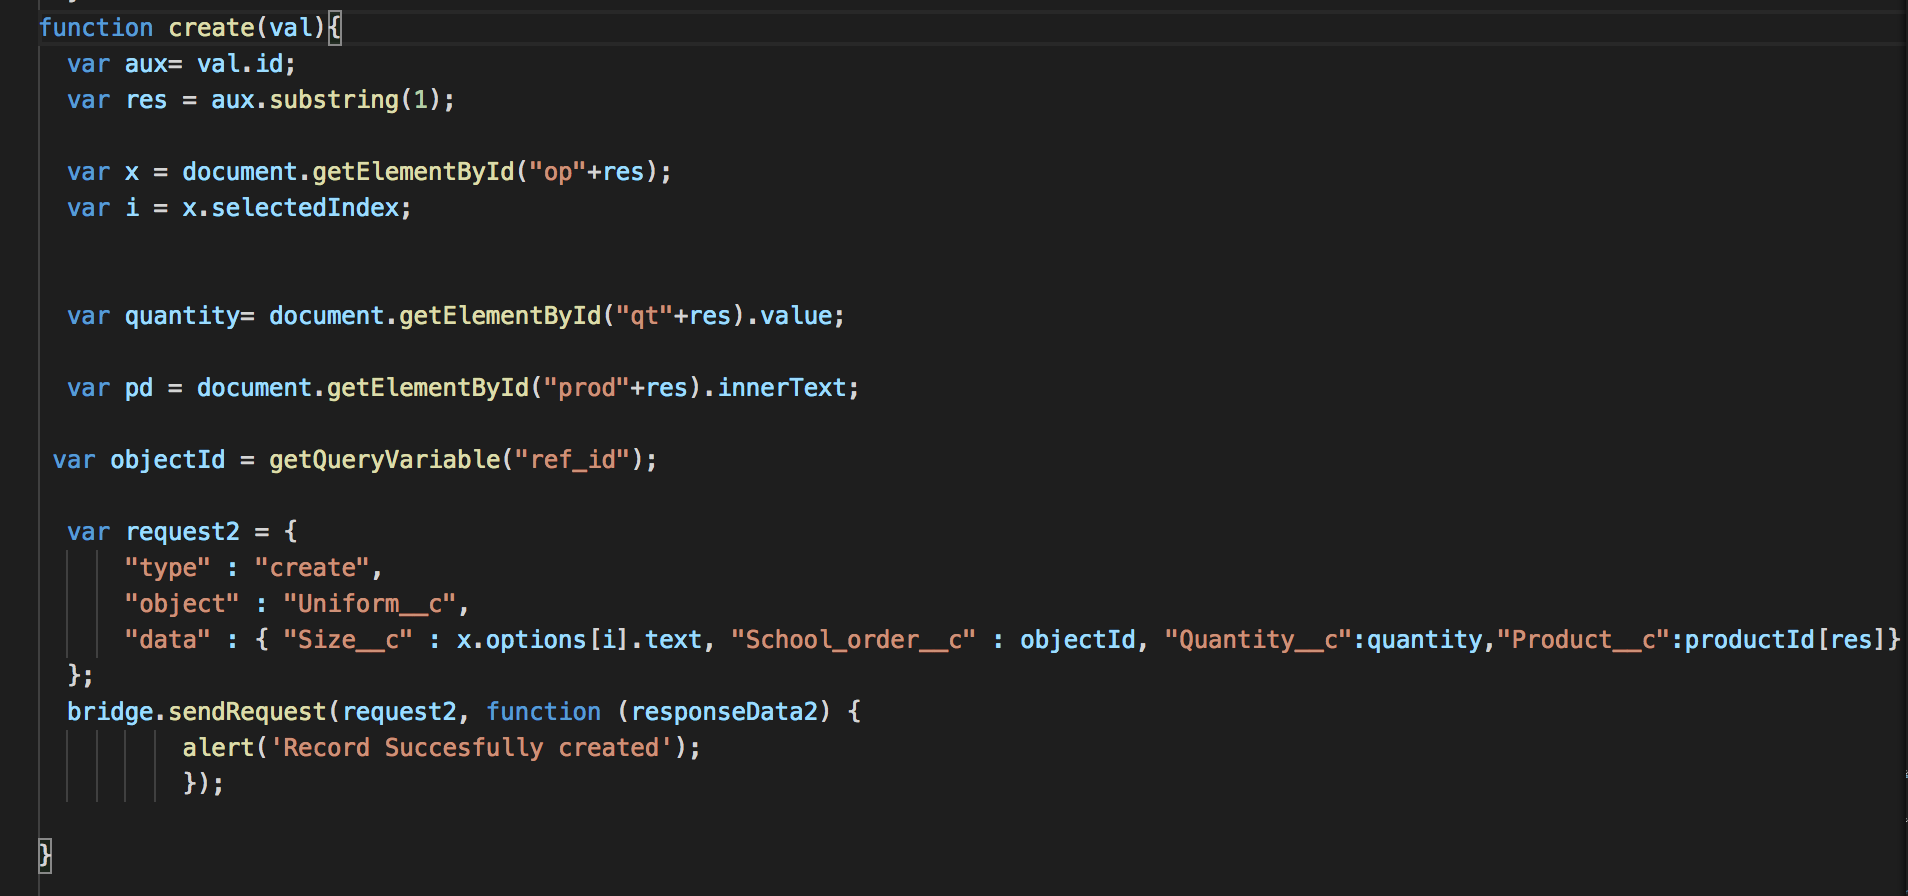
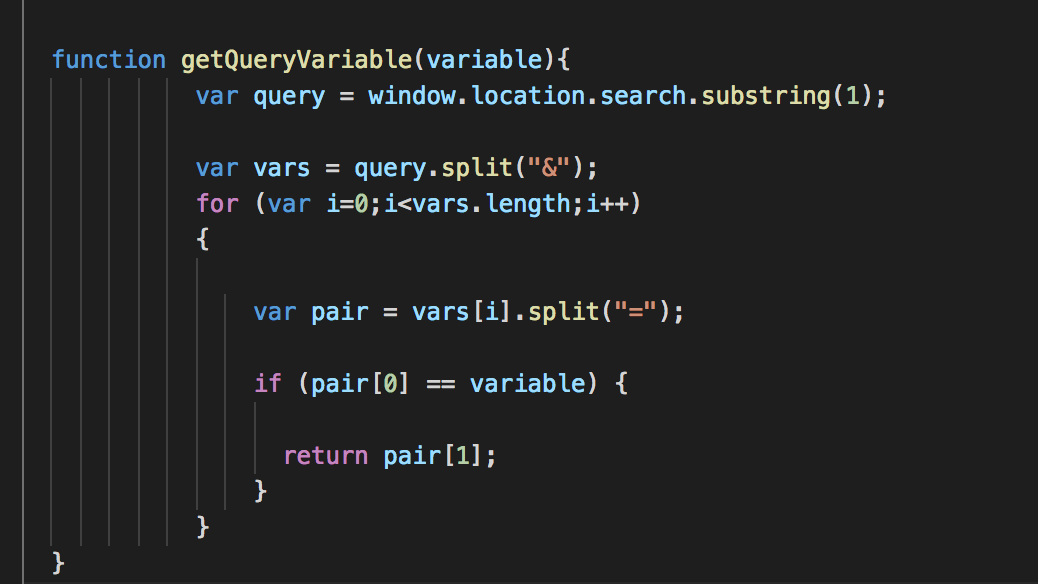
Before we create the object we call the function getQueryVariable, let’s explain the goal function.
Because the record Id is passed to the html file using URL query parameters we need to get this id using the function.
We had the id and now we can use it as a parameter in the school request variable that helps to create the record.
Once that is done we are ready to take the last steps to make everything work.
Add the file to the content library
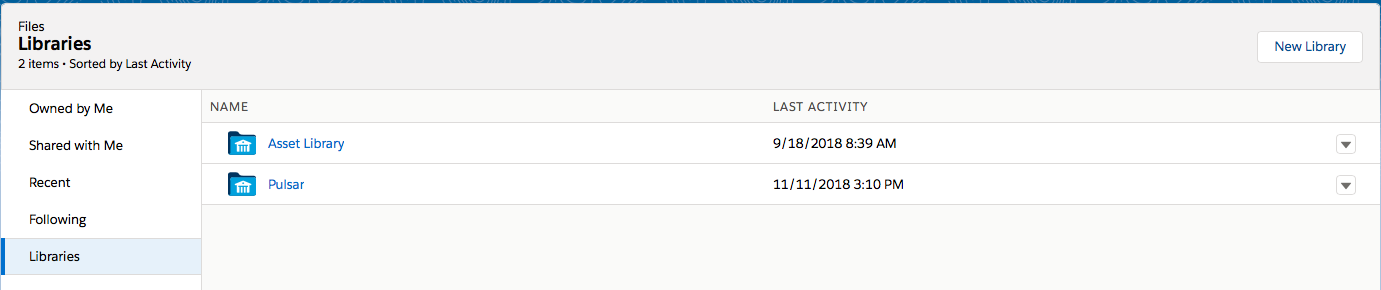
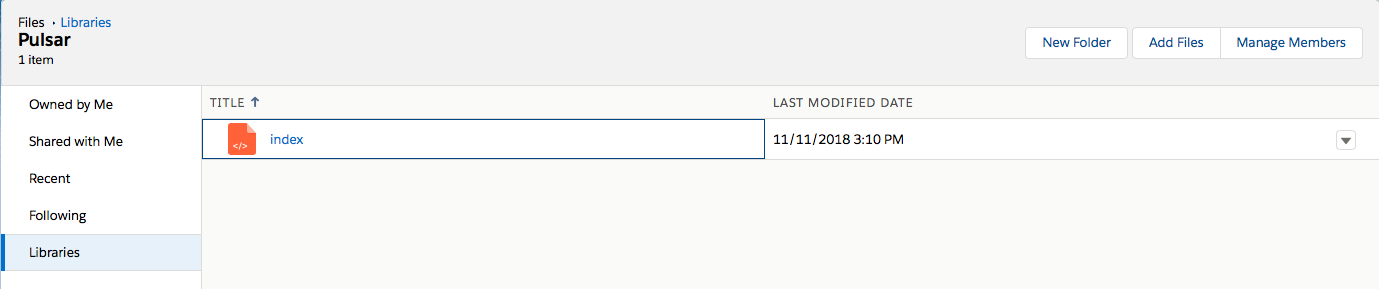
The file that you just created need to be upload in the Content Library in Salesforce. Open the file tab and select Libraries and create a new library. If you can’t access to the library just switch to Salesforce Classic and create the library. Once that you have the library add the HTML file to it.
Add Pulsar Settings
You should remember that we defined a button, so that the user can open the page from a particular record. Now the HTML file is ready and upload we are going to add the Pulsar Configuration.
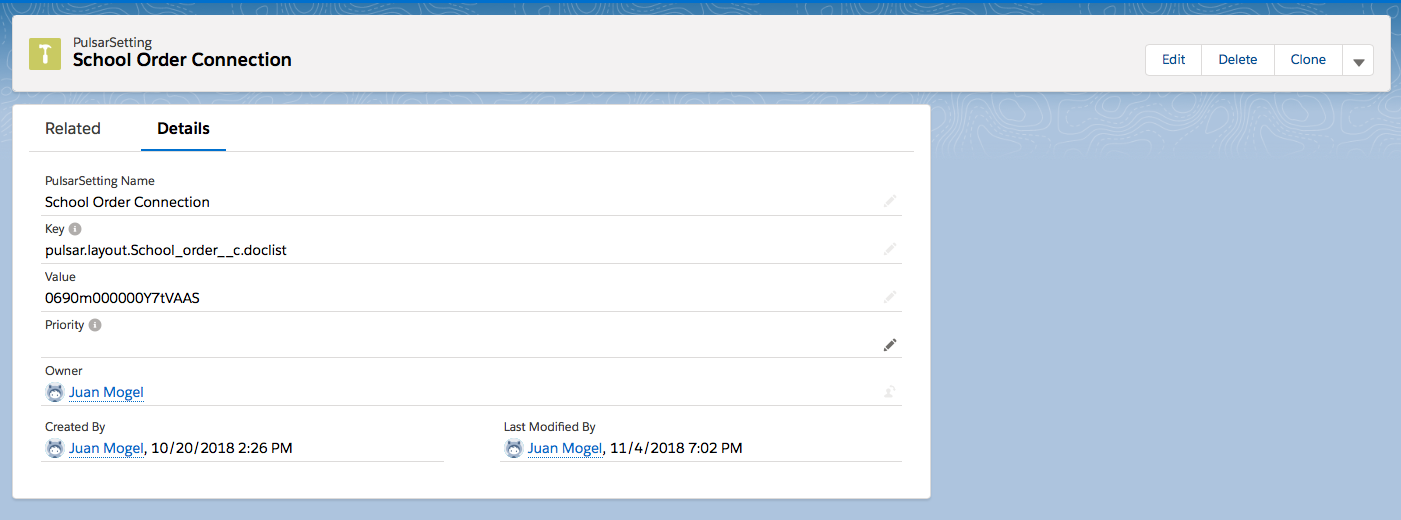
This setting is the one that makes the connection between pulsar and the file
You can put every name that you want.
The Key Value needs to have the name object with the next structure
pulsar.layout.ObjectName.doclist
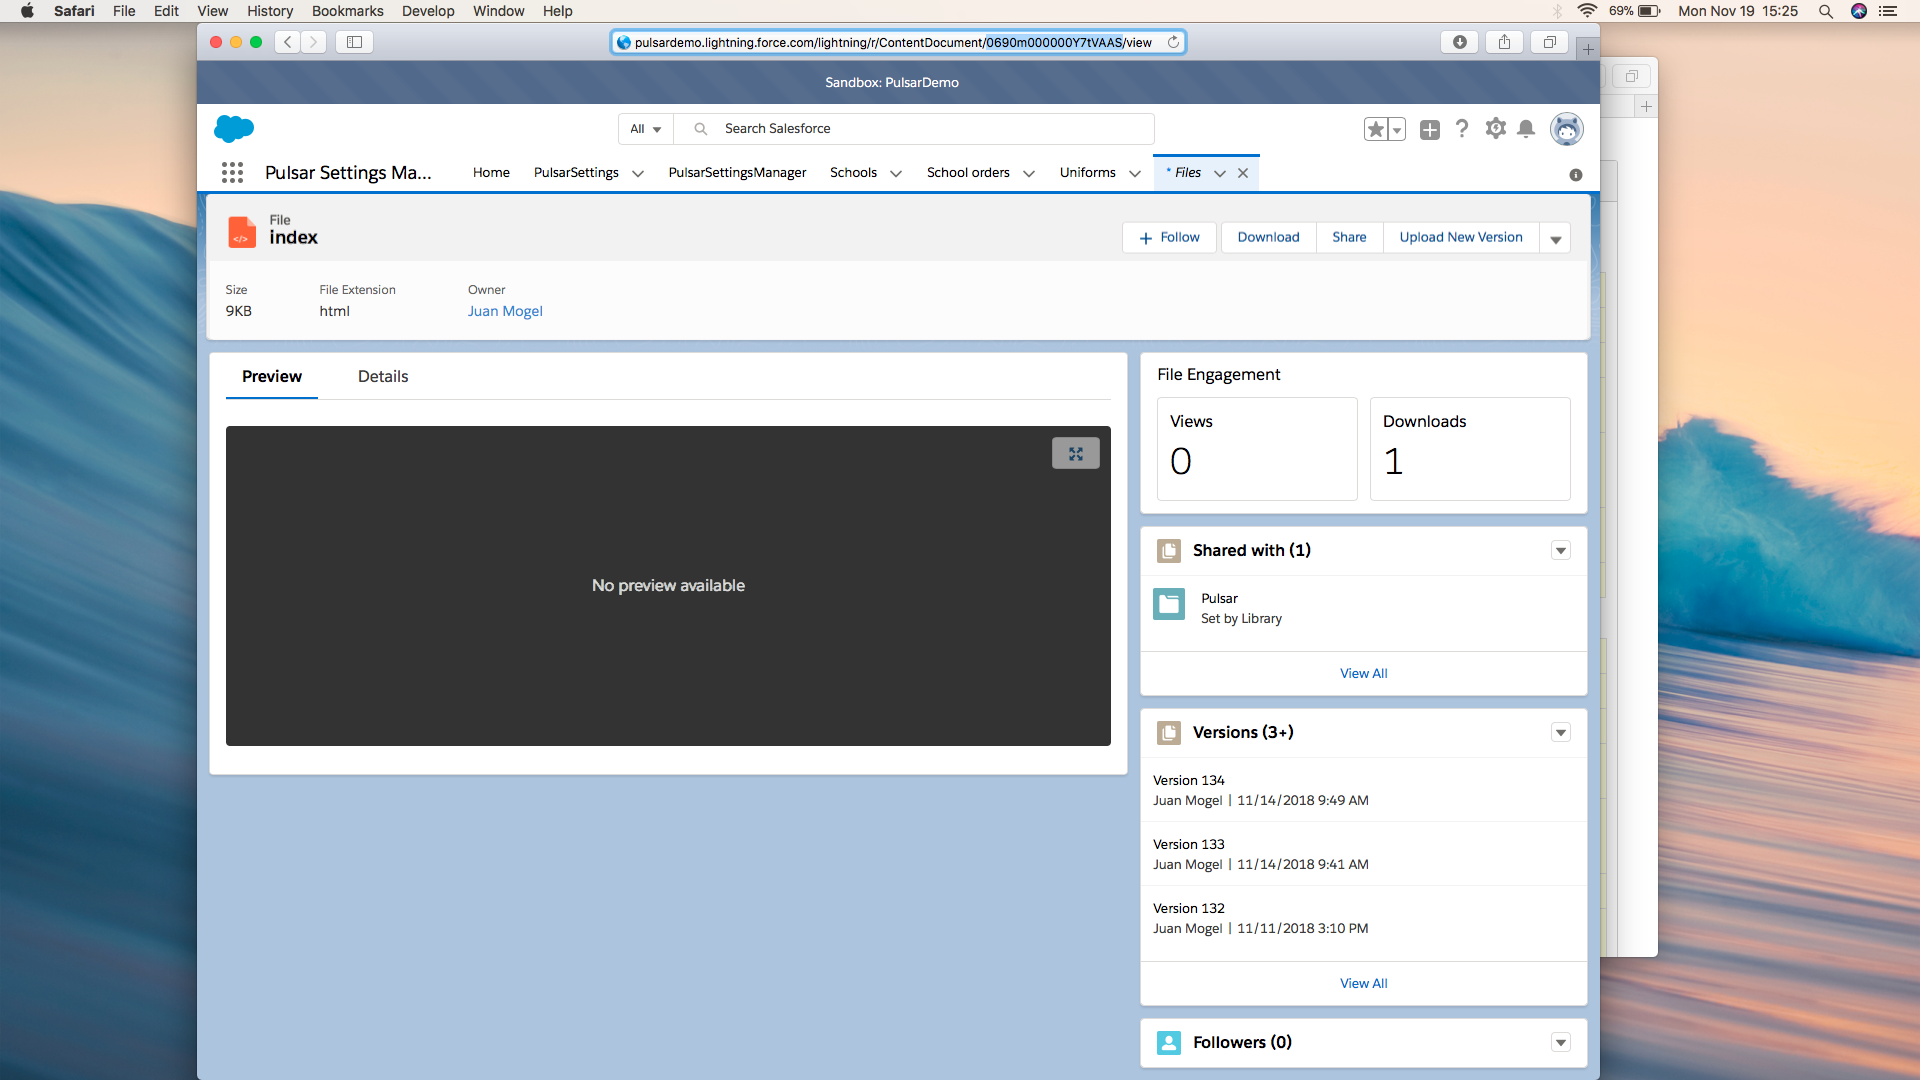
In the value field you should add 15 digit Document Id for HTML file. You can get this id in the file URL.
Now everything is done and you can start using the custom page
This is how it works
Select a record.
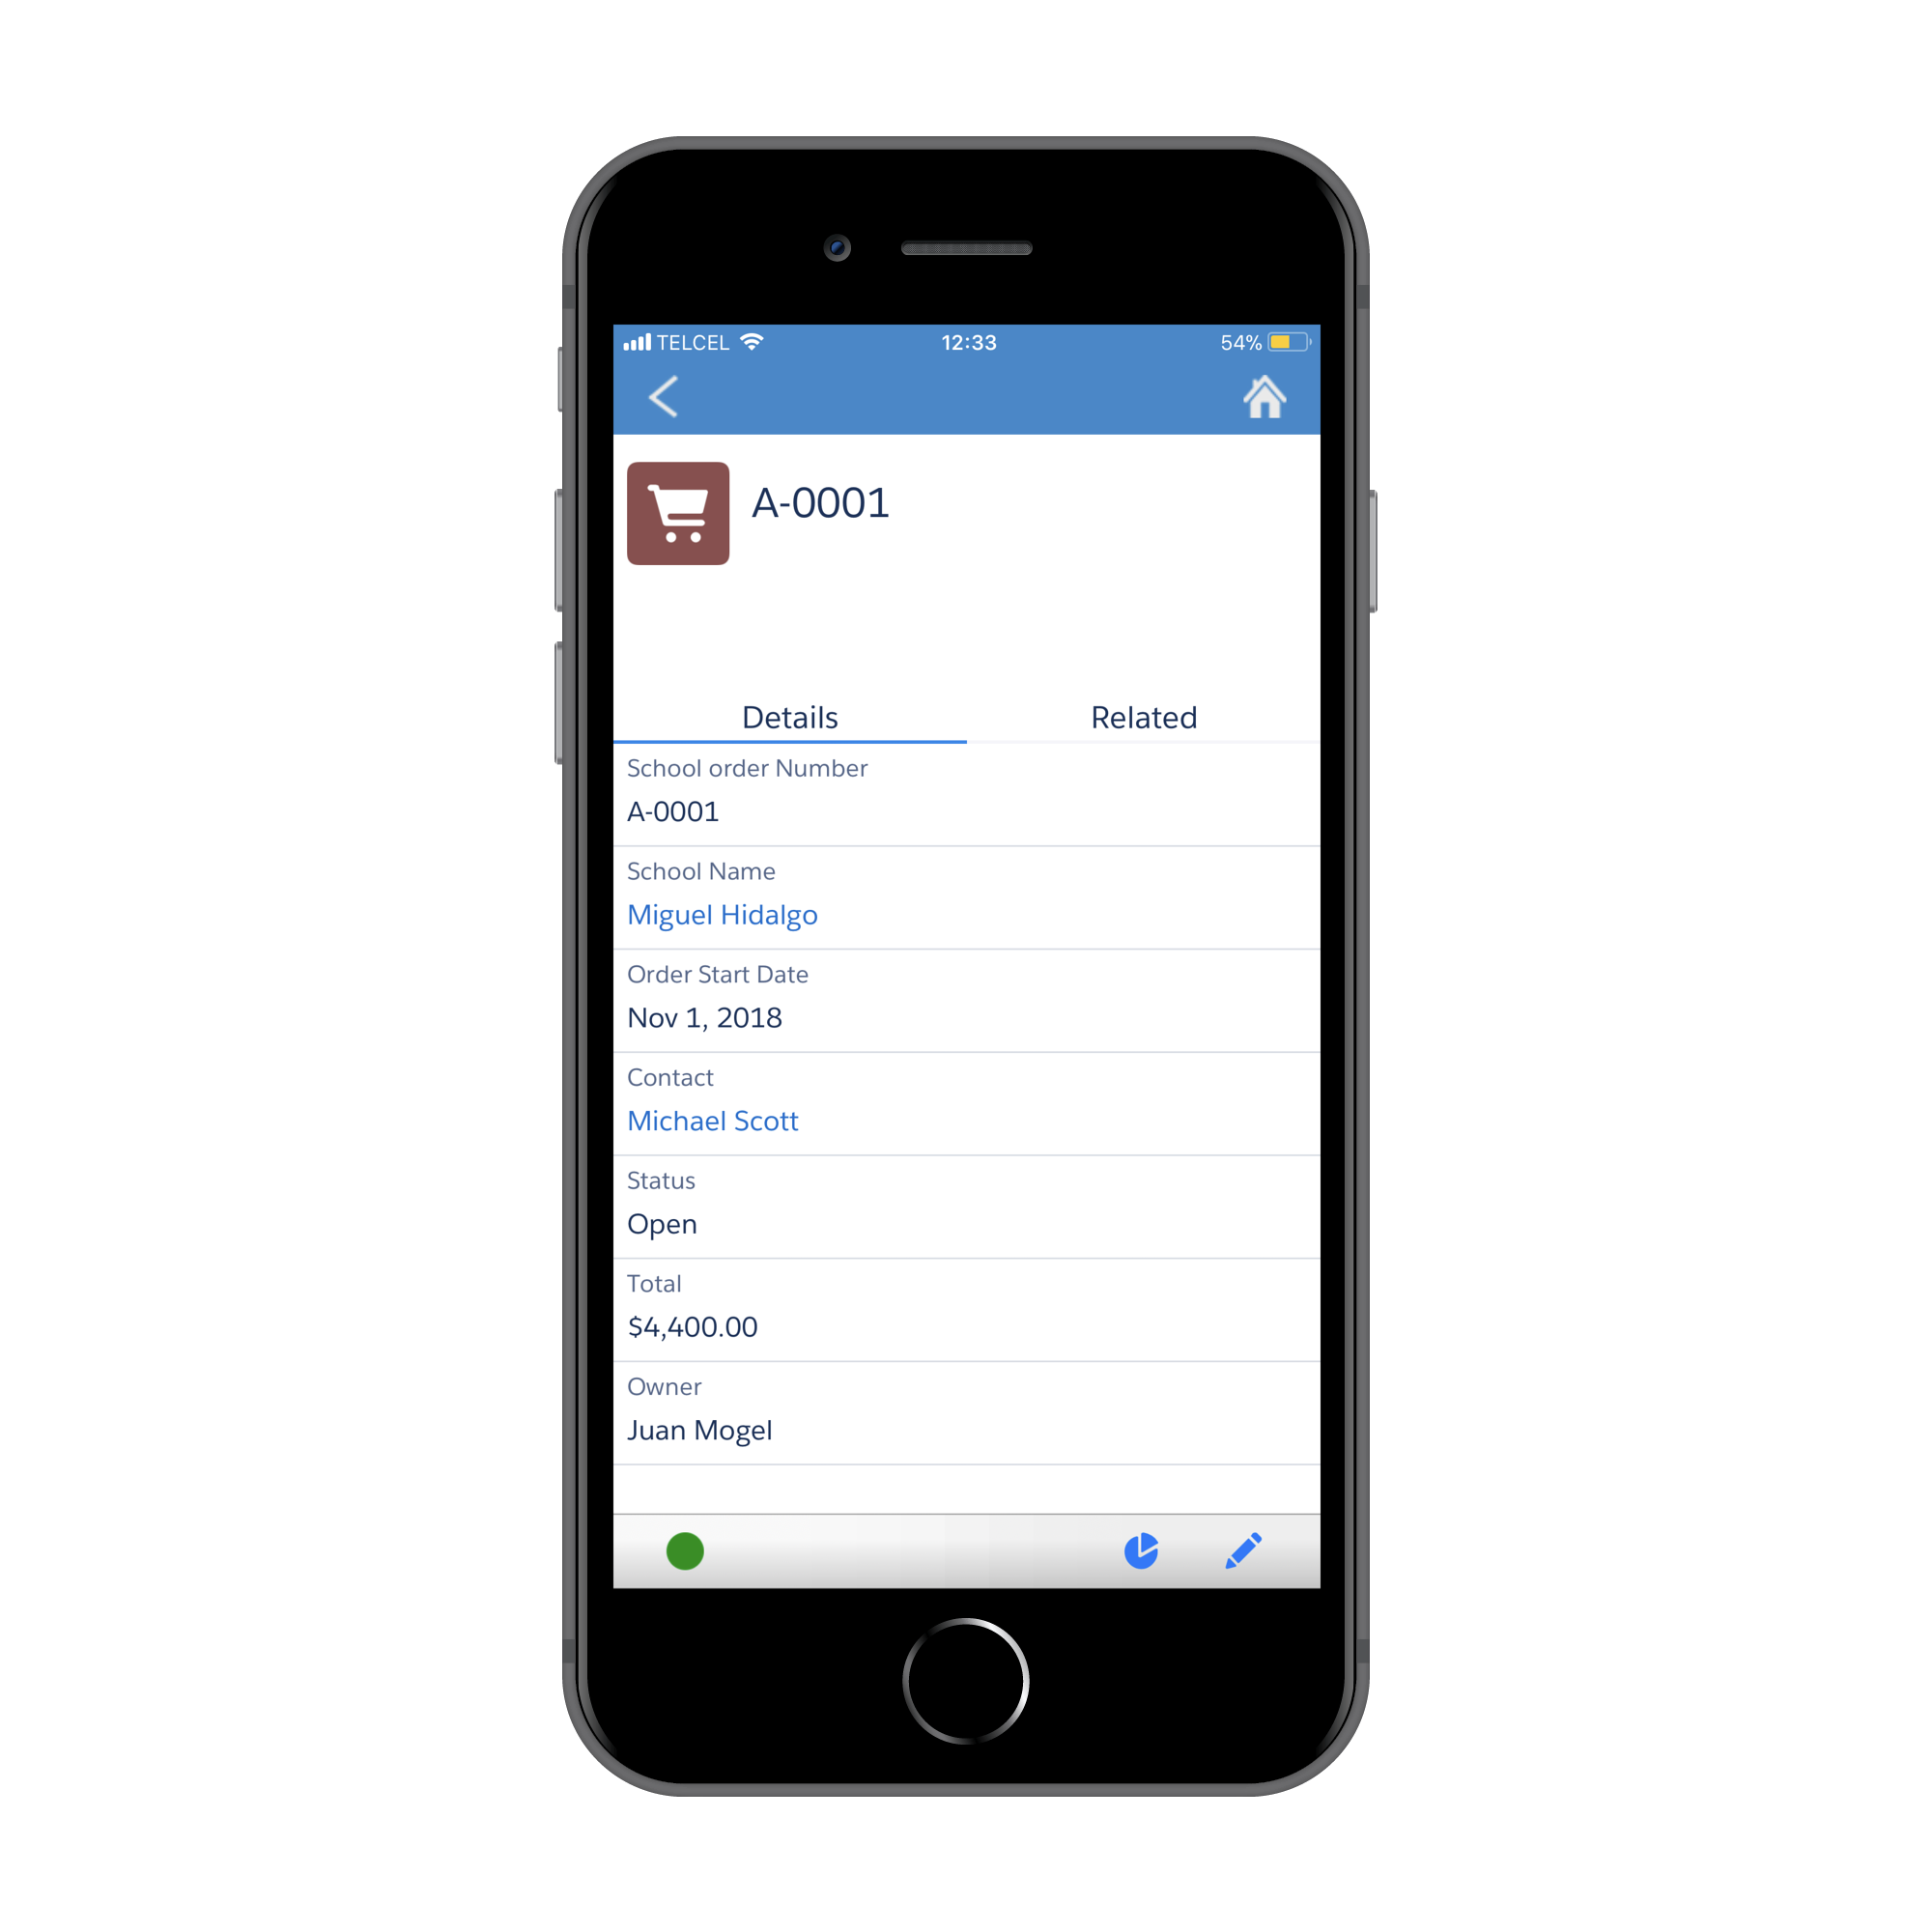
Make the order
Verify the related records
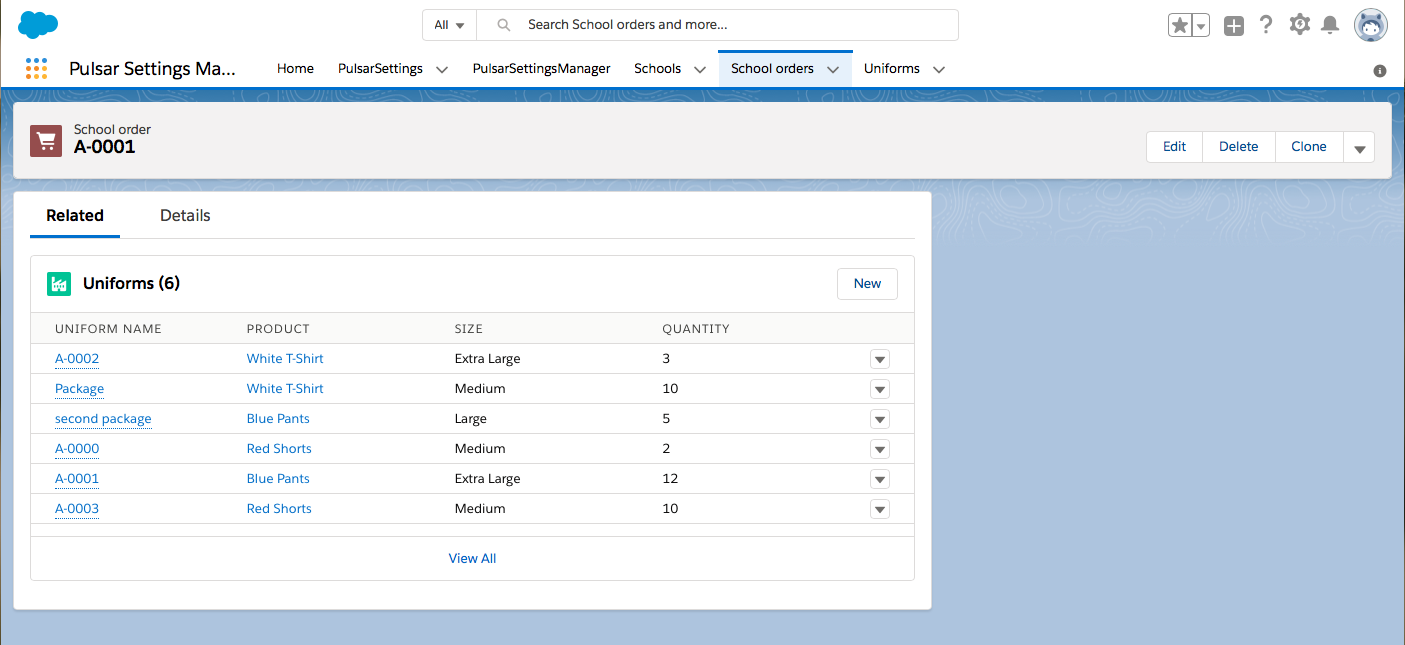
Verify that the total changed